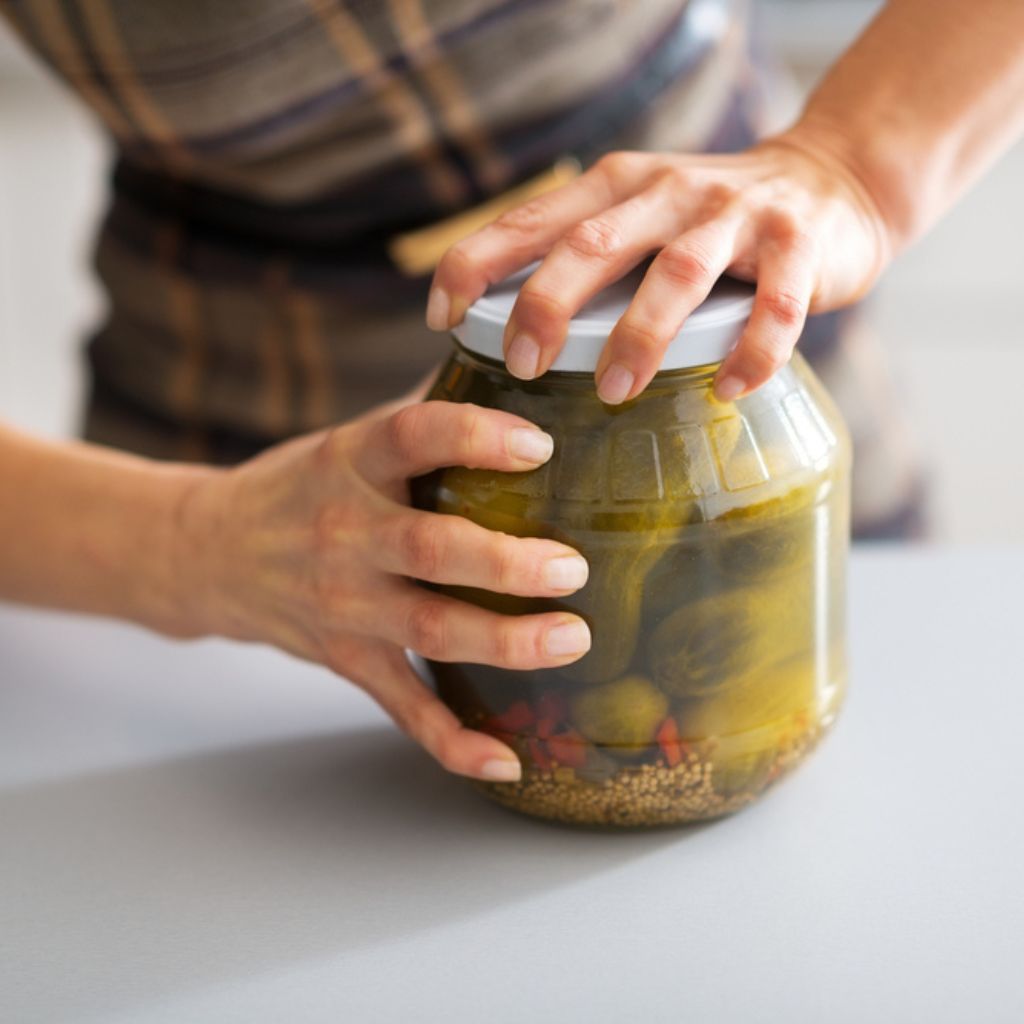
It may be difficult to open a sealed canning jar, especially when working with obstinate mason jars. We’ve all been annoyed by futile attempts to twist, pull, or tap the jar lid. However, do not worry! This post will examine the top ten efficient ways how to open a canning jar easily. These techniques, which range from easy tips to creative hacks, can come help the next time you find yourself unable to open a tightly sealed jar.
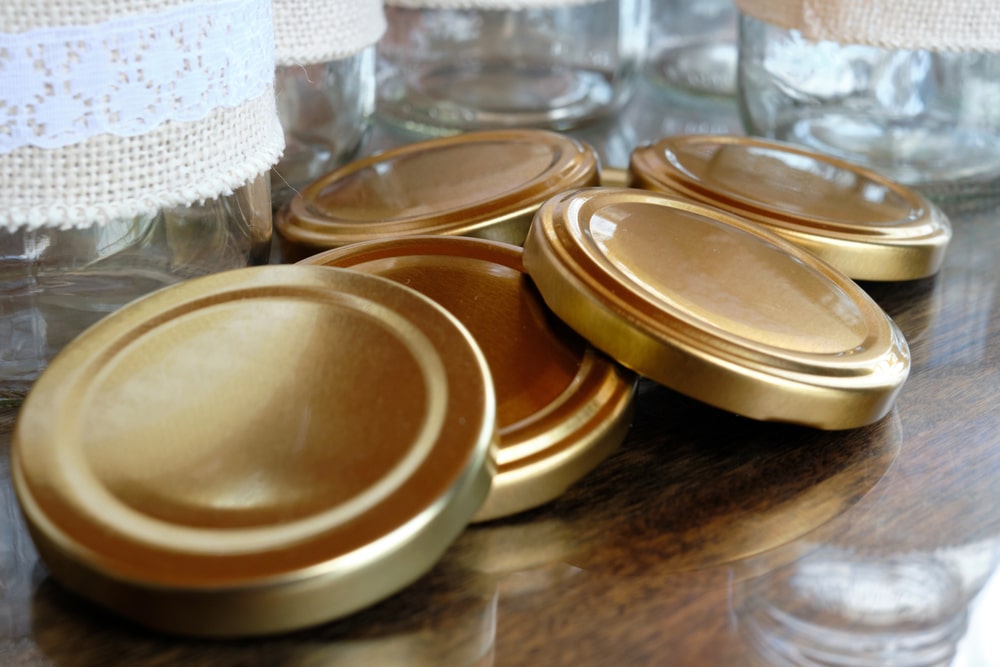
Canning Lids – Indispensable items for canning jars
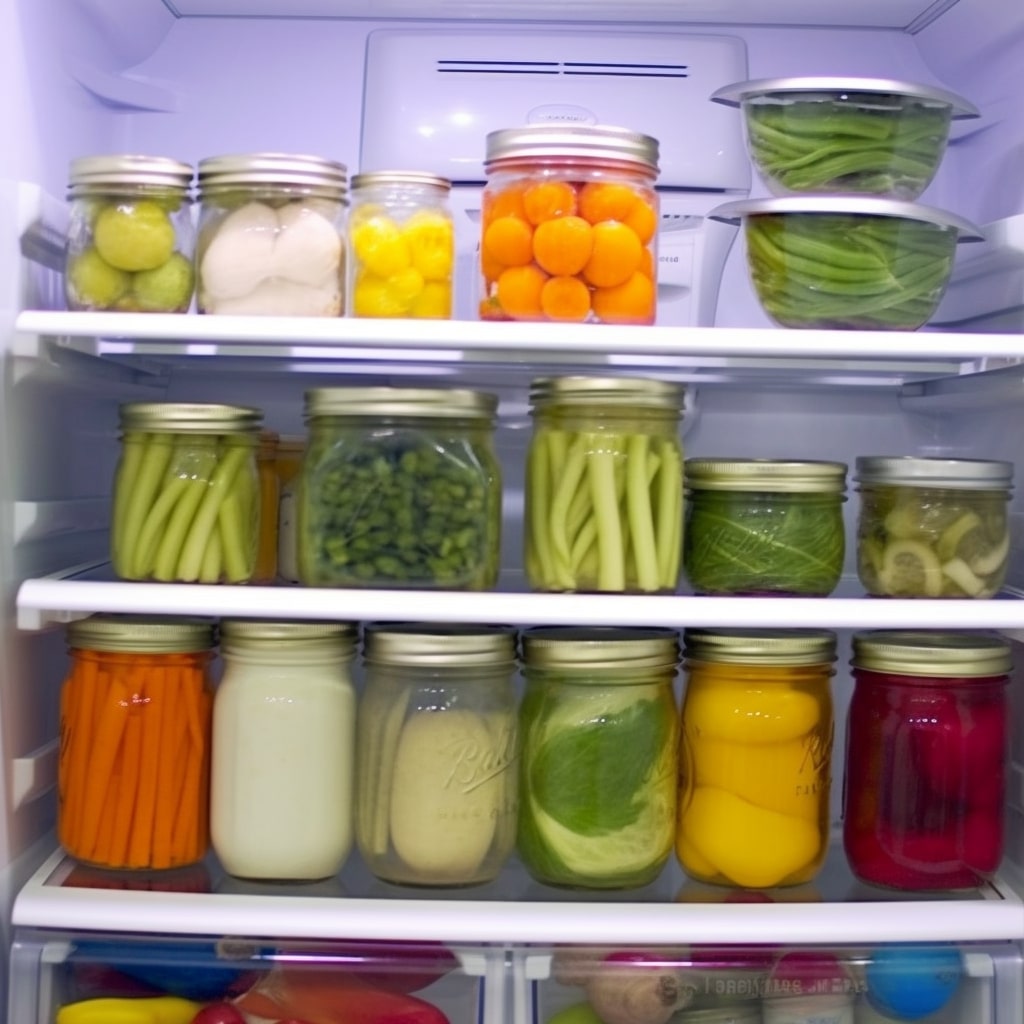
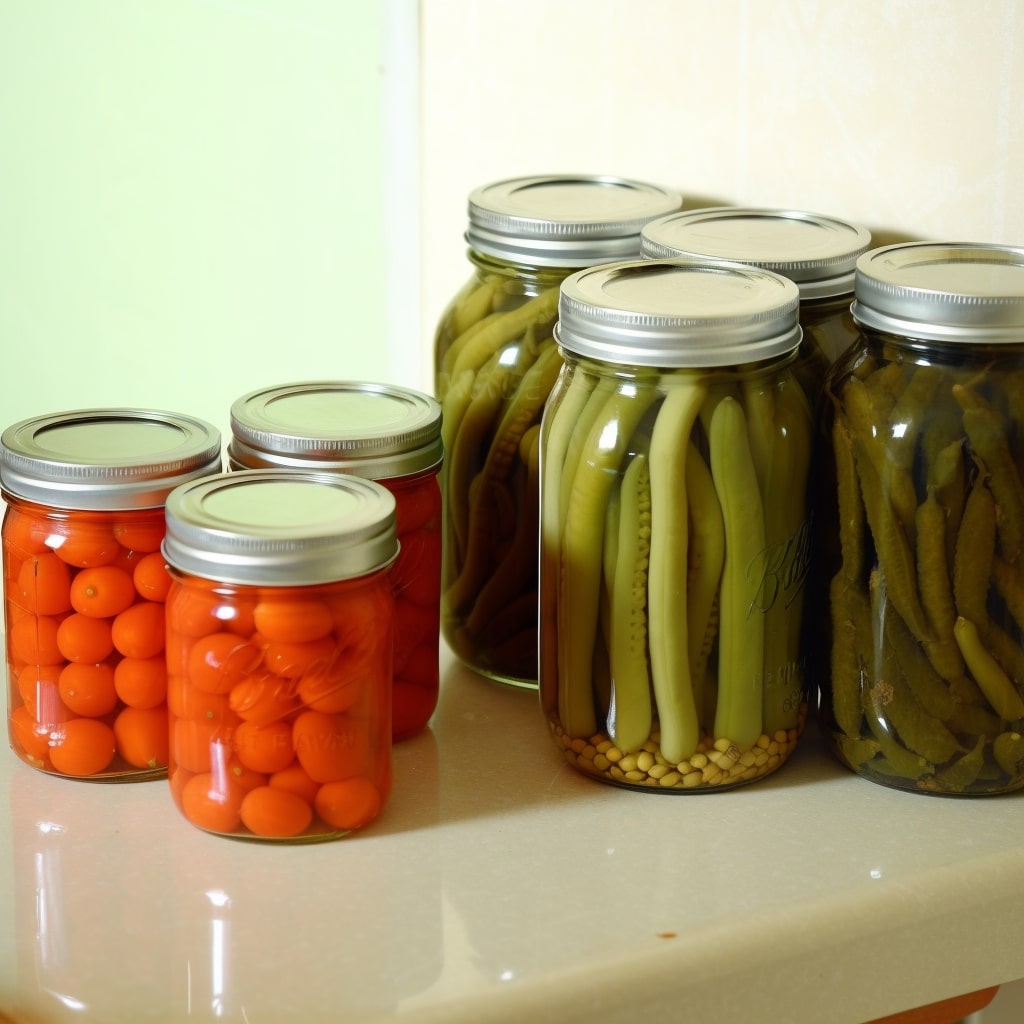
If you want to preserve food at home, you likely use those reliable Mason jars. These jars are ideal for preserving and include a two-piece self-sealing lid mechanism to guarantee that your preserved foods stay tasty and fresh.
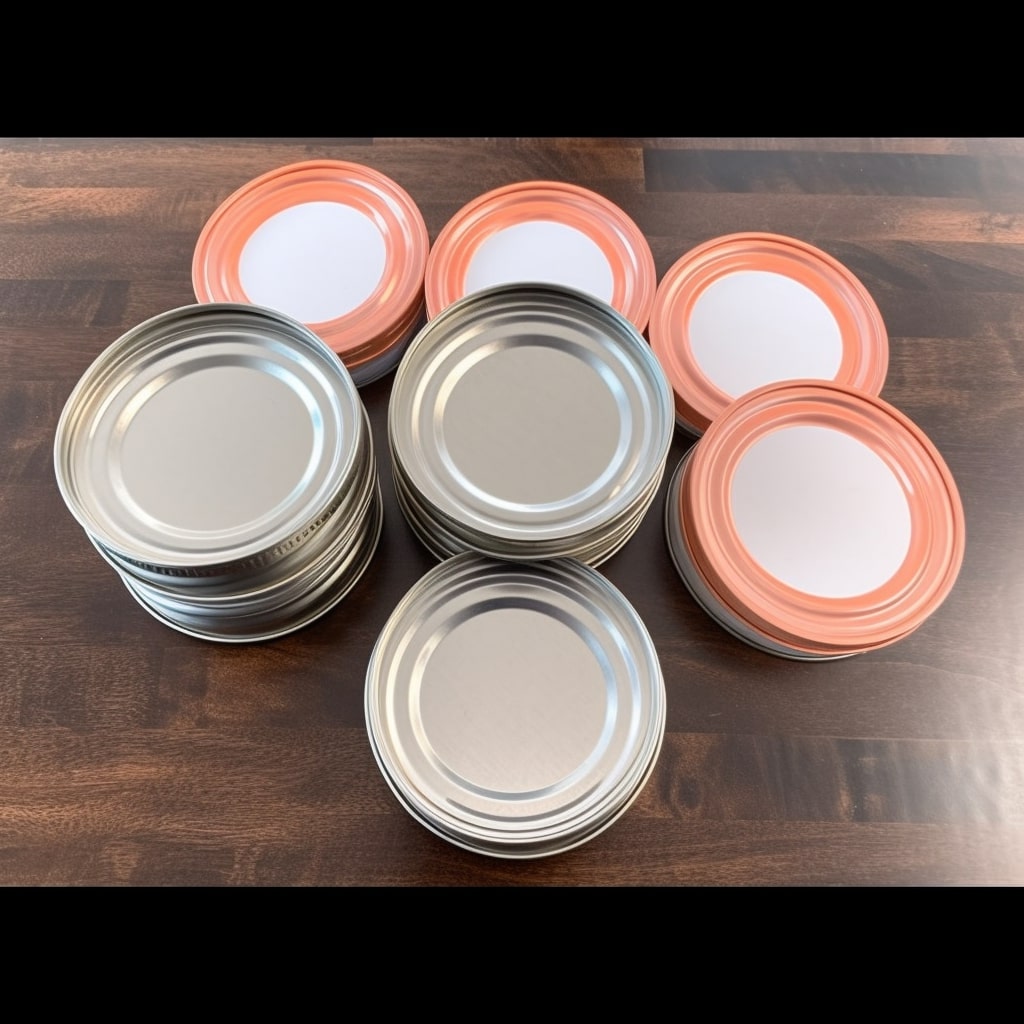
The canning lid comprises two parts: a flat metal disc that rests on the jar and a band that tightly screws onto the jar. Reusable metal bands are advantageous for the environment and useful for regular canners.
The flat lid, however, has a drawback in that it can only be used once. But don’t worry; it has a really important function. The flat lid has a colored sealing gasket compound-filled depression around its rim. The preservation process depends heavily on this gasket.
The gasket on the flat lid softens throughout the canning process, and when the jar is heated, it molds to cover the jar’s edge. This forms a tight, airtight seal necessary to prevent the rotting of your preserved food. Nobody like eating bad food, right?
You may remove the metal band when the jar has finished processing and is ready to savor your preserved delicacies. When you gently press down on the flat lid’s center, it shouldn’t move if the seal is successful since it will be firmly kept in place. That indicates a job well done!
Always use a new flat lid with a new gasket when reusing your Mason jars for another canning experience. This guarantees the greatest seal for your delectable creations.
So, whether you’re a seasoned canner or just getting started in home food preservation, these canning lids are the key to keeping your treats fresh, tasty, and safe to enjoy for months to come!
Methods for how to open a canning jar
Applying Heat
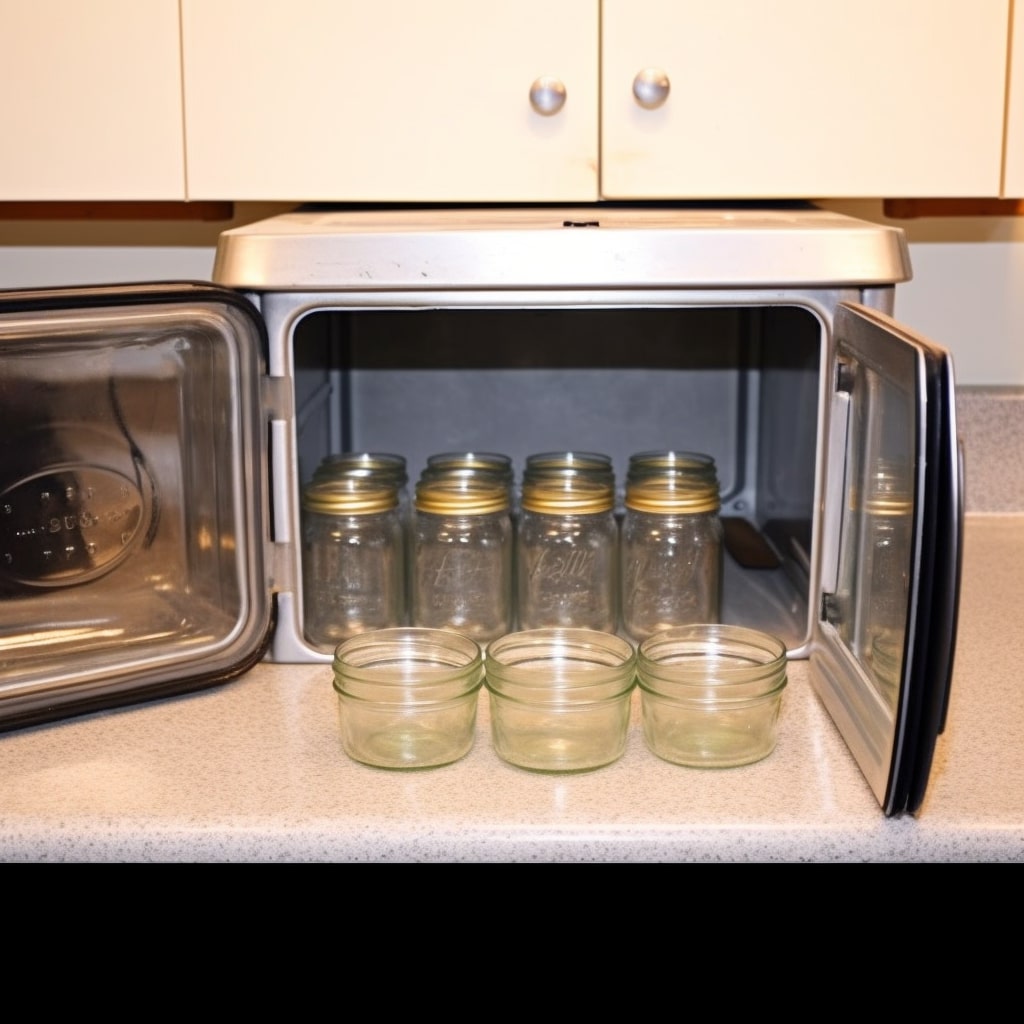
Fear not if you find yourself battling with a securely sealed canning jar! We have a tried-and-true approach that will come to your aid: the miracle of thermal expansion. Heating is the key to getting that hard lid to open, and we’re here to help you get there with confidence.
Heat works so well because all matter expands when heated, even canning jars and lids. The key is that metal expands more than glass, making it the ideal target for your heating efforts. So, let’s get this party started!
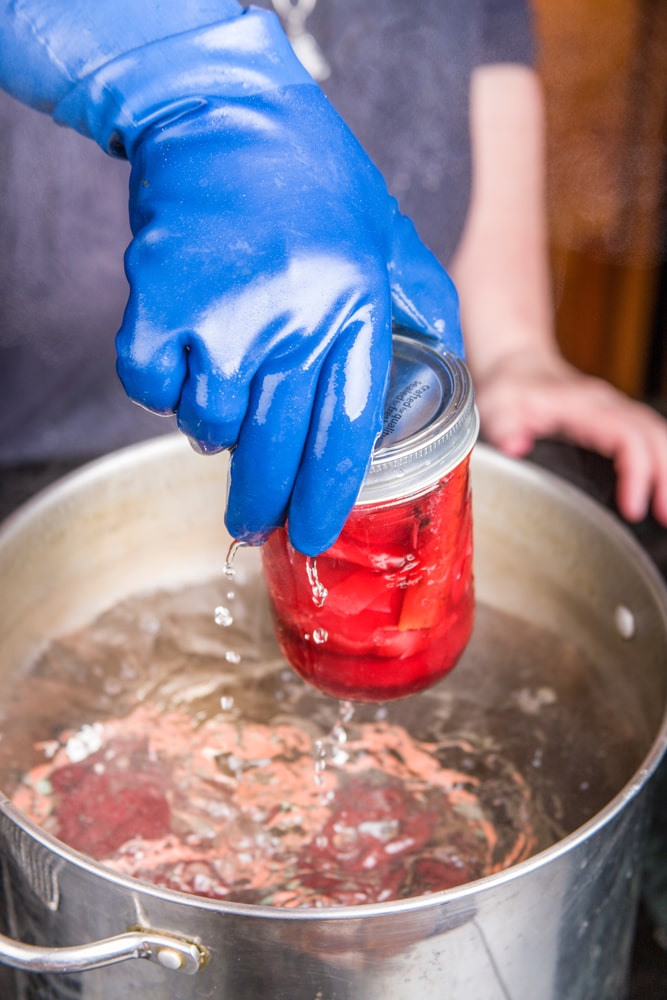
A warm water bath is an easy technique to do this. Fill a big container or sink halfway with warm water, then gently immerse the firmly covered jar. Allow the heat to work its magic as the metal lid expands and pops open. Remember to cover the glass jar with a cloth or dish towel to prevent overheating and mishaps.
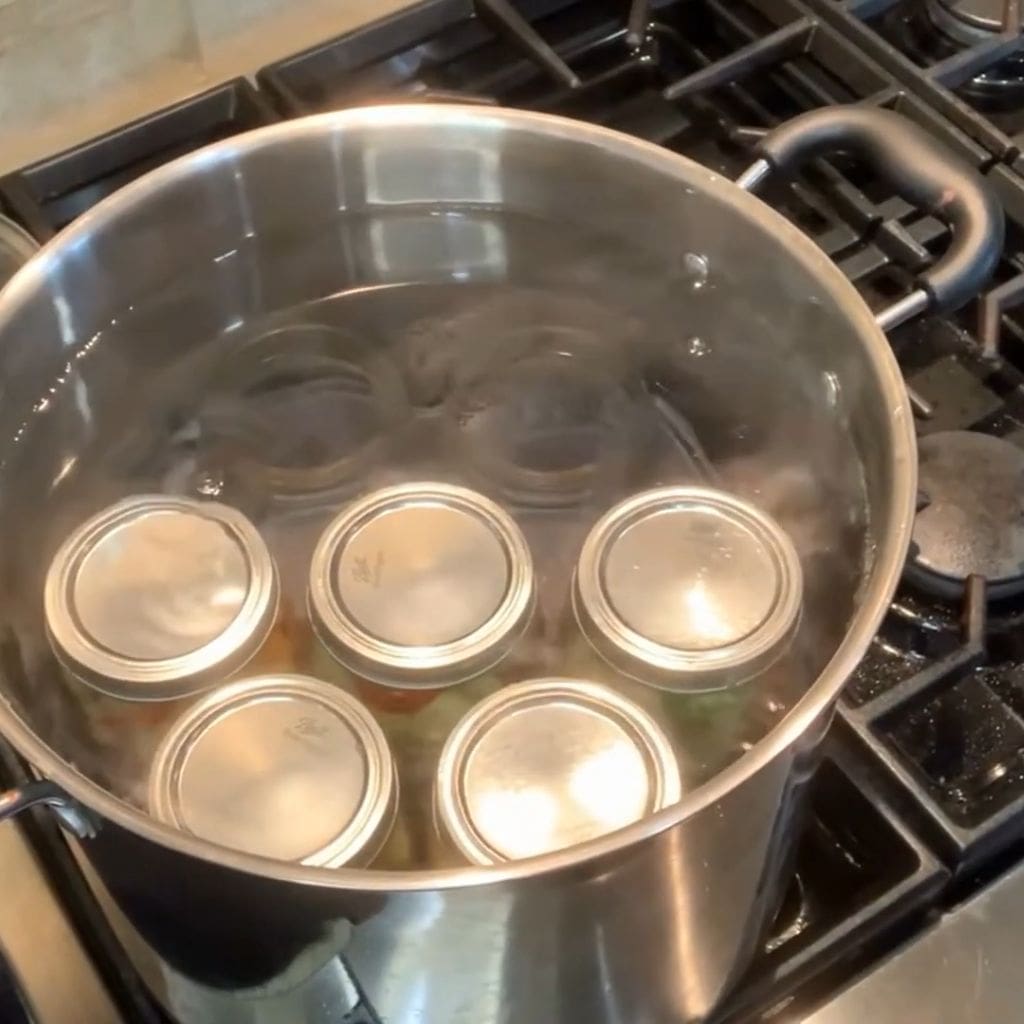
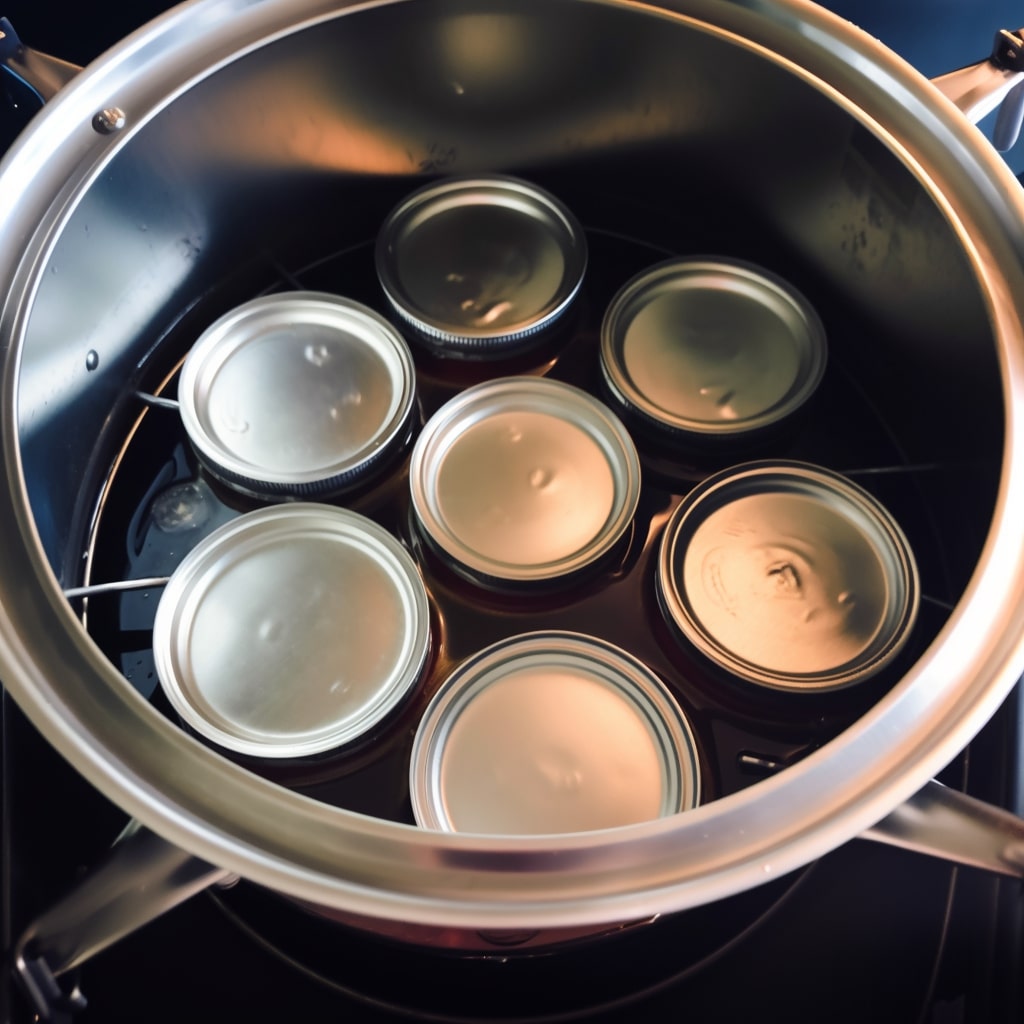
You may also try boiling the canning jar if you’re in a hurry. Before performing this approach, remove any rubber seals or gaskets. Place the jar carefully in a saucepan of boiling water, ensure the water level does not reach the lid, and let it simmer for a few minutes.
Do you want to try something new? Hold the canning jar and lid upside down over the burner for a few minutes. The heat from the burner will do its thing, and you’ll soon hear that delightful pop of the lid opening up.
Oh, but we have another surprise for you! To avoid dealing with water or stoves, reach for your trusty blow dryer. Yes, you read that correctly! Direct the blow dryer towards the metal lid and let the warm air do its magic. It may take a few seconds, but that obstinate lid will eventually give way, and you’ll be able to appreciate what’s within.
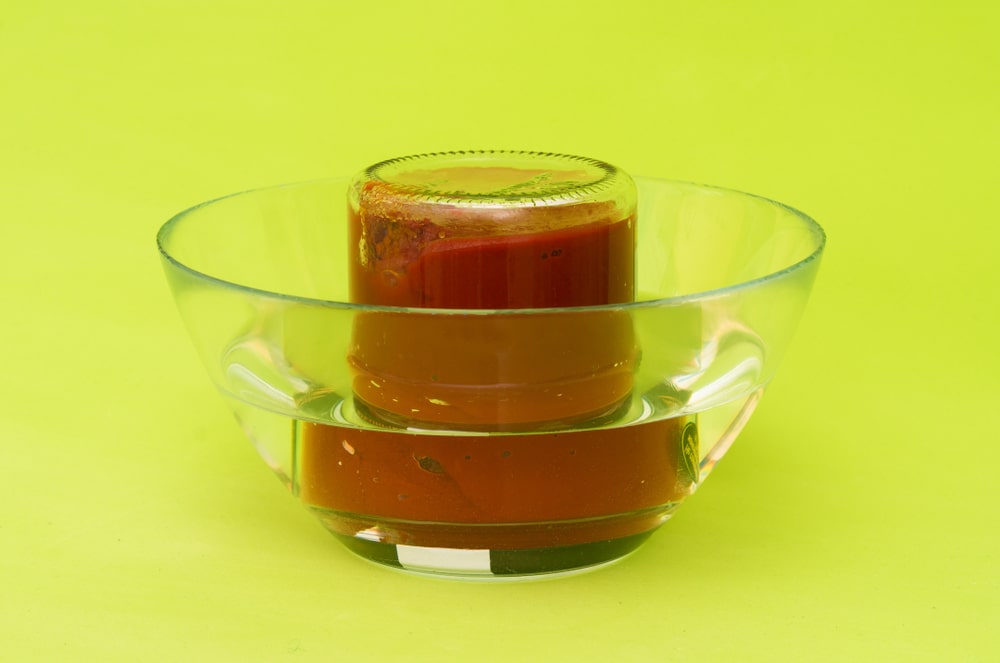
Submerging the Upside-Down Jar in Warm Water
The “Turn the Jar Upside Down into Warm Water” method is a tried-and-true method many home canners swear on. This helpful approach is highly useful in most instances, and we’re here to take you through the procedure confidently.
Before we get started, it’s crucial to remember that this procedure works best with jars that have been at room temperature or stored in a cold, dry environment. If your jar is extremely cold, we recommend using a different approach, as flipping it over down may prevent the contents from fully heating up and making a difference.
Let’s get this party started! First, get your well-sealed canning jar and a large enough container to hold it. We suggest using a saucepan or a large dish. Fill the container halfway with warm water – not boiling, but warm enough to immerse the jar to the lid.
Place the jar in the heated water upside down. The idea is to put the chilly contents against the lid, allowing the warm water’s heat to work magic. As the jar soaks in the water, not only does the lid heat up, but the goop beneath the ring, which may create a tight seal, softens and becomes easier to open.
Allow the jar to soak for about 10 minutes. This should give the heat enough time to go through the resistant seal and loosen things up. While you wait, imagine the delectable contents you’ll soon be able to eat once the jar is opened!
When the soaking time is complete, carefully take the jar from the warm water and give it a shot. If the lid is still a little tight, use a kitchen towel or a rubber grip to assist you in obtaining a solid grasp. With a little twist, the once-tightly sealed jar should now easily open.
Using a Hair Dryer to Heat the Jar’s Lid Ring
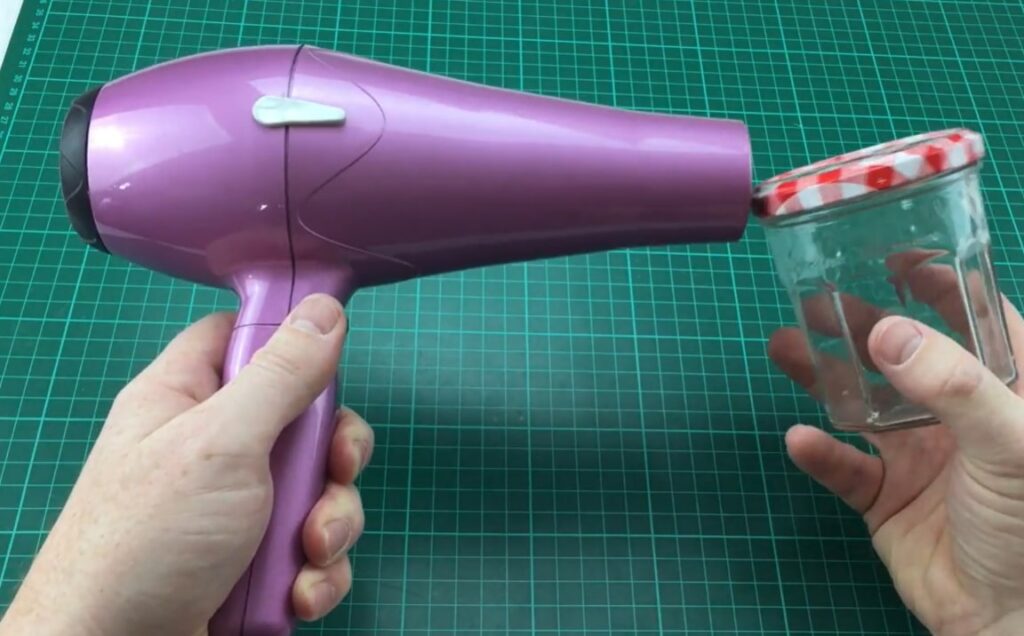
The secret to success is to heat the ring around the lid rather than the glass of the jar. The metal swells somewhat, making it simpler to twist open. Don’t worry; you won’t need to spend a long time doing this; only a minute or two of low heat should be enough.
To begin, connect your hair dryer to a low or medium setting. Aim and direct the hair drier at the lid, ensuring that the stream of warm air is centered on the ring. Remember that you want to heat the metal to give it some wiggle space, so avoid blowing hot air over the glass.
The ring becomes somewhat warmer to the touch as you gradually heat it. This is a positive indicator that the growth is proceeding. Turn off the hair dryer and lay it aside after approximately a minute of delicate loving warmth.
This is the thrilling part! It’s time to put your newfound edge to the test now that the lid has been gently heated. For increased traction, use a dish towel or a rubber grip to rotate the lid counterclockwise comfortably. You’ll find it much easier to break that obstinate seal with the aid of the heated ring.
Utilizing Rubber Gloves for Improved Grip

The secret to opening a tightly sealed canning jar is to establish a firm grip. That’s when rubber gloves come in handy! Wrap an empty rubber glove over the jar’s lid like a towel. This will immediately improve your grip, making it simpler to twist open.
But hold on; there’s more! Why not double up for even greater grip strength? Yes, you read that correctly. Put on both rubber gloves, one for holding the jar securely and the other for removing the recalcitrant lid. Using this method, you’ll feel like a canning superhero, effortlessly liberating the flavors locked inside the jar.
Utilizing Rubber Bands for Improved Grip
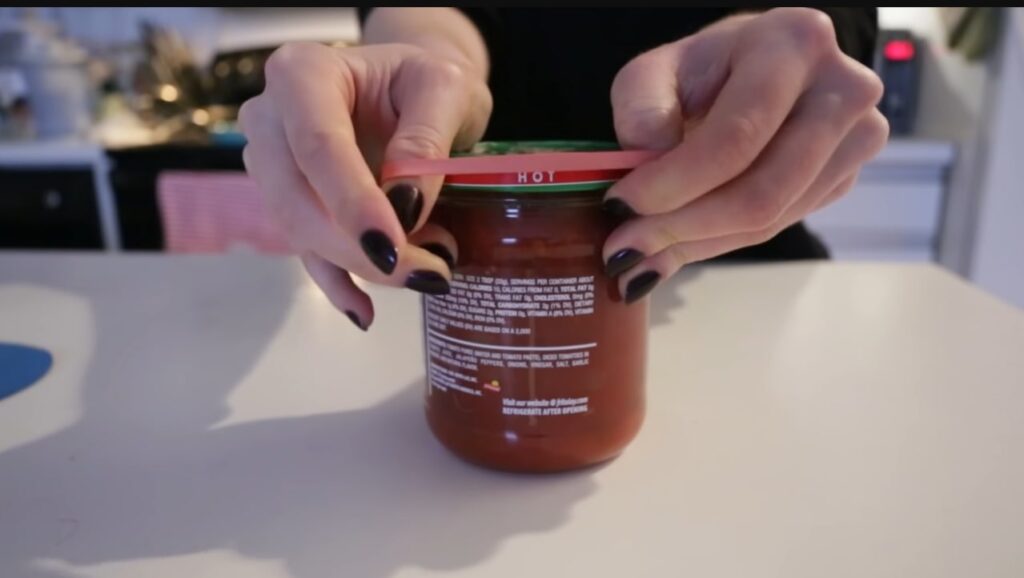
The suppleness of the rubber bands allows you to apply force and twist open even the most securely sealed jars. What a few simple rubber bands can accomplish when you least expect it is amazing.
You’re ready to take on any sealed container now that you’ve learned the power of rubber gloves and rubber bands! Say goodbye to the agony of fumbling with recalcitrant lids, and welcome the excitement of discovering what culinary treasures lurk inside those jars.
Creating a Hole in the Lid
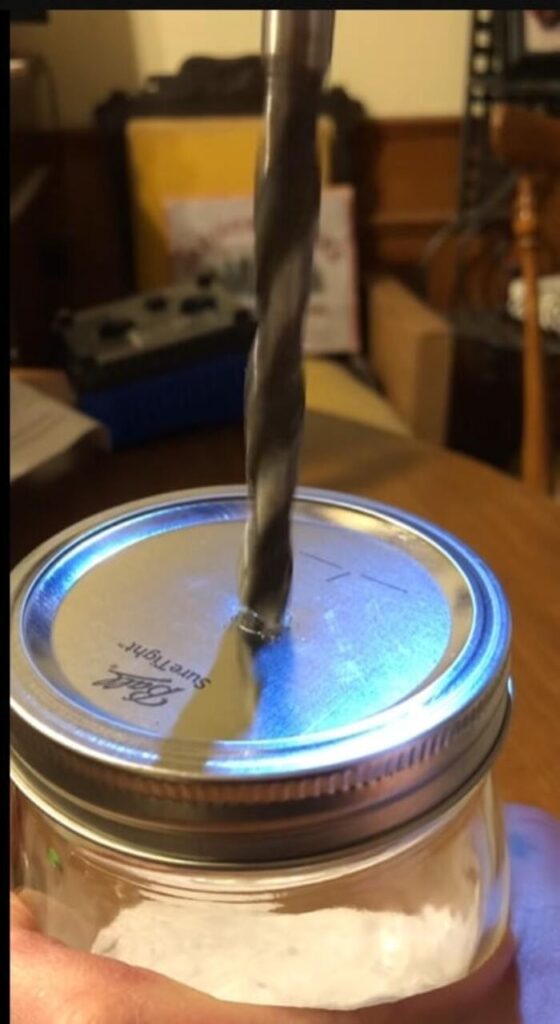
When all else has failed, the “Make a Hole in the Lid” strategy can be a lifeline. Remember that since this approach involves drilling a small puncture or many holes in the top, it is most effective when the canning jar and canning lid are not reusable.
Grab a knife or any other sharp weapon nearby and follow these steps. Make many small holes on the lid’s surface, or gently but firmly poke a small hole through the lid’s top. The important thing in this situation is to make a hole that will release the pressure and permit air to enter the canning jar.
As with the vacuum seal process used during canning, increasing the airflow within the jar will significantly ease the struggle of opening it. This method is particularly useful when encountering a jar that seems to be sealed impossibly tight. By letting the air in, you’re finally giving yourself a much better chance to unhinge that stubborn lid.
However, it’s essential to understand that the canning jar and lid will no longer be suitable for reuse once you go down this road. So, be sure you’re okay with letting go of them before attempting this method. Sometimes, sacrificing the jar is a small price to pay for the delight of accessing those delicious contents trapped inside!
Breaking the Vacuum Seal
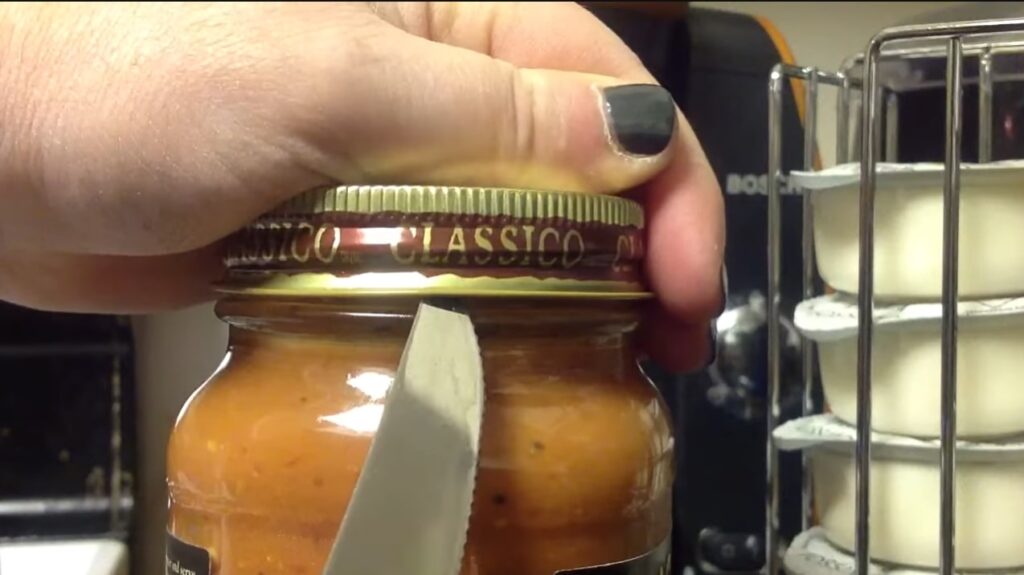
Don’t worry if you have trouble breaking open a canning jar when you first get your hands on one; it’s more simpler than you may imagine! Breaking the vacuum seal is a fantastic way to deal with this problem. It may be challenging to open the jar at first because of this seal, which keeps the jar airtight and protects the contents.
Grab a bottle opener or even a butter knife to get started; all are excellent tools for this job. Carefully slide the opener or knife between the lid and the jar’s rim. To assist break the seal, make a little opening to let air in. Work your way around the lid’s edges slowly and cautiously, exerting mild pressure until you hear a faint click.
Testing with a Spoon
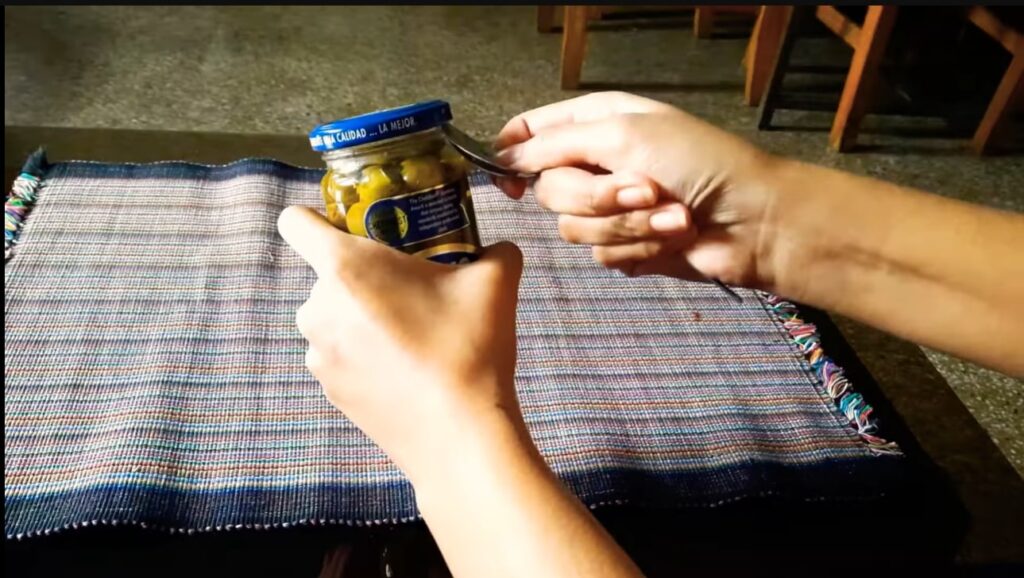
Sometimes, even after the vacuum seal has been broken, the lid may resist opening because food particles are lodged underneath it. But don’t worry, and the Spoon Test is another handy tool we have for you!
All you need for this method is a reliable metal or wooden spoon. Take the spoon, and begin round the sides of the lid with it. This tapping action helps release any remaining air that may have been trapped behind the lid and enables you to remove any troublesome food particles that may be adding further resistance.
If your jar has liquid or sweet ingredients, they act as an additional barrier, making opening more difficult. But don’t worry, and the spoon will rescue the day! The strain behind the lid may be eased by carefully clearing away any food particles. This will make it much simpler to twist open.
Employing a Jar-Opening Gadget
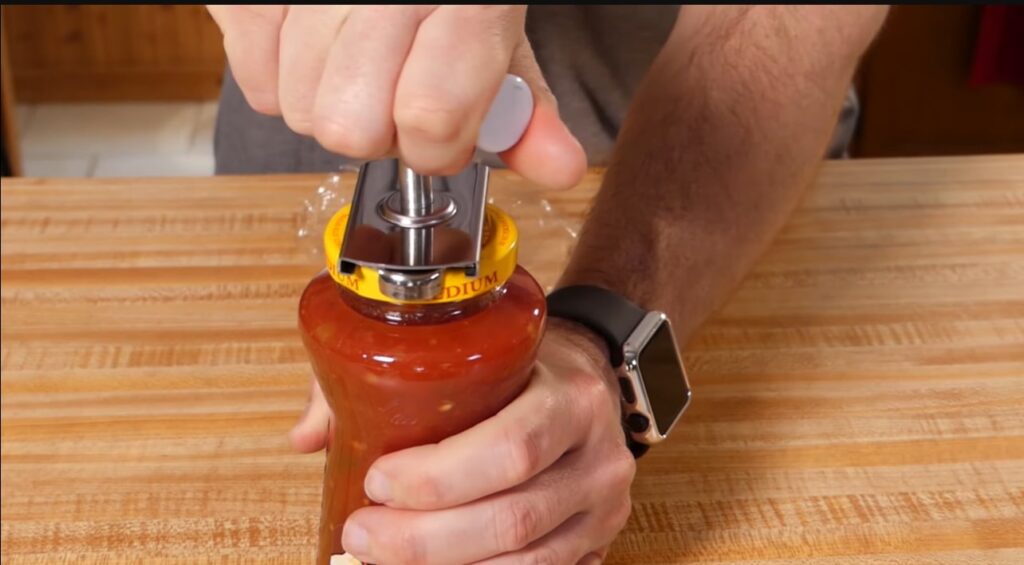
This approach is excellent if you enjoy using kitchen tools or need help with those annoying lids. These jar-opening tools are made to deliver the required grip and leverage, which makes it simple to open even the most difficult jar lids. You may discover the ideal match for your kitchen among their many types and designs, which suit diverse demands and tastes.
These tools are also perfect solution for weak-hand ones, make opening jars especially canning jar lids used on your canning preservation journey. Don’t hesitate to give them a try, opening a tight canning jar would be no long a nightmare preventing your passion for preservation. And, Manzanilla team have taken into efforts and sort out a list for best jar opener for seniors, hope these tool may help you and secure the best canning experience 🙂
The jar opener kit combines a firm grip with rubber materials and is one well-liked alternative. These kits provide a dependable tool to open those tightly-sealed jars easily and are highly efficient and user-friendly. The lid will magically open if you only wrap the rubberized grip around it and give it a little twist.
Jar-opening devices can be permanently mounted to your kitchen cabinet for individuals who prefer a more long-term option. These ingenious devices ensure a specific location for opening jars, sparing you the frustration of always looking for the right equipment. With this practical tool constantly at hand, you can confidently open any jar with grace and ease.
Electric jar openers are a modern marvel in the jar-opening world for tech-savvy home chefs. The jar opening no longer requires any effort thanks to these creative tools. To use the opener, just set the jar on it, push a button, and watch it do its magic. You may put an end to battling with resistance with only one setup step.
Enhancing Grip by Adding Extra Traction
You might have experienced this before – a jar lid that seems to slip through your fingers like a slippery eel. But fear not, for some everyday items in your kitchen can lend you a helping hand. First off, check if the lid is damp or if its shiny surface is causing the trouble.
If the lid is damp, grab a dry dish towel, and place it over the lid. The towel will give you that extra grip to twist the lid open effortlessly. It’s like magic – no more slippage!
Alternatively, you can also use plastic wrap or a piece of silicone. You know that heat-resistant mat or shelf liner you have lying around in the kitchen? That’s the one! Simply place it over the lid, twist it, and voilà – you’ve transformed that slippery lid into a cooperative one.
The best part is that these grip-assisting items are easy to find in your kitchen, making them the perfect go-to solution for those jars that won’t cooperate.
So next time you encounter a tightly-sealed canning jar, remember our little tip: add some grip! It’s a simple yet effective way to conquer those stubborn lids. With this nifty trick up your sleeve, you’ll open jars confidently and easily. Happy canning, and may your culinary adventures continue to flourish!
Conclusion
As a result, cracking open a sealed canning jar doesn’t need to be a struggle of strength and will. Applying the top 10 strategies we’ve looked at in this post will enable you to handle any challenging mason jar successfully. These methods, whether they involve tapping the lid, hot water, rubber bands, or both—are simple to use and practical. So keep these pointers in mind the next time you find yourself in a pickle (figuratively speaking), and you can easily open the jar. Say goodbye to irritation and hello to jar opening that is hassle-free!


![Top 5 Best Jar Opener for Seniors Elderly [Updated 2023]](https://manzanillanyc.com/wp-content/uploads/2023/07/Top-5-Best-Jar-Opener-for-Seniors-Elderly-Updated-2023.jpg)