Water bath canning, a time-honored way of preserving food, allows us to enjoy the flavors of the season-long after they’ve passed. While traditional canning frequently necessitates specialist equipment such as a canner, there are alternatives for individuals seeking simplicity and resourcefulness.
We shall look at the art of water bath canning without needing extra equipment in this guide. Especially how to can without a canner. You may reliably preserve your favorite fruits, veggies, and preserves using these simple procedures instead of a typical canner.
Exploring Water Bath Canning Without a Formal Canner: Is It Necessary?
If you don’t already own a canner, are you interested in canning your favorite fruits and vegetables? We’ll go into informal canning without a formal canner in this part and consider if it’s a necessary investment.
Interested in Water Bath Canning but Don’t Have a Canner? Here’s How!
You’re anxious to start water bath canning, but purchasing a canner may seem like a large step. Don’t worry, I’ve got your back! Trying out new interests should be enjoyable, thrilling, and affordable. Let me provide a few pointers to help you get started on your water bath canning experience without breaking the budget.
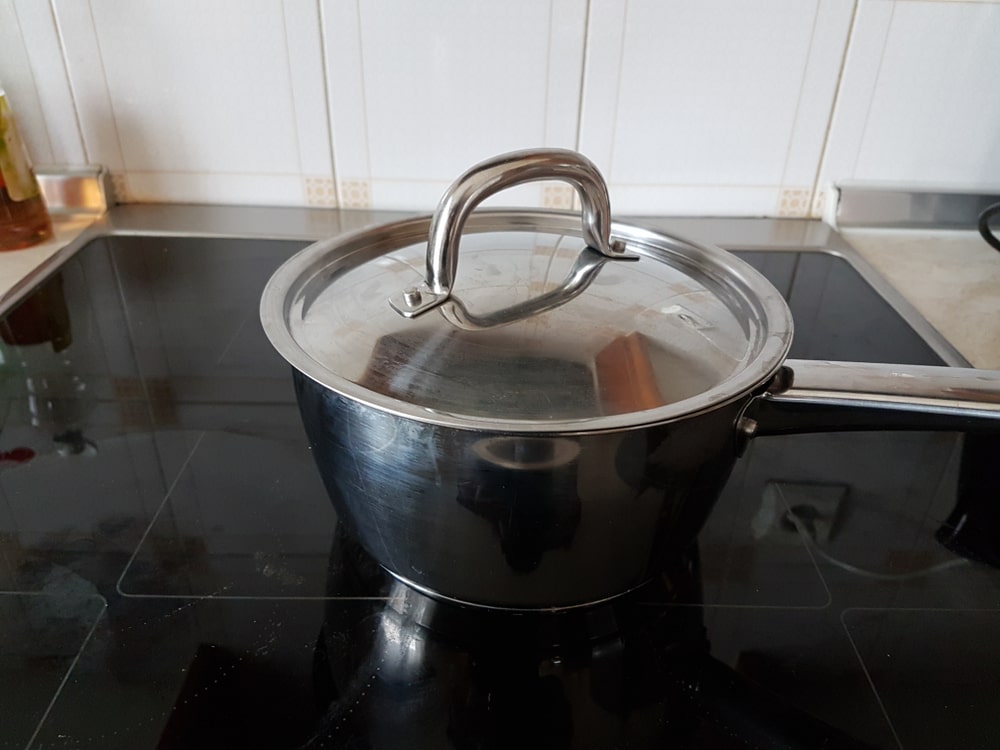
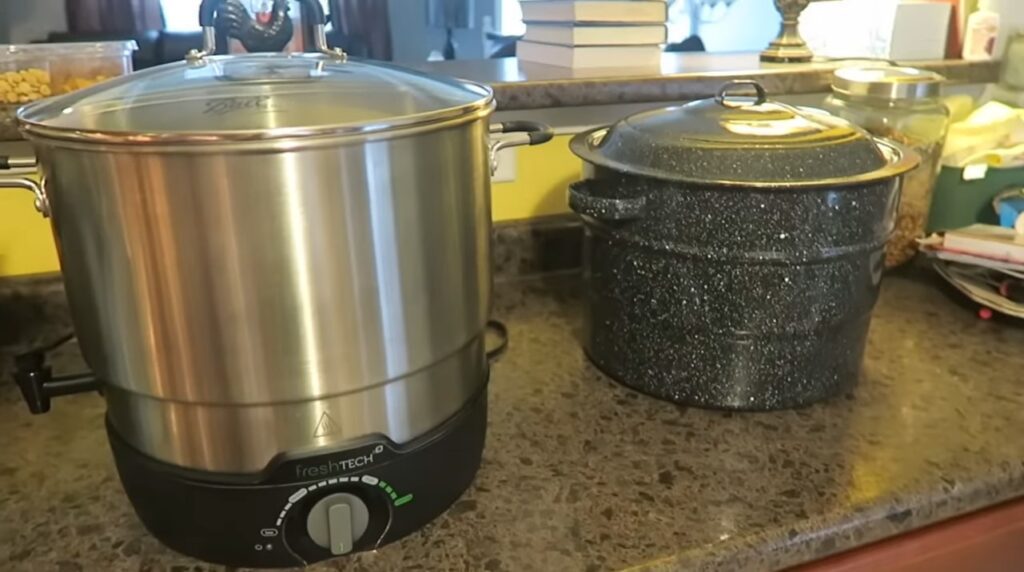
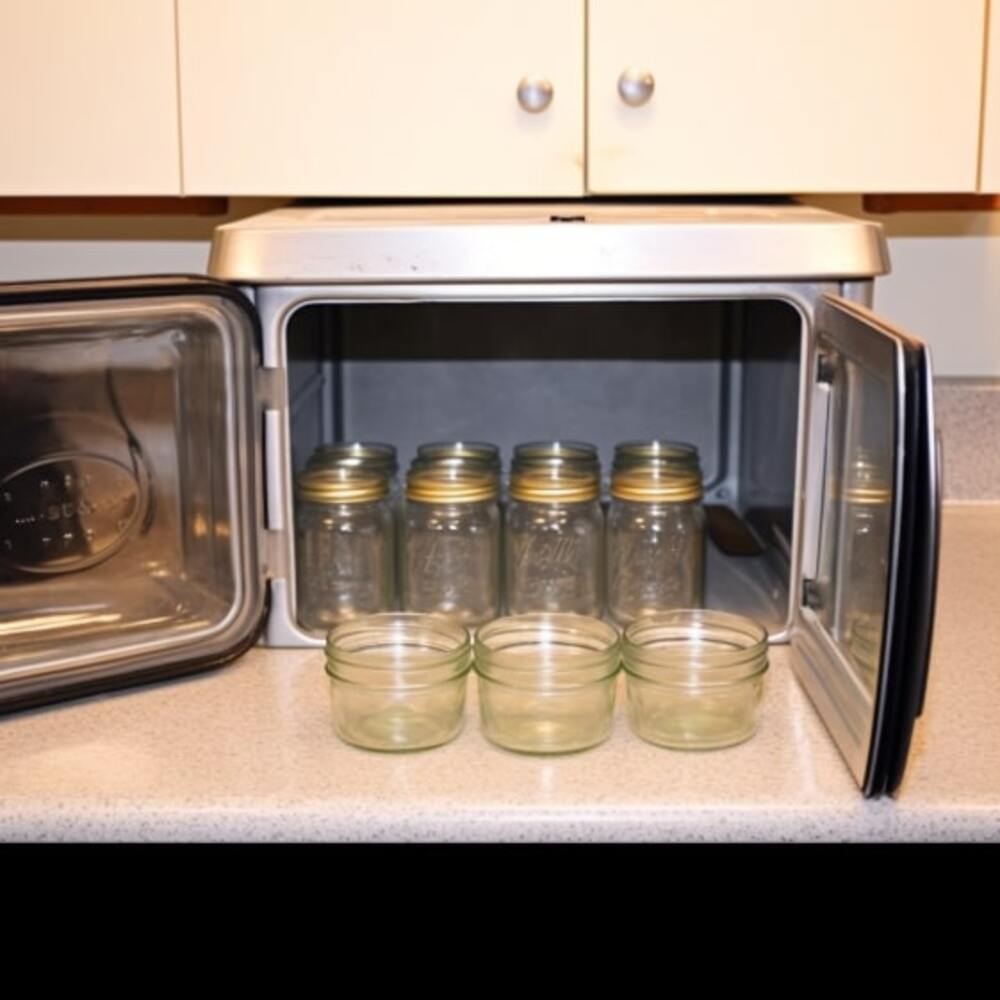
- Use What You Have: You don’t need a sophisticated canner. You’ll need a big stockpot or a deep saucepan for this. Just ensure it’s deep enough to submerge your jars in water by at least one inch.
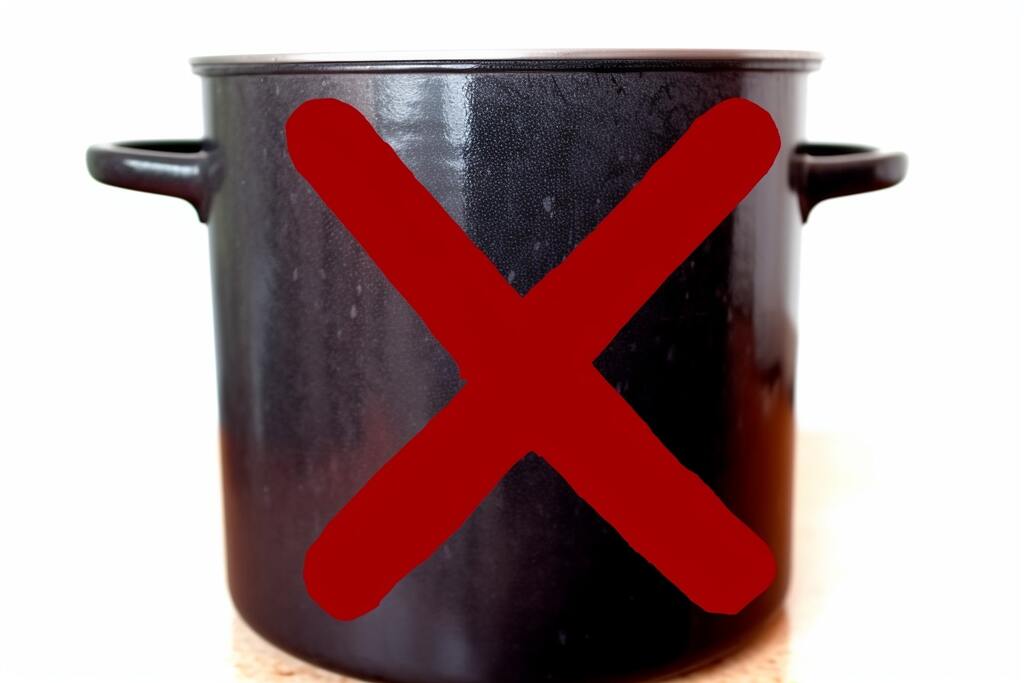
- Examine the Stovetop Compatibility: If you have a glass-top stove, use a canner with a flat and smooth bottom. Not to worry! Water bath canning may be done in any old stockpot, preferably with a flat bottom.
- Gather Your Resources: Aside from the stockpot, a few simple items are required to ensure safe and successful canning. Use a jar lifter to handle hot jars, a canning funnel to fill them precisely, and a bubble remover/headspace tool to remove air bubbles.
- Choose the Right Recipes: Look for water bath canning recipes that appeal to you and suit novices. Popular condiments include jams, pickles, and tomatoes. To obtain tasty and safe recipes, consult reliable sources like canning books or tested recipes on trusted blog like Manzanilla lol, and by the way, I got some interesting water bath canning recipes to test them out: can strawberry pie filling recipe, canning lemonade concentrate, green tomato jam recipe for canning,…
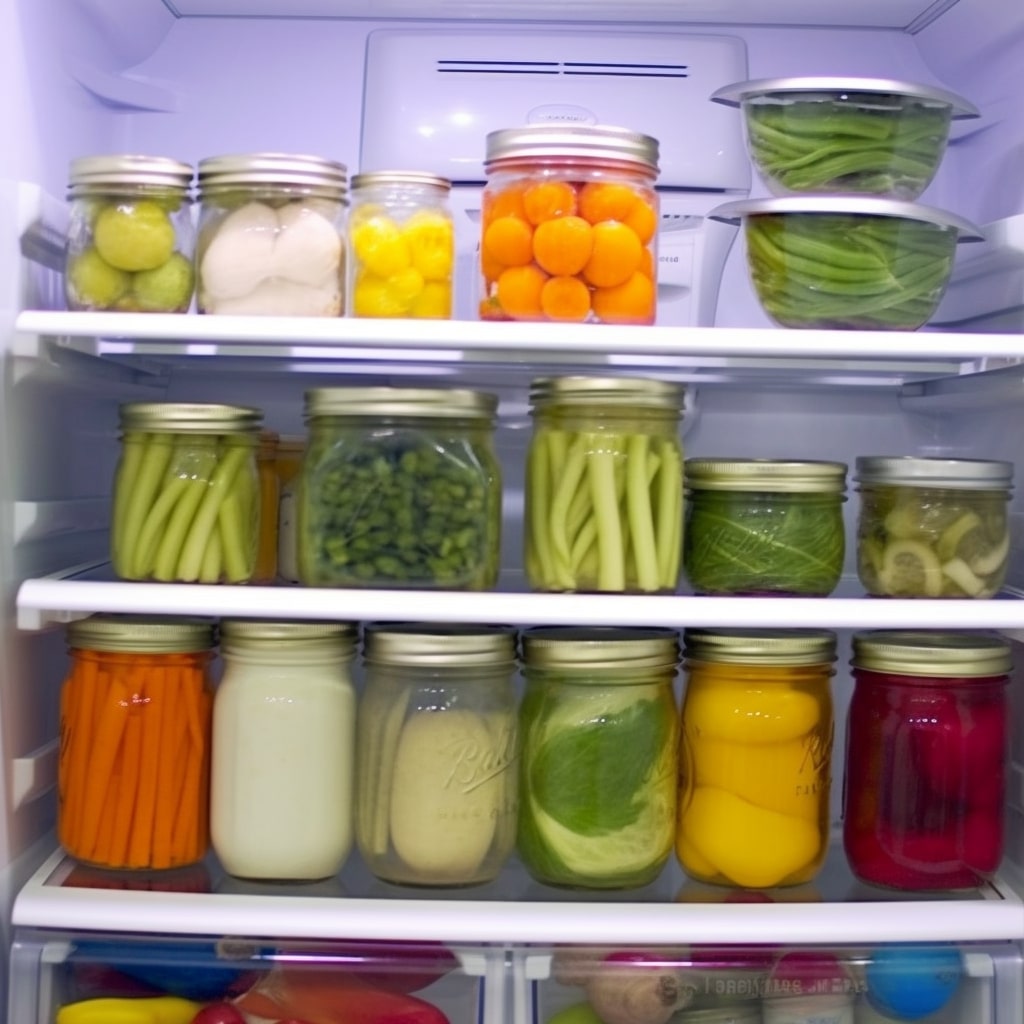
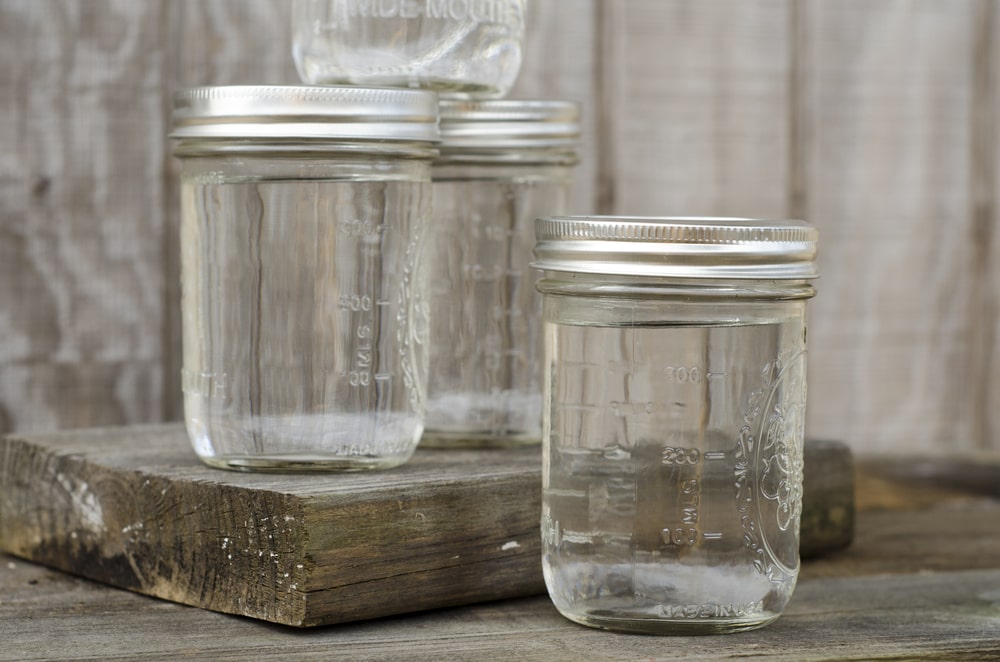
- Use Mason Jars: Mason jars are great for water bath canning. They are readily accessible and come in various sizes to meet your requirements. Before using them, check for cracks or chips.
- Follow Safety Guidelines: Follow the following safety guidelines: Canning requires extreme caution. Follow appropriate processing times, headspace measurements, and sterilization procedures. This will guarantee that your canned foods are safe to eat for an extended period.
Water Bath Canning for Compact Kitchens with Limited Space
We recognize that storage space is valuable, and better solutions may exist than purchasing canners. But don’t worry, and many additional options are waiting to be discovered right in your kitchen!
- Mason Jars to the Rescue: Take use of mason jars’ flexibility! These dependable buddies are capable of much more than mere canning. They’re ideal for storing dry goods, overnight oats, salad packing, and even functioning as drinking glasses. They’re a terrific space-saving option because they come in various sizes.
- Freeze for Convenience: If you have freezer space, freezing may be an excellent technique for preserving food. Soups, stews, and sauces can be made in bigger amounts and frozen in freezer-safe containers or bags. They’ll be available anytime you need a fast and tasty supper.
- Dehydrate Delights: Consider purchasing a food dehydrator. This handy device allows you to store fruits, vegetables, and even herbs compactly. The dehydrated treats may be stored in compact sealed containers that take up little space.
- Vacuum Seal for Freshness: Vacuum sealers are excellent for extending the shelf life of various foods. By removing excess air from bags, you reduce their volume significantly. Vacuum-sealed items can be neatly stacked and stored away with ease.
Out of Stock: Unavailability of Water Bath Canners and Alternatives
Water bath canners, you know, are quite popular during canning season, when everyone is busy preserving their fresh vegetables. This increasing demand might occasionally result in market shortages. Furthermore, supply chain challenges or disruptions might contribute to the need for more availability.
But don’t worry! These are frequently transient circumstances, and we encourage you to watch for updates as additional stock may become available shortly. In the interim, we can assist you in researching other canning choices or procedures that may suit your requirements.
If you want to can and preserve your delectable treats, there are always options and inventive ways to accomplish your aims. We’re here to help and share helpful hints and tools to make your canning experience pleasurable and successful.
Supplies Required for Water Bath Canning
To get started with water bath canning, you’ll need a few essential supplies. Here’s a list of what you’ll need to ensure a successful canning process and delicious, long-lasting preserves:
Large stock pot and lid
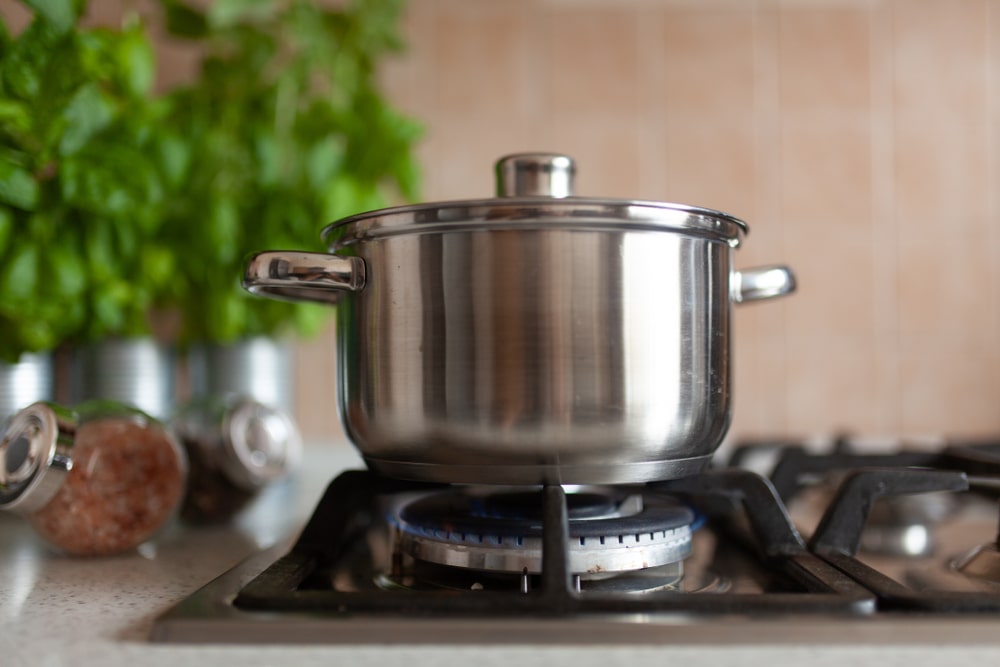
Even though they were made for canning, you could have pleasant recollections of your grandma’s kitchen using those adorable old graniteware or enamel canning pots. To learn the technique of water-bath canning, you don’t need a specific canning kettle!
Imagine your favorite large stock pot from your regular kitchen collection as your reliable companion on all your canning excursions. This approach’s simplicity is what gives it beauty. You may easily work with a regular stock pot and matching lid! Because of its size, you can process several jars at once, which makes the canning process quick and fun.
No need to worry about locating a special canning vessel. Canning jars must be able to fit in your big stock pot with at least two inches of water covering them. After making your favorite recipe’s delectable preserves in your mason jars, cover them with lids and rings, then gently place them inside the stock pot.
Here’s where the magic happens; just make sure there is enough water in the pot to cover your jars by at least two inches. This method of preserving food in a water bath is secure and reliable since it has been tried, tested, and trusted.
Concerned about the procedure of canning? Be at ease! Water bath canning in a stock pot is as dependable and secure as using a dedicated water bath canner. The procedure stays the same and is simple; thanks to the trusty depth of your stock pot, your jars will be contentedly submerged in boiling water for the advised amount of time.
A sturdy rack
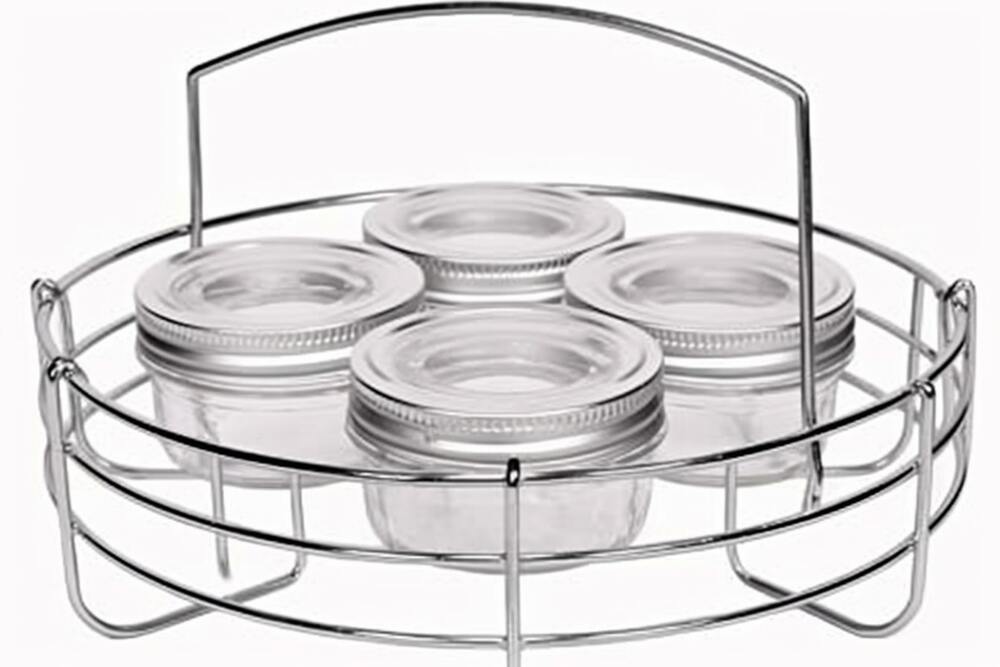
Here’s a helpful hint for avoiding mistakes during water-bath canning. A rack will be needed to raise the full jars so they don’t sit directly on the bottom of the kettle. Fortunately, you have a few alternatives to pick from. If you have one, you may use a metal trivet or the rack that comes with your instant pot. Don’t worry if you don’t have any of these goods! Use twist ties to bind canning rings together, creating a DIY rack that works just as well.
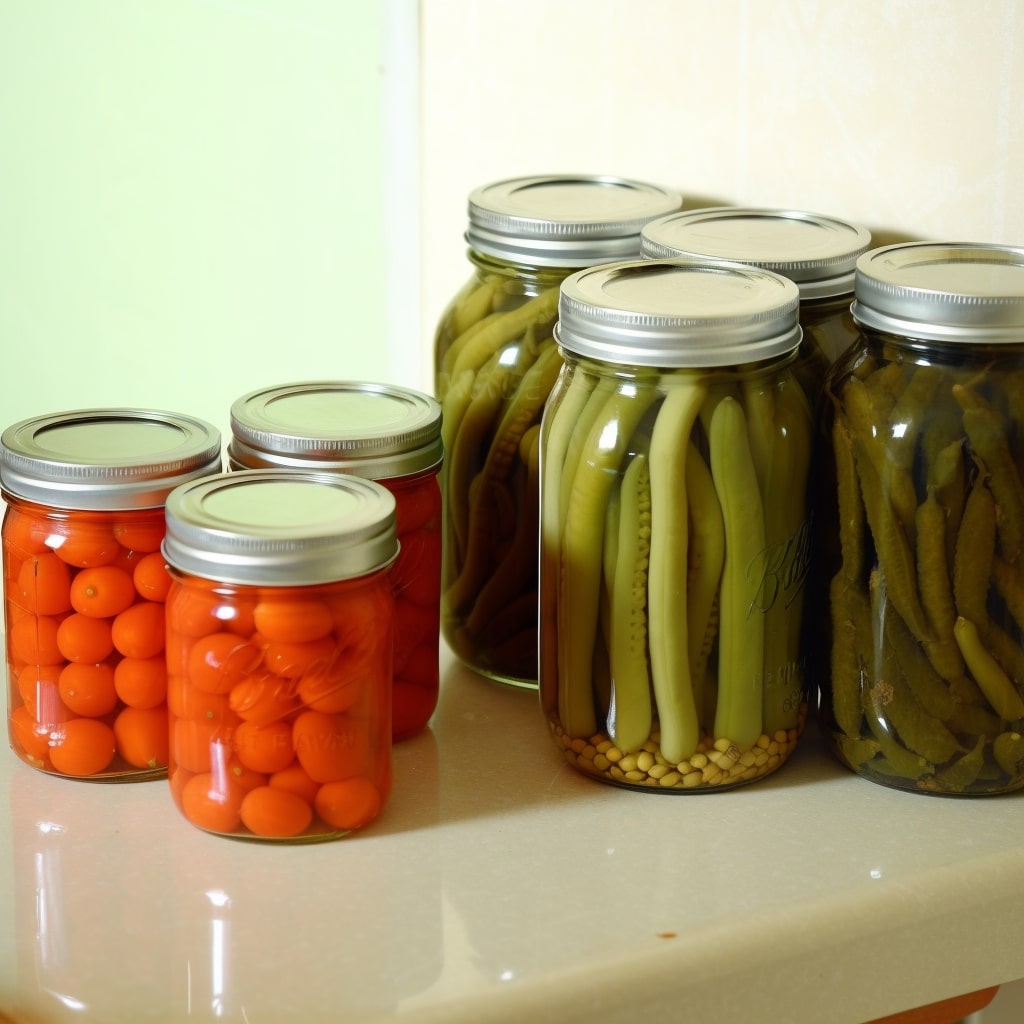
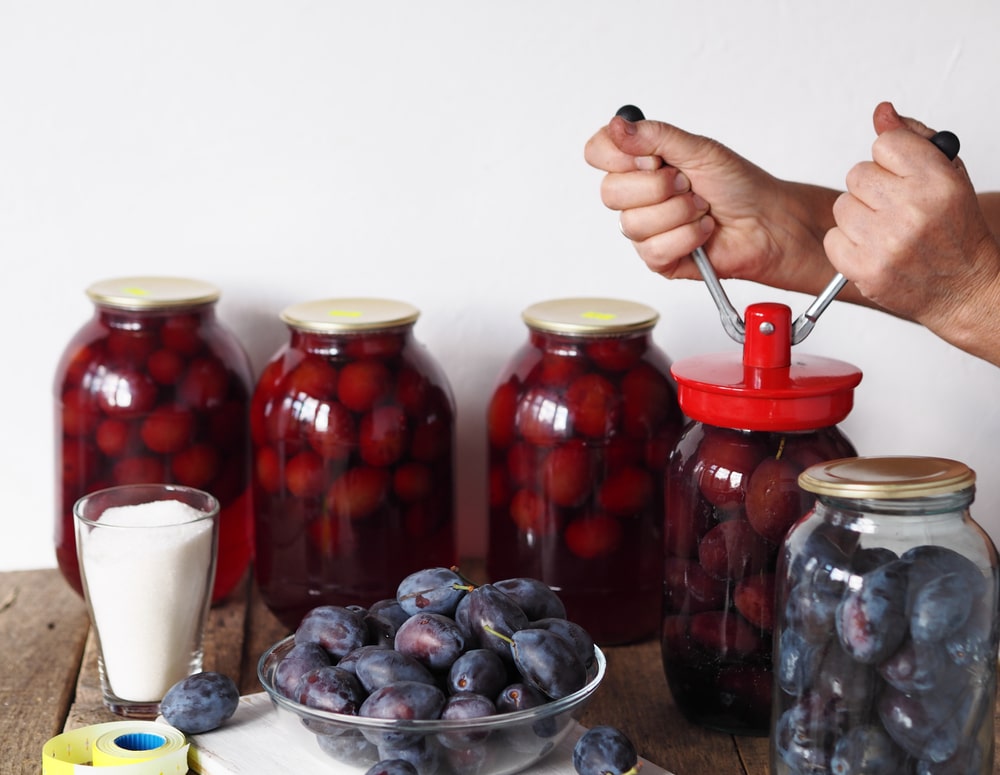
Unique Canning jars

The canning jars, the heart and soul of water-bath canning! These unique jars are intended for home food preservation, and the good news is that they may be reused indefinitely! They come in various sizes, allowing you to select the ideal one for your culinary masterpieces. You may reuse pint or quart-size jars compatible with two-part canning lids for acid foods treated in a water bath. Although there is a minor increase in the danger of breaking with reused jars, it is normally not a serious worry.
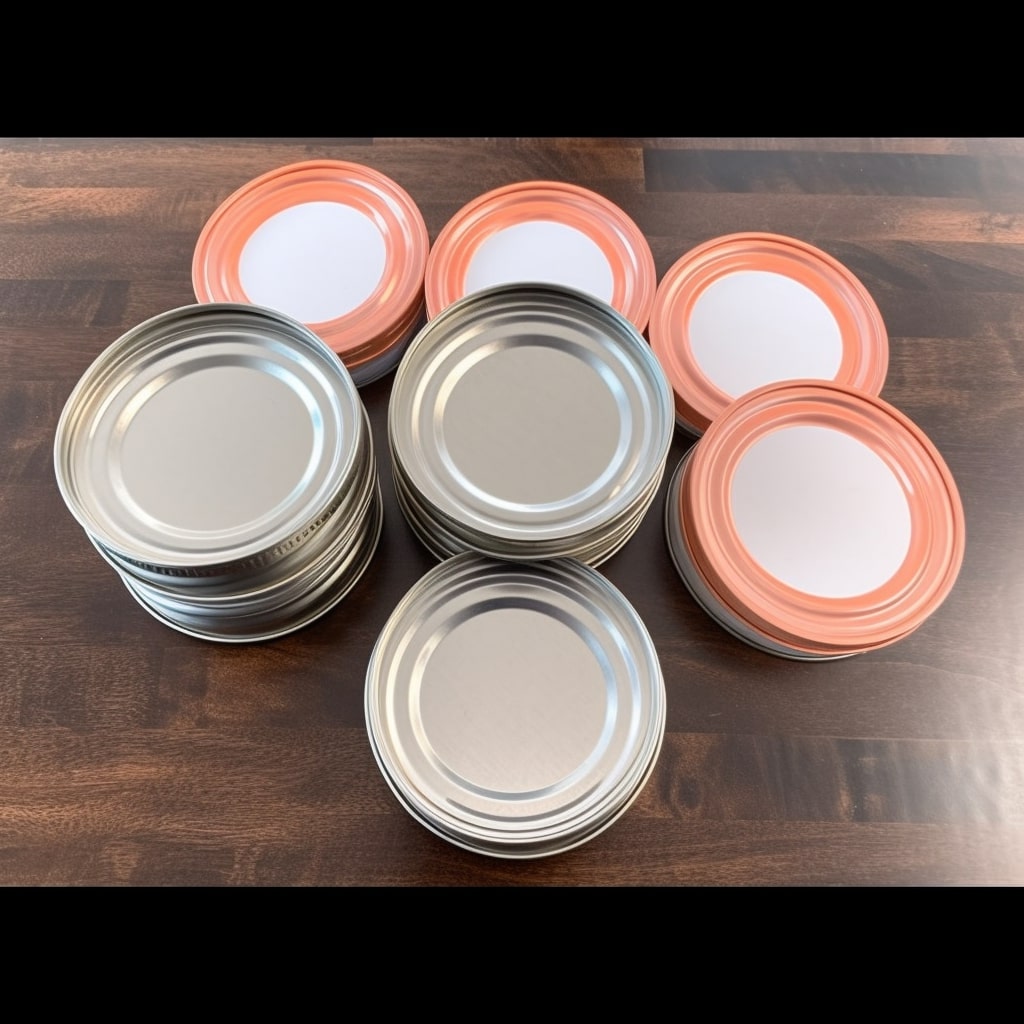
Flexible Canning lids
The two-part canning lids make a solid seal for your preserved foods possible. These two pieces are a ring and a flat lid. Remember that the rings are reusable so you may use them again for subsequent canning projects.
The flat lids, however, are a one-time purchase. The sealing substance on the lid provides a reliable seal. However, it loses its integrity after usage. Use a fresh lid for every canning session to ensure success with your future canning recipes. Stock up on additional lids to support your canning endeavors.
Canning Funnel
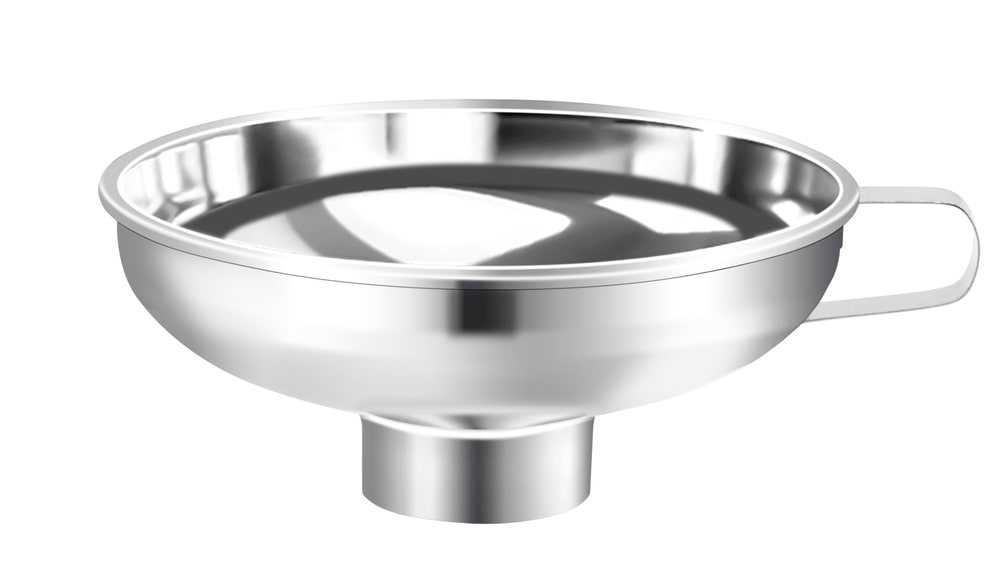
The canning funnel is a handy device that will simplify your life during water-bath canning. Its extra-wide aperture makes filling jars with hot substances possible without worrying about messy spills. Don’t worry if you don’t have one. You may create your homemade funnel by chopping off the top of a big plastic bottle or milk jug. This original method guarantees that your canning projects will go off without a hitch!
Jar Lifter
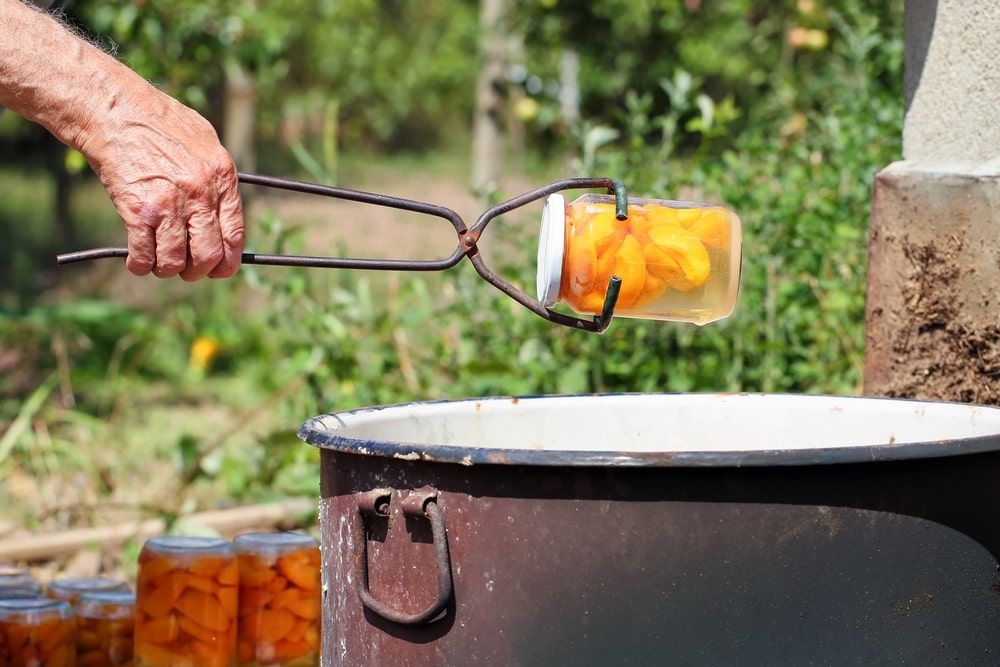
Handling hot jars during water-bath canning can be dangerous, but don’t worry! Here to save the day is the clever jar lifter! Regardless of size, this clever device makes it simple to lift those hot jars into and out of the boiling water canner.
What if, however, you still need to possess a jar lifter? Not to worry, we also have a hack for it. Simply create a fast change using a standard set of kitchen tongs. Each of the tongs’ grasping ends can be secured with 6–8 rubber bands; voilà! Now that you have tongs with adequate grip, you may handle those slippery jars without worrying about getting burns on your fingertips.
Step-By-Step How To Can Without a Canner
The first step to start the water bath canning process is to fill the pot half full with water. Then, place it on the stovetop until the water is simmering and has reached 180 degrees. Keep this temperature and the simmering until the jars are filled and in the pot.
Assessing the State of Your Jars, Bands, and Lids
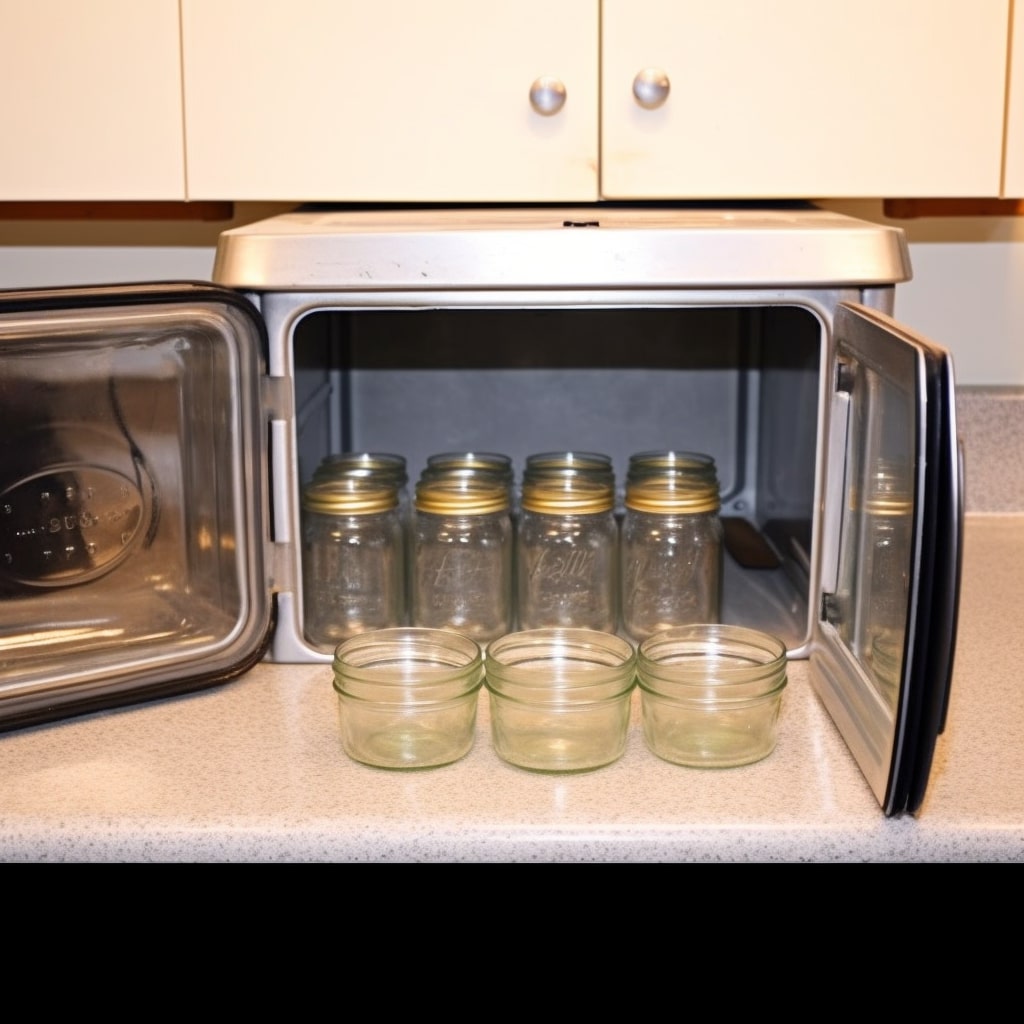
Ensure all your equipment is in excellent working order before starting your water bath canning experience. Check each jar, band, and lid thoroughly for any indications of chips, cracks, or dents. Any broken containers should be stored aside for recycling since safety comes first.
Ready to meet your dream canning squad? The jars, bands, and lids that pass the test with flying colors should all be gathered. Let’s give them a hot, soapy bath now to give them a pleasant, cooling bath. Ah, the delicious scent of cleanliness! Let them air dry to perfection once they’ve been thoroughly cleaned.
Warming Water and Your Canning Containers
Now let’s get things hot but in a good manner! Let’s boil your reliable saucepan on the burner softly by adding water to fill it halfway. 180 degrees Fahrenheit, or around 82 degrees Celsius, is what we’re going for. Keep an eye on that simmer like you would a symphony simmering!
The star of the show is revealed: your priceless jars! Carefully place them in the saucepan and let them soak in the heated water. This quick preheating process ensures that your jars won’t explode when you subsequently fill them with delicious, piping-hot preserves. However, the lids and bands should be noticed because they can be cold at ambient temperature.
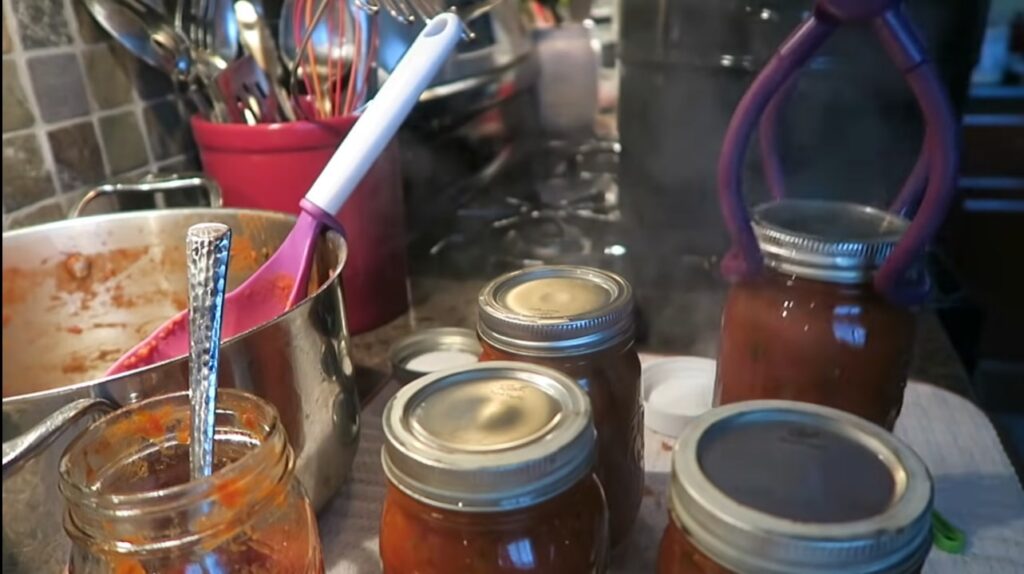
Filling Your Canning Jars
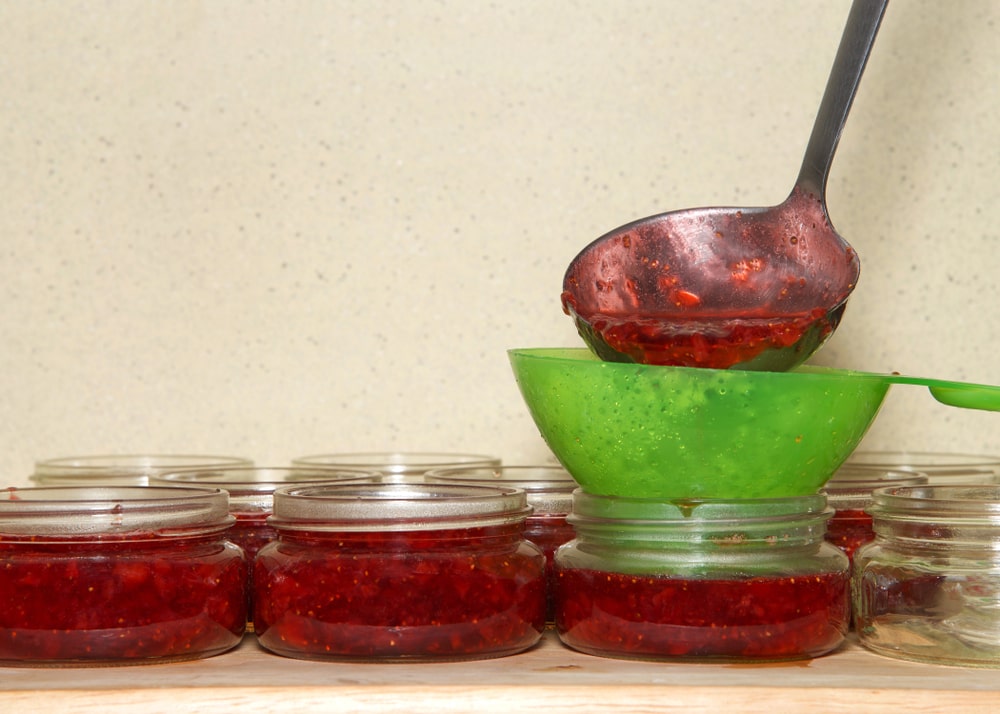
It’s time for the main event: stuffing those jars with deliciousness! Hold onto your aprons! When your perfectly prepared jars are ready, use canning tongs or a jar lifter to remove them from the kettle carefully. folks: safety first!
Now, the fun part begins! Gather your choice of high-acid foods – think vibrant fruits, luscious jams, tangy salsas, and zesty pickles like torshi for example. The possibilities are endless, just like your creativity! Use a handy funnel to channel all that deliciousness into your waiting jars. Fill them up, but remember, we need breathing space for a perfect seal. Grab your headspace tool, and voilà, just the right amount of room!
Attaching Canning Lids and Bands to Your Jars
In addition to being a delicious method to preserve the tastes of the season, canning your fruits and vegetables is also a fulfilling and sustainable habit. If you don’t have a canner, don’t panic; we’ll teach you how to get great results without one by using a big pot.
Let’s get going now! Grab the clean glass canning jars that will house your delectable creations first. Make care to wash and rinse them in warm, soapy water fully.
The canning lids and bands can now be added. These are necessary to seal your canned products tightly, keeping them secure and fresh for consumption. Make sure the flat lids are centered before placing them gently on top of each jar’s opening. After that, fasten them using the screw bands. Just snug up the bands to finger tightness; remember not to overtighten them.
Continue this process until all your jars are ready. Once you’ve filled them with your tasty treats, it’s time to move on to the next step.
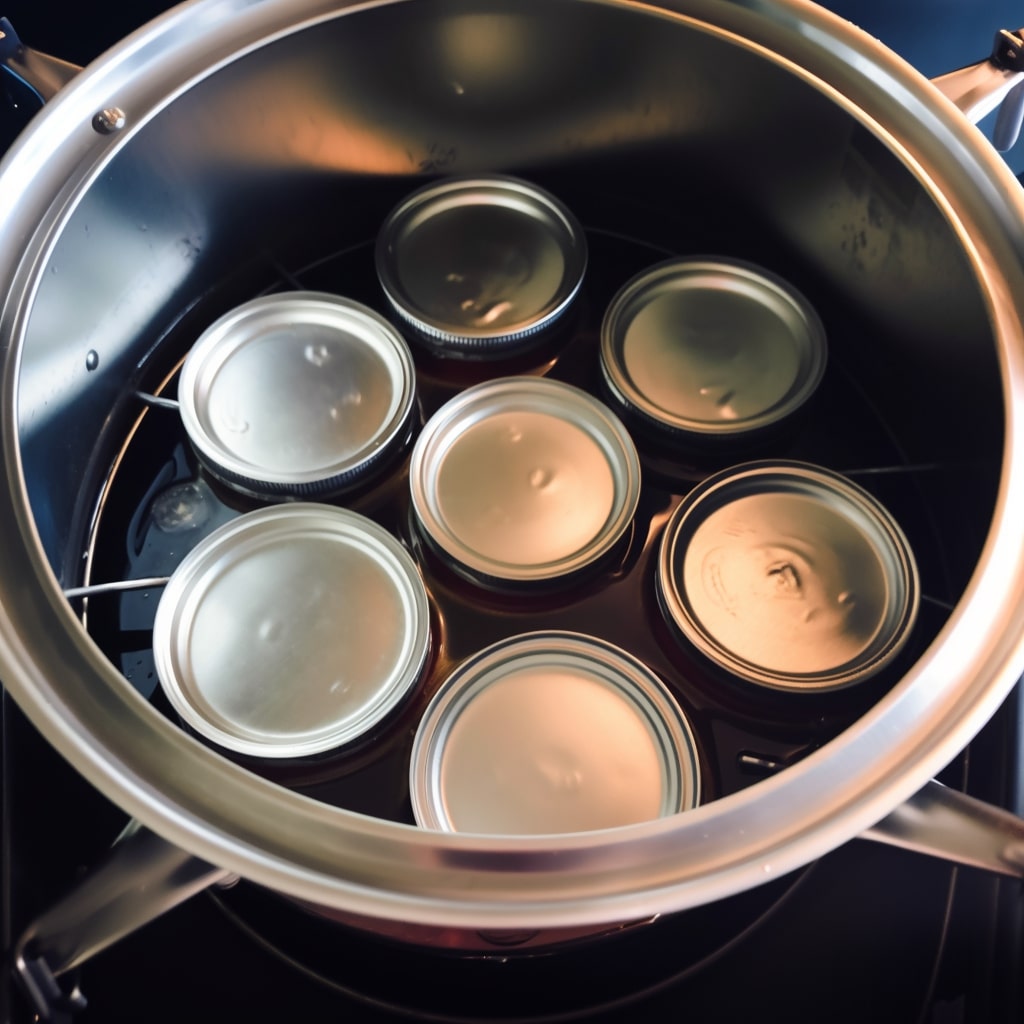
Processing Your Jars in a Spacious Pot
It’s time to process your filled jars in a big saucepan now that they are full of delectable delight. Pick a pot that comfortably accommodates all of your jars and has space for water to at least cover them by one to two inches. The jars need to be fully submerged in water to ensure proper sealing and preservation of the contents.
Make sure the jars don’t contact one other or the pot’s edges when you carefully set them in the bottom of the pot. The objective for all of your culinary endeavors is to provide a uniform cooking environment.
Put the pot’s cover on and increase the heat when all the jars are properly positioned. As instructed in your canning recipe, bring the water to a moderate boil while maintaining the heat setting. Be cautious to closely adhere to those instructions since the boiling time will vary based on the contents of your jars and your recipe.
Taking Your Jars Out of the Pot and Checking the Seals
Congratulations, you’ve finished processing your jars! It’s time to take them out of the pot and check the effectiveness of the magical sealing.
Turn off the heat and gently remove the pot’s cover before reaching for the jars. Give the jars about five minutes to sit in the pot. This procedure aids in preventing any abrupt temperature swings that can result in the jars cracking.
Use jar tongs or oven gloves to protect your hands as you carefully remove each jar from the pot after the brief resting period. To finish sealing and allow the jars to cool down gradually, place them upright on a soft cloth.
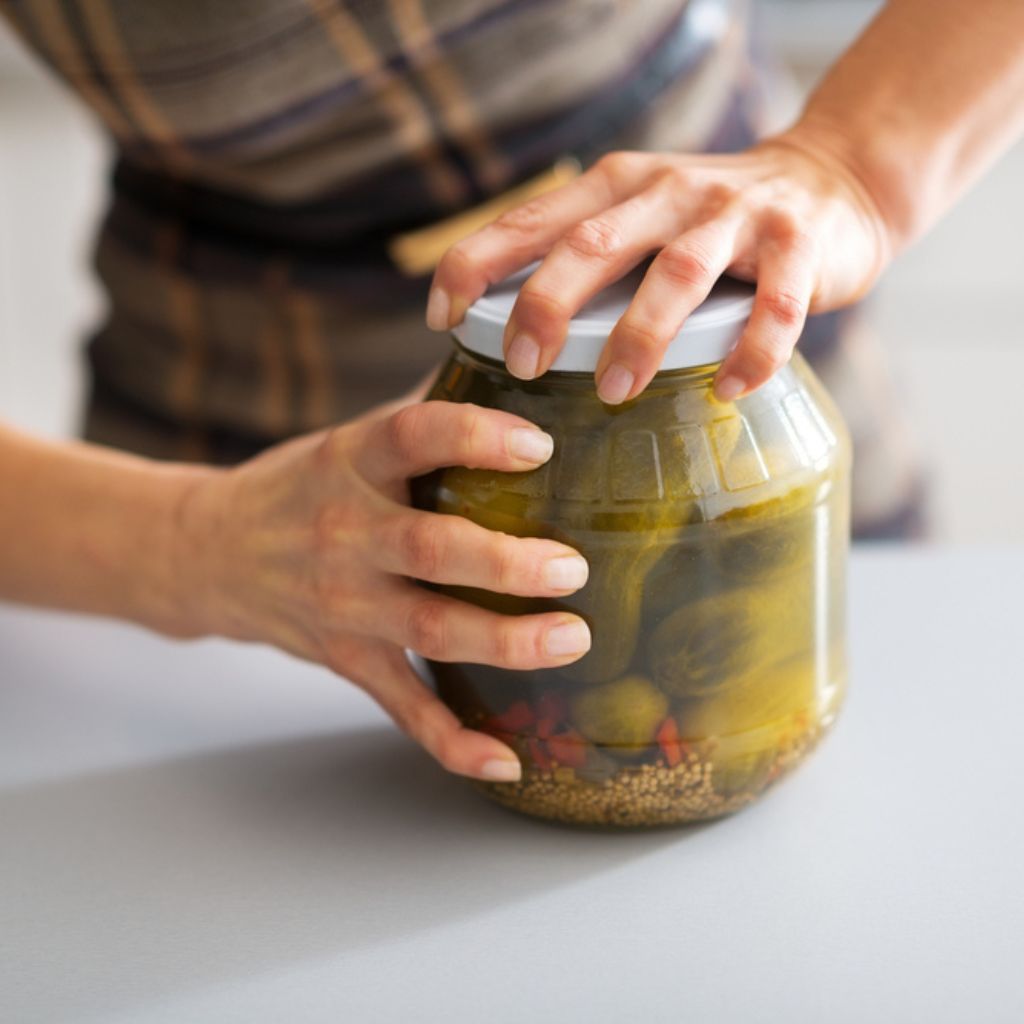
A well-sealed jar may be verified straightforwardly and satisfactorily. Gently push the middle of each lid after 12 to 24 hours. Keep an ear out for that satisfying “pop” sound, indicating the jar hasn’t been securely sealed. Don’t worry; by keeping the contents in the refrigerator, you may still consume them within a few days.
Remove the screw bands from the jar lids and attempt to lift them off as an additional test. Well done if they stay securely connected! You’ve just mastered canning, and your jars have properly sealed.
Your jars are now sealed and prepared for storage; keep them somewhere cold and dry. Your handmade treats’ quality can be preserved in properly sealed jars for up to 18 months! So enjoy the results of your effort, and remember to serve your loved ones some of your delectable dishes.
Safety First!
Canning is an incredible way to preserve food and stock up your pantry with delicious goodies! However, like with any kitchen activity, safety is of utmost importance. So, let’s go over some essential safety considerations to ensure your canning experience is enjoyable and trouble-free.
Know Your Canning Methods
Pressure canning and water bath canning are the two main canning techniques. Water bath canning is ideal for high-acid goods like fruits, pickles, and jams. However, low-acid foods like vegetables, meats, and soups must be pressure canned to guarantee safety. Always use the proper procedure for the product you’re canning.
Choose the Right Jars and Lids
Use the right canning jars and lids to keep your preserved food secure and fresh. Regular canning lids shouldn’t be reused since the seal may be compromised. However, there are a few exceptions that can be used again, such as rigid plastic lids made of Tattler or Harvest Right. If in doubt, it is advisable to use brand-new lids.
Invest in Quality Equipment
There are several fantastic alternatives to attempt water bath canning without a canner! Consider purchasing premium goods like the Ball Mason jars, renowned for their dependability and adaptability. Pair them with a Ball jar lifter with an ergonomic grip for simple and safe handling. Purchasing high-quality tools can guarantee that your canning endeavors are successful.
Conclusion
These ways demonstrate that you don’t need expensive equipment to enjoy handmade, shelf-stable pleasures, whether you’re a novice or an experienced canner searching for a more easy approach. You may boldly commence your canning adventure with just a few simple kitchen gear and a dash of ingenuity, assuring year-round pleasure of your garden’s abundance or seasonal products. So roll up your sleeves, gather your ingredients, and know you can preserve without a canner, stocking your cupboard with tasty delicacies for months to come.

![Top 5 Best Jar Opener for Seniors Elderly [Updated 2023]](https://manzanillanyc.com/wp-content/uploads/2023/07/Top-5-Best-Jar-Opener-for-Seniors-Elderly-Updated-2023.jpg)