Dehydrated fish is a great alternative if you’re a fan of seafood and want to keep the taste of fish for longer while retaining its nutritional worth. In this thorough instruction, we’ll go through how to safely dehydrate fish in an oven and a dehydrator step by step. We’ll also offer helpful advice to ensure your fish comes out dry, tasty, and shelf-stable. This post contains everything you need, whether you’re a seasoned food dehydrator or a novice!
Understanding Dried Fish: An Overview

Around the world, many civilizations still use dried fish as a time-tested preservation method. Removing the water from the fish is a straightforward yet clever method that successfully prevents the formation of bothersome germs and microbes that might contaminate the flesh. The outcome? A delicious and durable treat that is ideal for food lovers with a sense of adventure!
The appeal of drying fish is that it keeps it fresher longer without refrigeration. The concerns about the fish spoiling before you can eat it are over! Fish may be dried so that you can enjoy the taste for a much longer period, whether it’s a plentiful catch or a beloved marine specialty.
Dried fish isn’t your typical fishy snack, though. Oh gosh, there are so many different kinds of it! Imagine an entire fish in fillets or even in tiny bite-sized bits. Countless options make it a genuine gastronomic experience waiting to be discovered.
The finest part is that the drying procedure transforms the fish’s flavor and texture into something exceptional. Every mouthful boasts a strong and delicious blast of flavor as the tastes grow more concentrated. Imagine how satisfying it would be to sink your teeth into something harder and chewier than fresh fish.
Selecting Fish for the Dehydration Process
Dehydrating can be the best option for you if you want to start a fun voyage of fish preservation! But wait, before you start, let’s go through the specifics of choosing the greatest fish for the best outcomes. Prepare to discover the magic of transforming recent captures into delectable, durable dried fish that will keep you hooked. Let’s get going!
Go Lean, Not Fatty
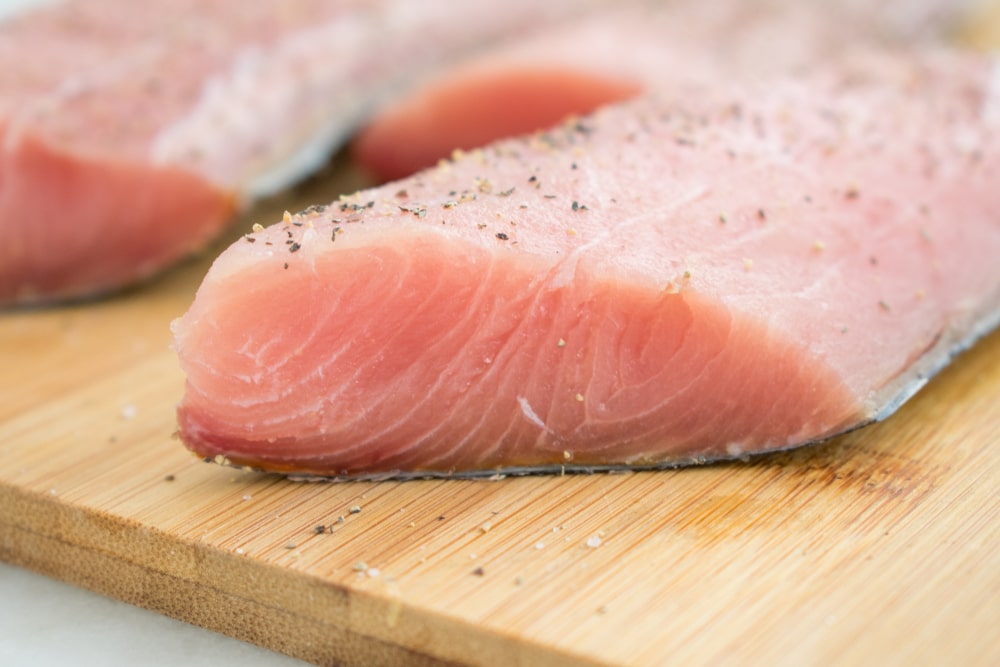
To guarantee that your dried fish stays in top condition, use lean fish instead of its fatty relatives. Despite the fact that fatty fish may be delectable, their oils might be the culprit for spoiling during the drying process, making them go bad rapidly. Therefore, let’s focus on leaner choices that guarantee a longer shelf life and superior flavor.
Here are some fantastic options: Cod, Croaker, Flounder, Grouper, Haddock, Halibut, Monkfish, Pollock, Rockfish, Sea Herring, Sea Trout, Smelt, Sole, Whiting, and tuna are some examples of fish in this category.
Flavorful or Mild – Your Call
When it comes to maintaining taste, the drying process is highly flexible. Some fish have an intense taste that makes them great at withstanding dehydration. On the other hand, milder fish also have their appeal since they have a delicate flavor that is as delicious.
Your taste for strong or delicate flavors is completely up to you. Whichever you choose, you can be sure that your dried fish trip will be nothing less than a culinary success!
Freshness Matters – Top Priority
Whether you’re cooking or preserving fish, freshness is the name of the game! For the best-dried fish, ensure your catch is as fresh as can be. Nothing beats the delight of working with fresh, quality seafood.
Prepare Your Fish with Care
Let’s get our hands dirty now! Spend some time attentively preparing your fish before starting the dehydration process. Carefully remove the guts, scales, and gills from entire fish or freshly caught fish. Consider using the butterfly cut technique to spread out tiny and medium-sized fish so they can dry more effectively.
It is absolutely up to you whether or not you debone. Select the approach that best matches your preferences and ease of use since both may provide outstanding results.
To Head or Not to Head
Keeping the head on adds charm if you’re dealing with very small fish. However, for fish longer than 8 inches or weighing more than half an ounce, it’s best to remove the head for improved drying.
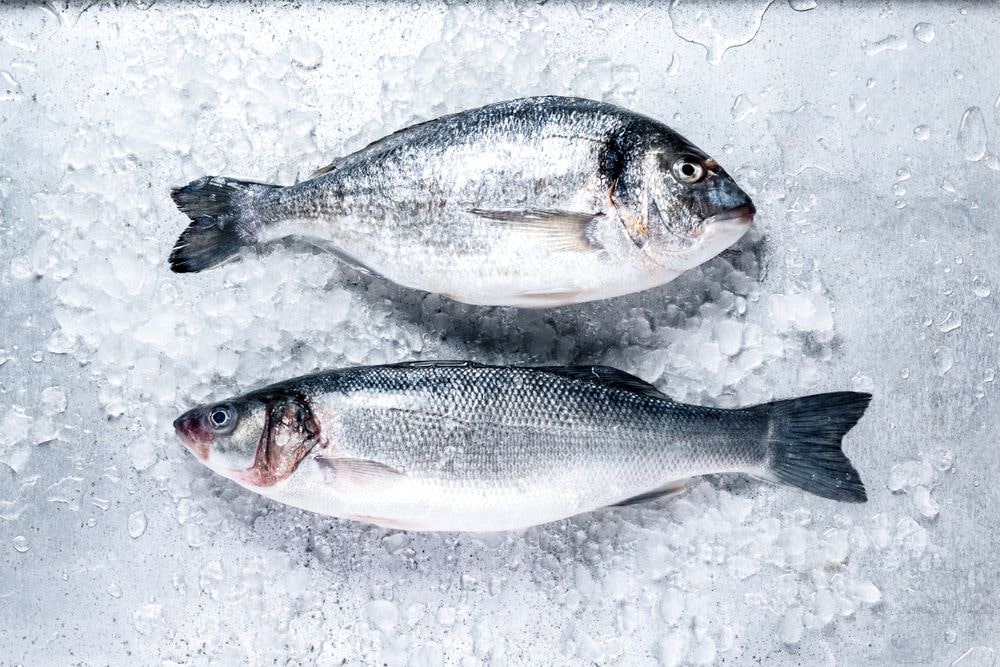
Fresh fish have:
- Bright, shiny skin.
- Clear eyes that aren’t cloudy, shrunken or sunk in.
- Faint to mild fishy smell.
- No dry, dull or loose scales.
Some notes to consider
- Choose the Right Fish: Opt for fish with lower oil content and a mild flavor. This ensures a pleasant taste and texture after dehydration. Great choices include tilapia, cod, haddock, trout, and snapper.
- Avoid High-Oil Fish: Avoid catfish, mullet, mackerel, whitefish, salmon, and sardines. Their higher oil content and strong flavors may not be ideal for dehydration, as they can intensify during the process, resulting in an overpowering fishy taste.
- Delicate Textures Matter: Some fish, like salmon, have a delicate texture and a greater moisture content. They could become chewy or leathery after dehydrating them. Preparing them using different techniques to preserve their suppleness and distinctive qualities is advisable.
- Slice Uniformly: For even drying, slice the fish into uniform thicknesses. This ensures all pieces dry simultaneously, preventing some from overdone while others are under-dried.
- Pre-Treat with Lemon: Consider soaking in little mild lemon juice before dehydrating to help reduce harsh smells and improve flavor. It’s a great technique to give the fish a zing of freshness.
- Marinate for Variety: Experiment with marinades to infuse your fish with exciting flavors. Try simple combinations like garlic, herbs, and olive oil or get creative with your favorite seasonings.
- Mind the Dehydrator Settings: Follow your dehydrator’s instructions and set the temperature according to the fish type and thickness. Proper settings ensure that your fish dehydrates safely and evenly.
Advantages of Not Dehydrating Frozen Fish
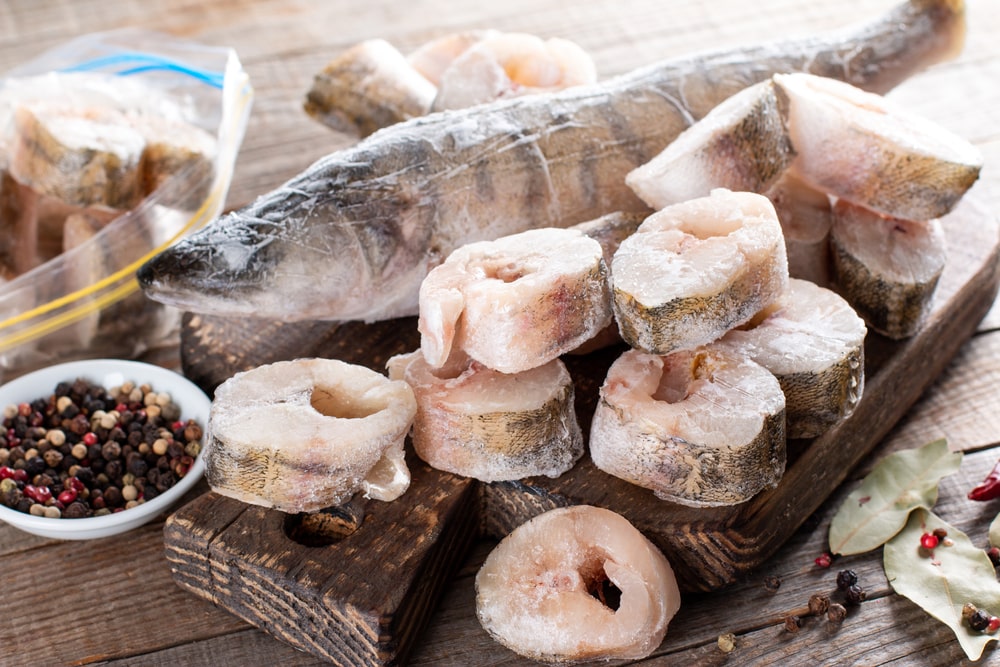
We’re delving into the interesting realm of fish dehydration today, but there’s a catch. Let’s discuss the reasons why there might be better ideas than dehydrating frozen salmon. I’m here to help you through this subject as your dependable cooking buddy!
You know, fish can be frozen to maintain freshness and lock in exquisite aromas and minerals. It’s crucial to realize that freezing might result in ice crystals forming inside the fish’s sensitive cells. The fish’s texture may suffer due to these tiny ice crystals puncturing the cell walls. That’s not what we want, oh no!
These minute holes might invite germs, an unwelcome visitor, to the seafood celebration! Those annoying microorganisms may exploit the damaged cells and render the fish unfit for human consumption. Definitely, something we want to avoid!
However, there’s still more! Those ice crystals have one more trick up their sleeves for when you opt to dehydrate frozen fish. During the dehydration process, they may thaw out and become water droplets. This not only prolongs the drying process but might also lead to uneven dehydration. And we’re all about getting the kitchen just right, huh?
Pay attention to the importance of flavor and scent! While freezing is a great way to preserve fish, it could change the flavor and scent. These taste distinctions may intensify when frozen fish is dehydrated, lowering the overall quality of the final product.
What can we conclude from all of this, then? It’s usually advisable to start with fresh, never-frozen fillets when dehydrating fish if you want the best results. By doing this, you can guarantee a smoother and safer route to your delicious homemade fish snacks.
A Step-By-Step Tutorial on Making Dehydrated Fish
Since ancient times, people have dried fish using traditional methods that use the sun, salt, air, heat, and smoke. Air drying is one of these techniques and is frequently employed in conventional fish drying procedures. Fish must first be prepared as previously indicated before being air dried. Then, just hang the fish slices in clean and well-ventilated places, such as a specialized drying rack or an outside clothesline.
However, thanks to the practicality of current technology, you may still appreciate the classic flavor of dried fish using a dehydrator or your oven. These choices allow for a speedier and more precise drying process while maintaining the beloved authenticity of flavor.
Therefore, learning the art of drying fish may provide tasty and satisfying results, whether you use the tried-and-true air-drying method or pick a more contemporary way. Prepare to enjoy traditional tastes with a dash of modern convenience!
Dehydrator Drying

Let’s dive into the step-by-step process of dehydrating your fish to perfection:
Step 1: Prep and Rinse
Make sure your fish doesn’t smell fishy before cooking it because it might mean it is spoiled. To make sure everything is properly clean and prepared for dehydration, rinse it under cold running water. To get the greatest results, it must be patted dry with paper towels to eliminate extra moisture.
Step 2: Slice and Dice
Slice your fish or fillets into 14 to 3/8-inch thick pieces at this point. To promote even drying, maintain homogeneity in breadth and thickness. The exciting next step will be accomplished by placing the strips in a baking dish.
Step 3: The Magic of Salt Marinade
You’ll need a lot of salt to keep any unwelcome microorganisms at bay while the food is drying. Keep it straightforward with salt, or season it with your preferred herbs and spices. You have a choice! For best results, use the salt marinade mixture supplied and marinate your fish for 4–12 hours in the fridge.
Step 4: Load Up the Dehydrator
Once your fish has soaked up all the delicious flavors from the marinade, it’s time to load up the dehydrator trays ready for dehydration process. Pick up each piece, allowing any excess marinade to drip off, and pat them dry with a paper towel. Lay the strips on the trays, ensuring they don’t touch each other. This arrangement ensures even airflow, promoting consistent drying.
Step 5: The Waiting Game
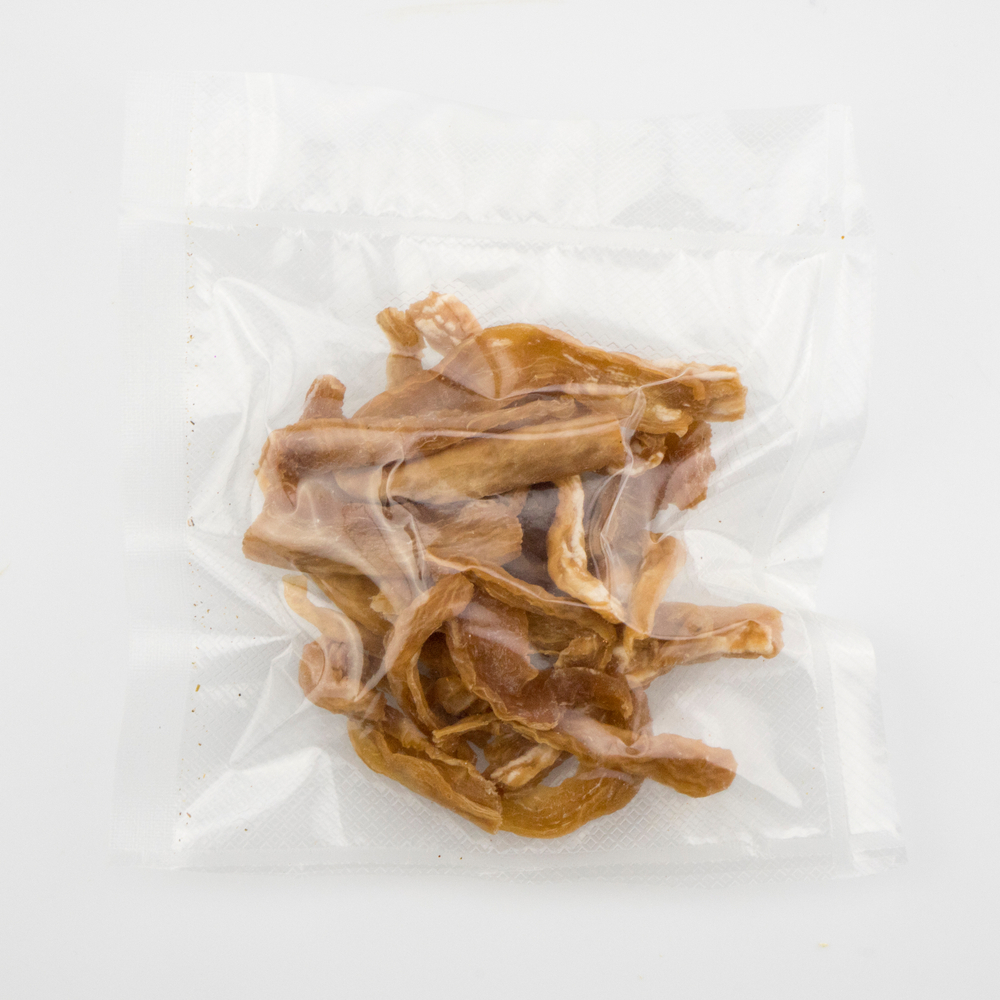
Depending on variables like humidity, strip thickness, and the quantity of fish in the dehydrator, the drying time may change. Typically, it might take up to 10 hours for your fish to dry perfectly.
However, watching your fish as it dries is the best way to know when it’s ready. Look for indications of stiffness, total dryness, and flexibility. Continue the drying procedure if there is any remaining moisture. On the other hand, if the fish breaks apart when bent, you could have overdried it.
With the dehydrator doing its magic, your kitchen will be filled with delightful aromas, and soon you’ll have a batch of mouthwatering dried fish strips, perfect for snacking, adding to salads, or rehydrating for stews and soups.
Oven Drying
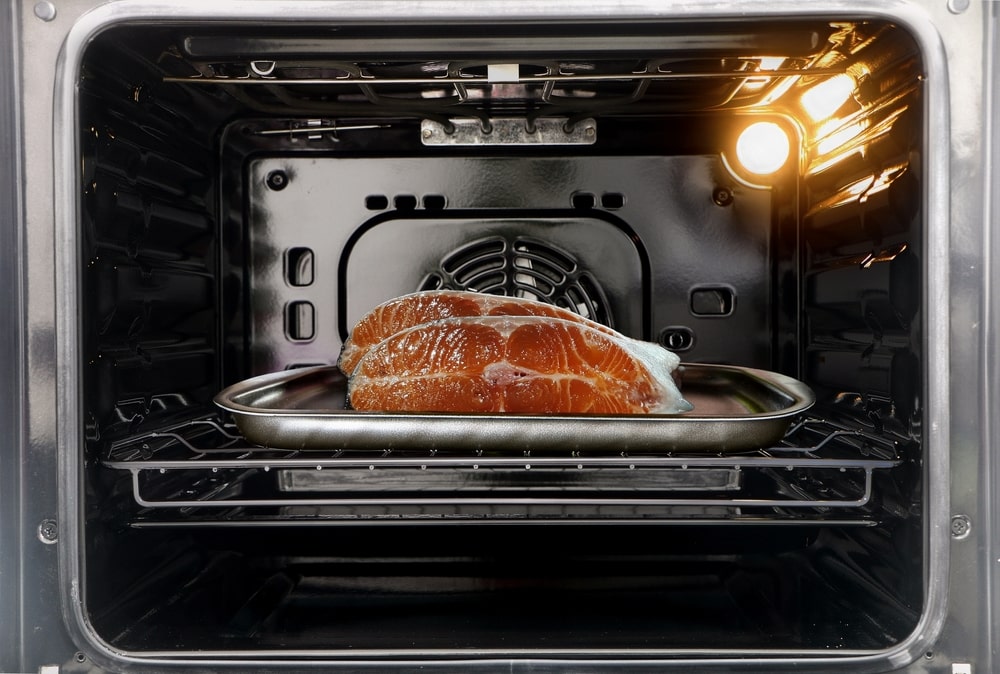
If you’ve mastered using a dehydrator, you’re in for a treat, as the initial steps are similar. So, let’s dive in and discover the secrets to perfectly dried fish!
Step 1: Prep and Marinate
Ensure your fish is chopped into uniformly spaced strips before we start to ensure equal drying. To improve the taste and preserve the fish, use a salt marinade. Use your imagination to add herbs and spices to the fish to give it delicious tastes.
Step 2: Grease the Oven Rack
To prevent your precious fish from sticking, give your oven’s top rack a gentle coat of grease or use cooking spray. This small step goes a long way in ensuring easy removal and a delightful end result.
Step 3: Lay It Out
The fun part is about to start! Arrange your marinated fish strips on the oven rack that has been oiled. Before putting them in the oven, ensure they have stopped dripping to ensure a uniform and effective drying process.
Step 4: Time to Set the Temperature
For optimal results, set your oven to a temperature of 145 degrees Fahrenheit. If your oven doesn’t go that low, don’t fret! Choose the absolute lowest temperature available and embark on this culinary adventure.
Step 5: The Cracked Oven Door
Here’s a little trick to elevate your drying game. Leave the oven door slightly cracked open during the process. This allows proper air circulation and helps the moisture escape, leaving you with perfectly dried fish.
Step 6: Patience and Precision
It’s now time to practice some patience. Give your fish two hours to dry at 145 degrees (or the lowest setting on your oven). After the first phase, you may lower the temperature for the remainder of the drying time to 130 degrees. Focus on your fish and strive for the optimal consistency specified in Step 4 while you cook it.
Step 7: The Reward
You’ve successfully oven-dried your fish, preserving its delectable flavors for future enjoyment. But remember, the journey doesn’t end here. Proper storage is key to keeping your dried fish fresh and free from bacteria growth.
When your fish is prepared, keep it in an airtight, moisture-resistant container in a cold, dry location. Keeping it away from too much moisture helps preserve your tasty product in top shape for longer.
There you have it, then! Allow your sense of adventure in the kitchen to guide you, and don’t be afraid to try out new marinades and tastes. Take advantage of this lucrative method for preserving your fish, and before you know it, you’ll be experimenting with different recipes and delighting your loved ones with your delectable dishes.
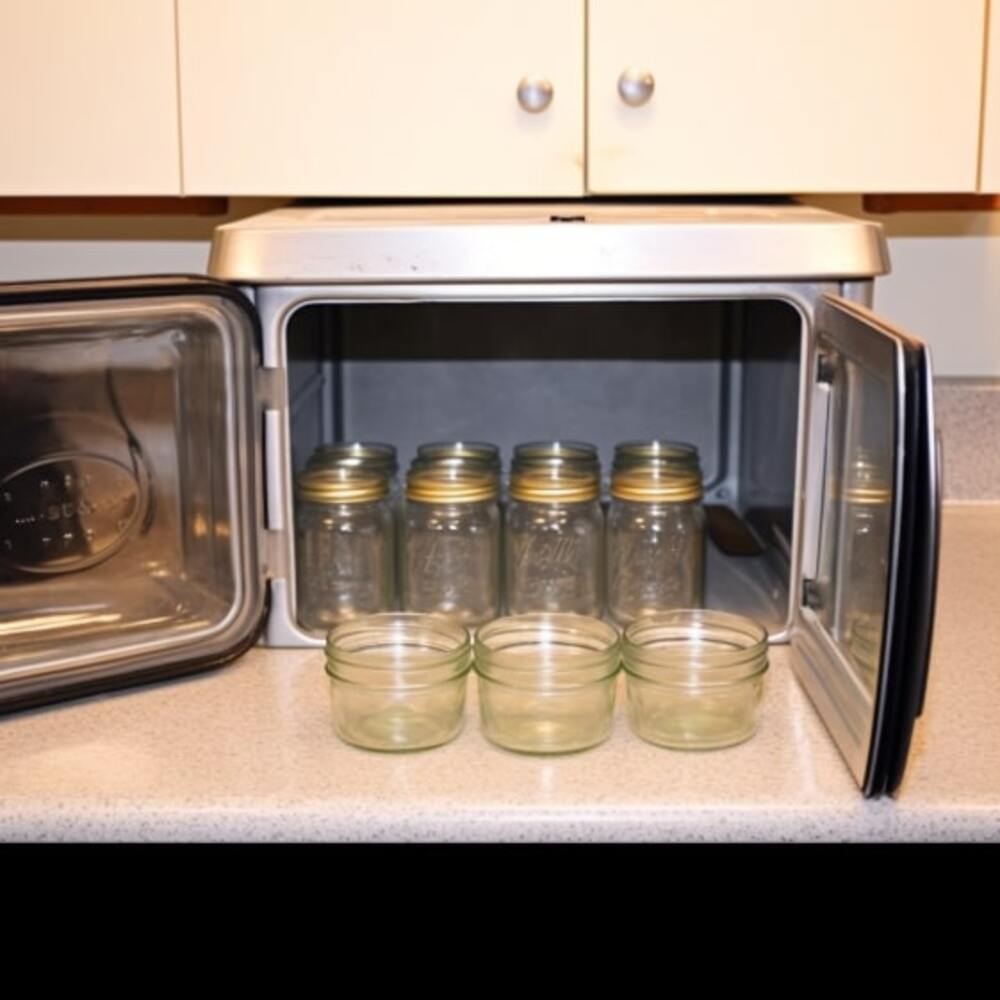
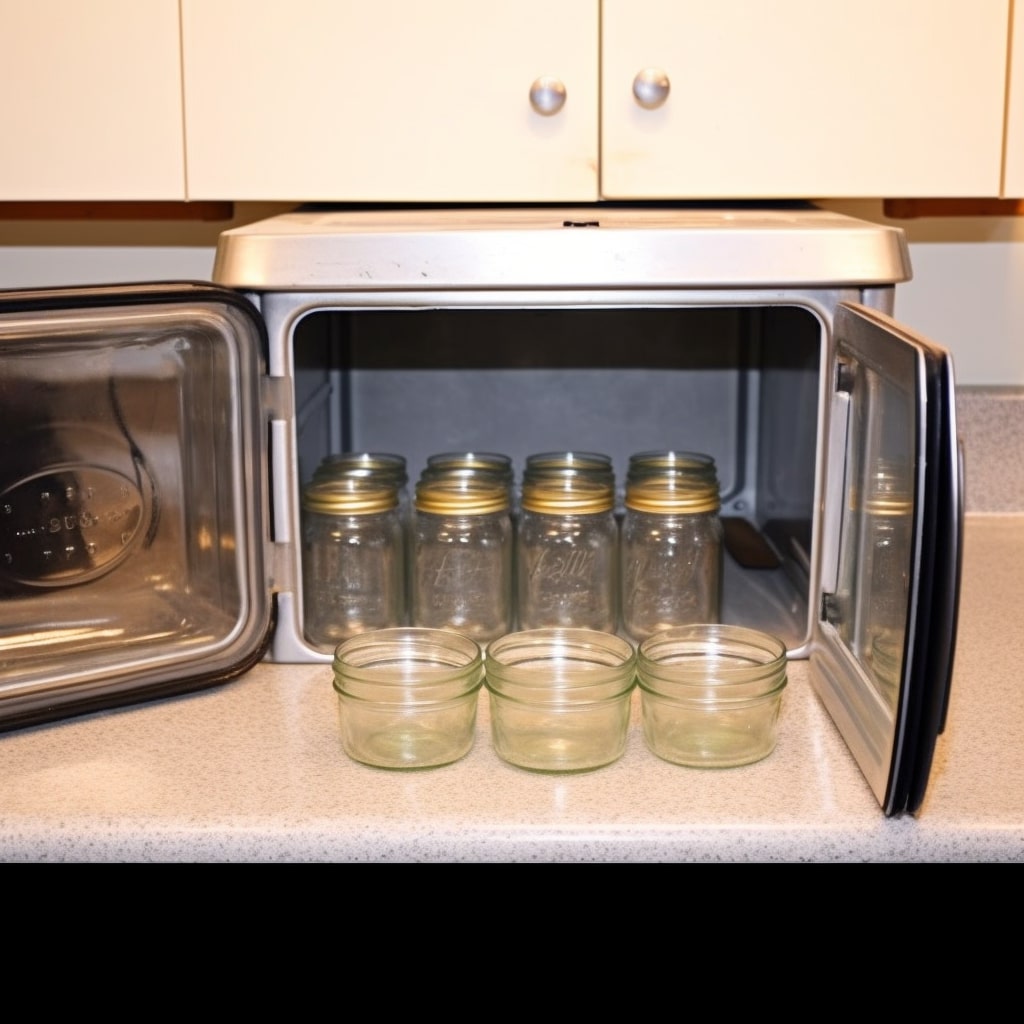
Preserving Dried Fish Using Vacuum-Sealer Bags
Looking to stock up your pantry with delicious, ready-to-eat options for those busy days or when the store isn’t within reach? Well, we’ve got just the solution for you – vacuum-sealer bags! Let’s dive into the steps to ensure your dried fish stays fresh and tasty for the long haul.
Step 1: Gather Your Supplies
To get started, you’ll need a few 100cc oxygen absorbers and quart-size vacuum sealer bags. These absorbers will significantly increase the shelf life of your dried fish and prevent it from going bad. You are now prepared to preserve your catch.
Step 2: Load and Prepare the Bag
Your priceless dried fish should be carefully placed into one of the quart-size vacuum sealer bags. Be careful to leave room at the top so that it may be sealed afterwards. The expert advice is to place a 100cc oxygen absorber inside the bag. By taking out any extra oxygen, preventing rotting, and keeping your dried fish as fresh as the day it was caught, this small additive will work its magic.
Step 3: Position and Smooth
Place the bag’s top edge in the middle of the vacuum sealer’s oval chamber with the dried fish and oxygen absorber inside. Give the contents a quick smooth before securing the lid. This step is essential for avoiding bag punctures and creating a tight closur
Step 4: Seal the Deal
It’s time to formally close the deal! Your vacuum sealer’s lid should be tightly clamped closed. Press the “vacuum and seal” button right away to start seeing magic. Your vacuum sealer will effectively remove the air from the bag in seconds, leaving your dried fish securely sealed and prepared for lengthy storage.
Step 5: Patience Pays Off
Your handy Foodsaver will automatically transition to the “seal” feature after vacuuming. Just be patient and wait for the red light to blink; that will let you know the sealing is complete. Congratulations, the dried fish has been safely wrapped and is ready for long-term storage.
You may relax knowing that the dried fish in these vacuum-sealer bags will be kept fresh and flavorful for a long time. This approach has you covered whether you’re putting up a well-stocked pantry, ready for unexpected situations, or just want to enjoy your preferred seafood treat anytime you want.
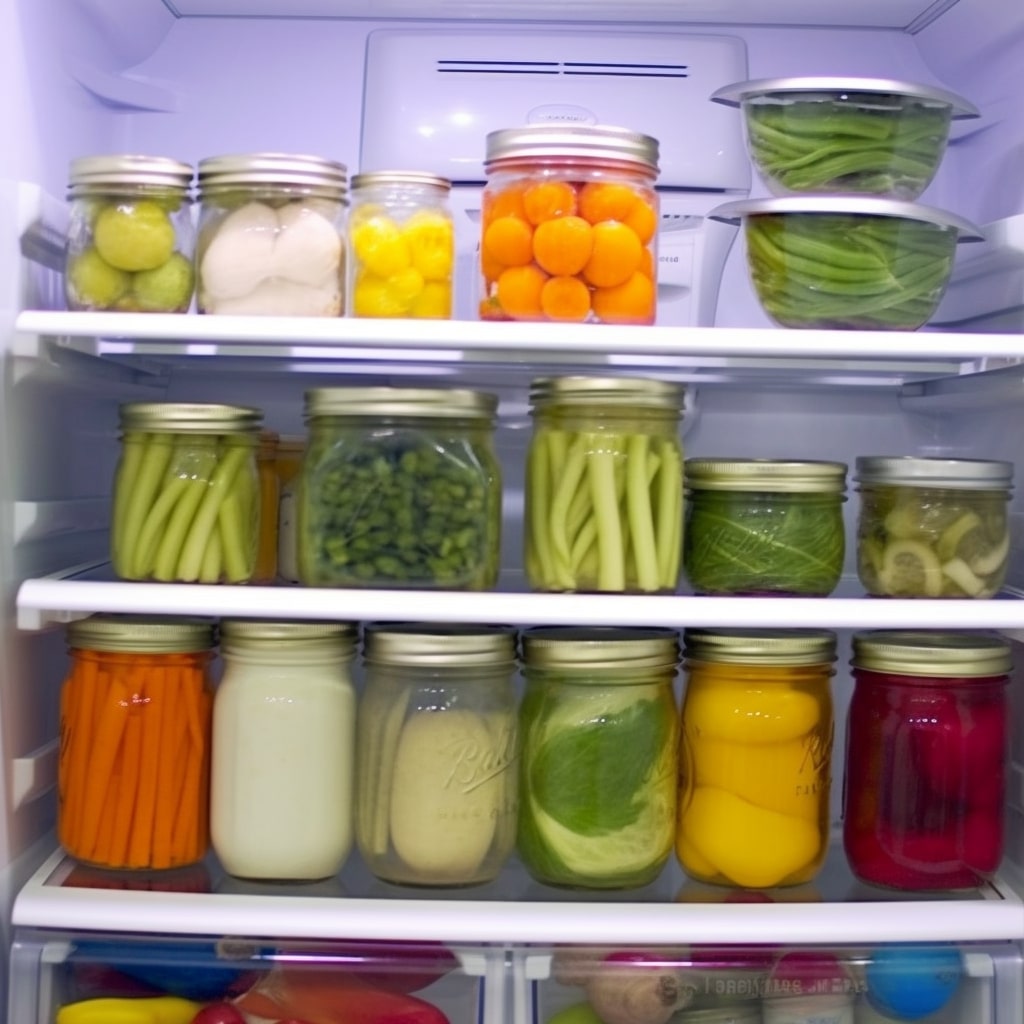
Shelf Life of Dehydrated Fish: How Long Does It Last?

One of the main reason why we dehydrate food is for the shelf life, for more detail, take a look here: how long do dehydrated foods last; and for particular shelf life of dehydrated fish, we have all the juicy information for you! Depending on how you maintain it, dried fish may be your dependable ally for months or even years when stored properly.
Your dried fish can stay happy and healthy at room temperature in an airtight container for up to a month. Fish will remain tasty in the refrigerator for up to six months if you choose to cool out (pun intended) with it. However, there’s still more! Put it in your freezer for maximum preservation power, and you’ll enjoy its delicious flavor for a whole year!
The magic behind keeping your dried fish tasty and safe lies in a few simple yet essential tips:
- Remove Extra Oxygen: Place oxygen absorbers in your fish’s storage container to help them feel at home. Your fish will remain fresh and delicious thanks to these little miracles, which guarantee that the air within is exactly perfect.
- Cool Before Storing: Before putting the dried fish in the airtight container, let it cool for 30 to 45 minutes. We assure you that patience will go a long way toward maintaining the delicious taste.
- Keep It Short: Your fish becomes a moisture magnet once dehydrated. Keep it out in the open for a short time to prevent any glitches. Put it straight away in its comfy storage.
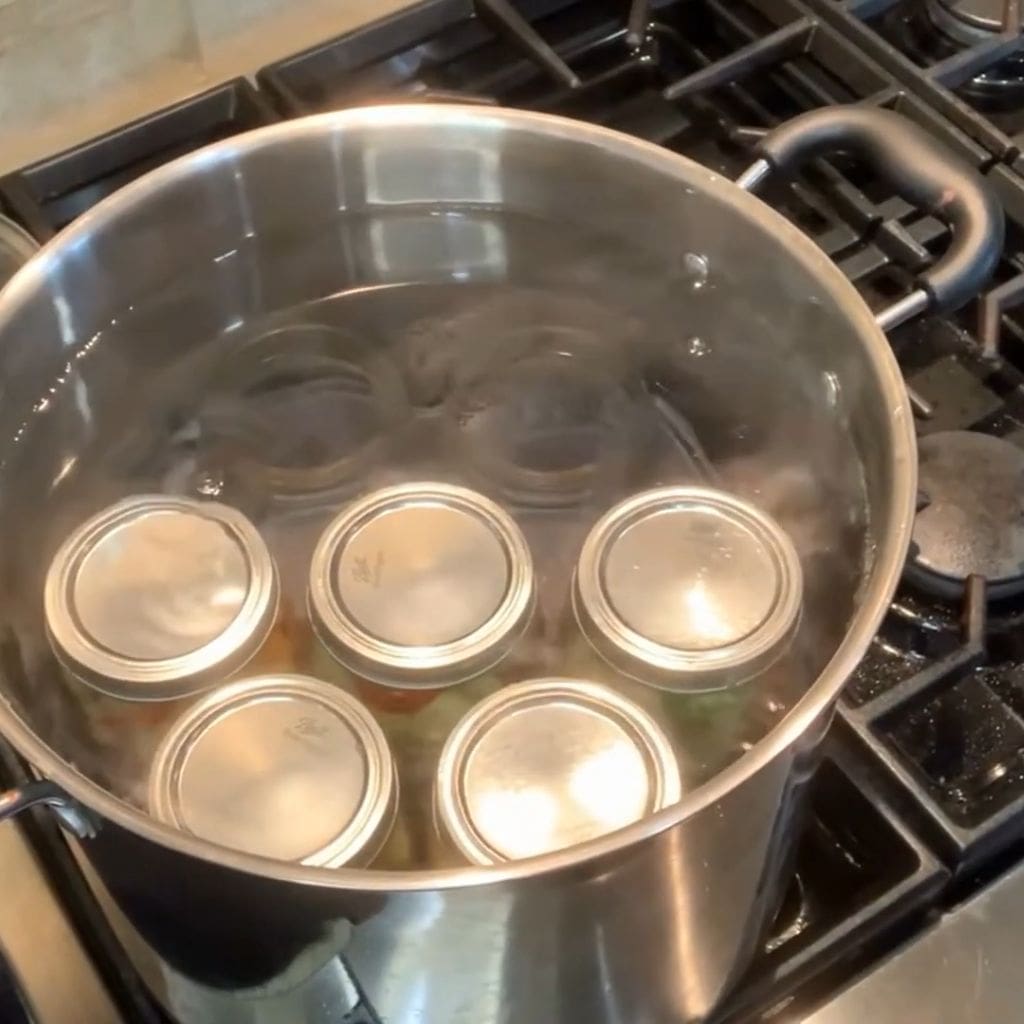
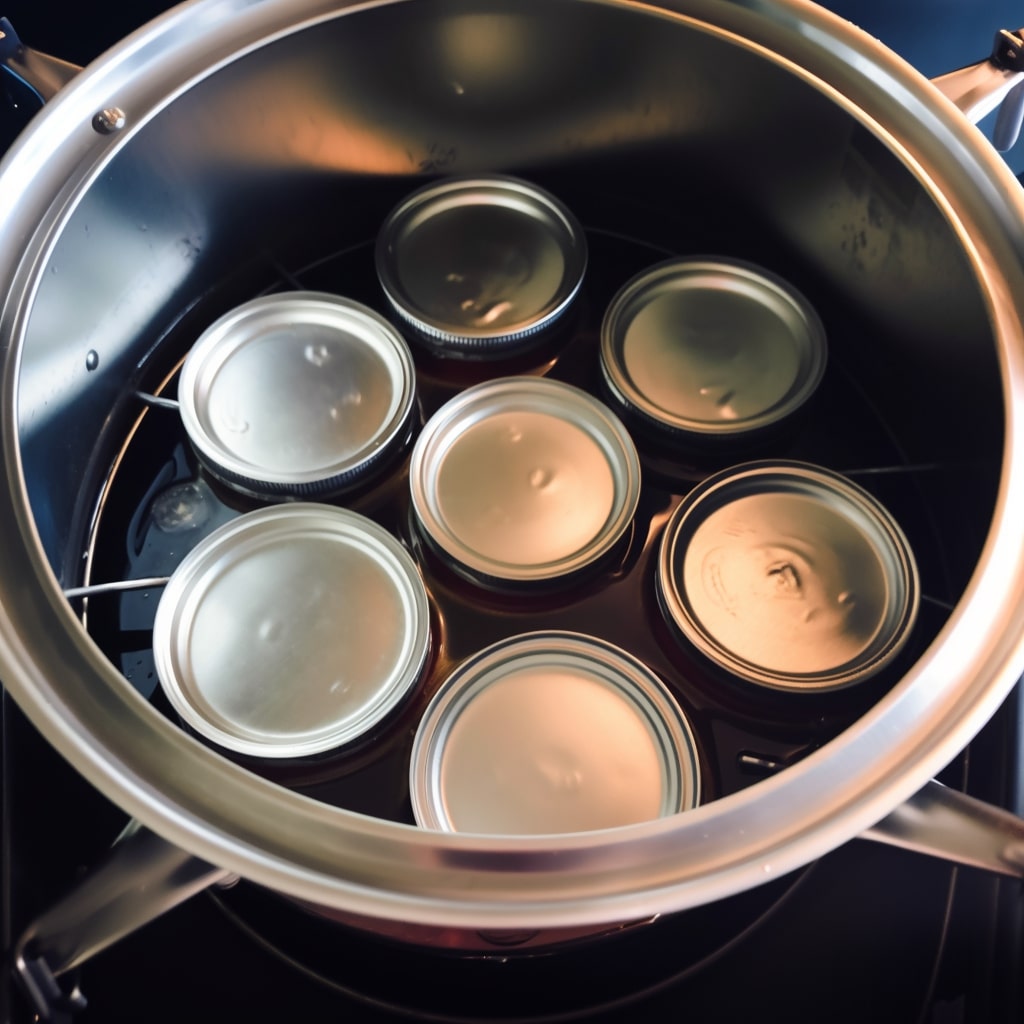
- The Mighty Vacuum Seal: Try vacuum sealing your fish in mason jars, Mylar bags, or vacuum sealer bags for an extended shelf-life feast. With this superhuman maneuver, you may extend the freshness of your fish and increase its flavor!
So whether you’re a devoted fish lover or just curious, dried fish is a great choice for a tasty and long-lasting snack. It’s a delicacy worth enjoying, whether you prefer it on the go on outdoor excursions or as a useful addition to your pantry.
Handy Tips for Dehydrating Fish
Now, we will provide you with valuable tips and techniques to ensure successful fish dehydration. Get ready to explore the dried fish and take your culinary skills to the next level!
Optimal Results: Dehydrate Fish at Low Temperatures
You’ve come to the correct spot if you want to safely and deliciously preserve your favorite catch. Drying the fish at a low temperature is one of the keys to effective fish dehydration, and we’re here to explain why it’s crucial for the greatest outcomes.
It’s not simply a matter of taste; drying fish at a low temperature protects you and your family against dangerous foodborne diseases. When you dehydrate fish at a low temperature, you prevent the formation of dangerous germs. Nobody wants food poisoning as a side dish, right?
Keep in mind that slow and steady wins the race when dehydrating fish. Low temperatures guarantee the moisture is carefully removed, conserving all those amazing aromas and nutrients while resisting the microorganisms that could turn your fishy delicacy into an unsavory tragedy. So, go slowly and enjoy the journey!
Monitoring the dehydration process is essential at all times. By carefully monitoring the drying process, you can prevent the possibility of fish spoilage. Patience is a virtue; in this instance, it helps preserve taste!
While talking about temperatures, the best setting will depend on the dehydrator you have. This is why it’s a good idea to consult the machine’s dependable instruction handbook frequently. You may follow its instructions to find the ideal temperature range for your fishy treats.
Top Choices for Storage Containers
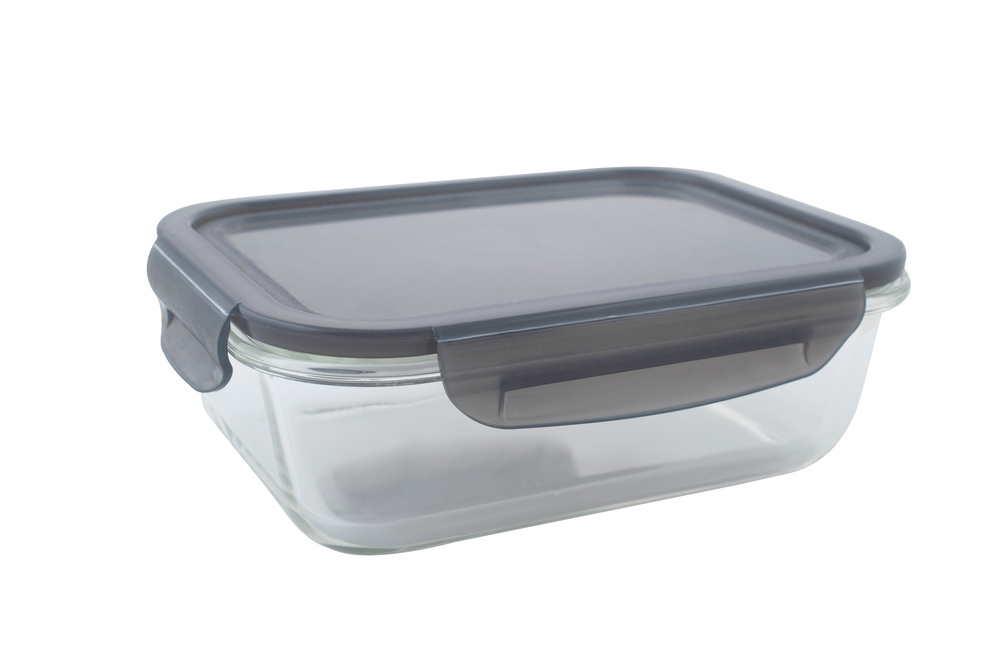
Choose airtight and moisture-proof containers to keep your fishy treats fresh and available for consumption whenever you like. These practical storage options not only assist in preserving the flavor of your dried fish but also aid in keeping it fresher and longer.
The deliciousness and moisture that may cause degradation is kept out thanks to the airtight containers’ barrier against the environment. This guarantees that your dried fish will remain flavorful and crispy for your upcoming snacking session or meal preparation.
The texture and flavor of your valued fish treats won’t be compromised by any unwanted moisture. Thus, moisture-proof containers are also crucial. Your dried fish will be a great treat to taste if you control excess moisture and maintain the ideal ratio of crispness and flavor.
Cleaning Your Dehydrator After Drying Fish
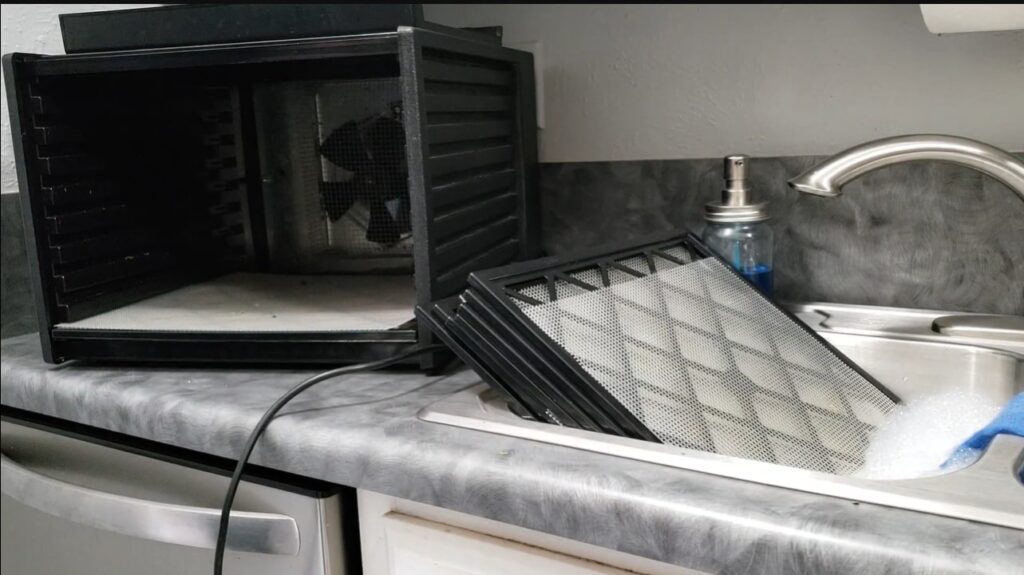
Let’s talk about the value of thorough cleaning so that your dehydrator remains in excellent shape and your future dehydrated treats remain tasty and safe.
Follow these easy procedures to maintain your dehydrator after drying fish:
- Unplug the Dehydrator: Safety first! Before you begin the cleaning process, make sure to unplug the dehydrator to avoid any accidents.
- Remove all the fish: Take dried fish out of the trays. This step is essential to avoid any residue from contaminating the subsequent batch of food that you intend to dehydrate.
- Warm, Soapy Cloth to Wipe Down: Take a warm, soapy cloth and carefully clean your dehydrator. Any oils, tastes, or residue the fish may have left behind will be diminished.
- Rinse with Hot Water: Rinse the soapy residue after wiping down the dehydrator. This will leave your dehydrator sparkling clean and ready for the next round of culinary adventures.
- Ensure Complete Drying: Before plugging your dehydrator back in and preparing it for the next use, ensure all appliance parts are completely dry. Any lingering moisture could promote bacteria growth and compromise the quality of your dehydrated treats.
Some notes to consider
- Use an Airtight Container: To preserve the quality of your dehydrated fish, store it in an airtight container. This helps prevent the fish from absorbing any moisture, keeping it fresh and delicious for longer.
- Find the Perfect Spot: Pick a dry, dark place to store the container. This will further safeguard your dehydrated fish and maintain its texture and taste.
- Pat Dry with Care: Before starting the dehydration process, gently pat the fish dry using paper towels. This step ensures that excess moisture is removed, helping the fish dehydrate more effectively.
- Time for Total Dryness: Be patient and ensure the fish is completely dry before you begin dehydration. This will ensure consistent results and prevent any spoilage issues.
Conclusion
You’ve now mastered using a dehydrator and oven to dehydrate fish securely. You can confidently dry fish to perfection, prolonging its shelf life without sacrificing its flavor or nutritional value, by following our step-by-step instructions and putting the advice in this book into practice. To guarantee food safety, remember to select fresh fish, treat it with care, and maintain good cleanliness throughout the procedure. Dehydrated fish may be used to create tasty snacks, flavorful meal additions, or even heartfelt handcrafted presents.
FAQ
Here are some common questions about dehydrated fish guide that you might need to consider:
What’s The Difference Between Dehydrated Fish And Smoked Fish?
Fish may be preserved using two different methods: dehydration and smoking. Both techniques, albeit they employ distinct strategies, call for moisture removal.
In contrast to smoking fish, which includes subjecting it to either hot or cold smoke from a wood fuel source, dehydrating fish entails the opposite. Smoke enhances flavor and is a natural preservative by reducing moisture content and adding particular chemicals.
Can You Re-Hydrate Dried Fish?
A dried fish may be easily rehydrated. You should simply submerge dried fish in water for at least one night. During time, fish will absorb water, rehydrate, and prepare for consumption. It’s an excellent approach for restoring fish’s original flavor and texture after dehydration.


![Top 5 Best Jar Opener for Seniors Elderly [Updated 2023]](https://manzanillanyc.com/wp-content/uploads/2023/07/Top-5-Best-Jar-Opener-for-Seniors-Elderly-Updated-2023.jpg)


2 thoughts on “Dehydrated Fish Guide – How To Dehydrate Fish In Dehydrator And Oven Safely”
Very much thanks, it is a great help me since I could clear few doubts in the process. I’m expecting to install a dehydrating plant within few days.
I am so glad to here that from you Anil <3 Thanks for having spent time reading our guides