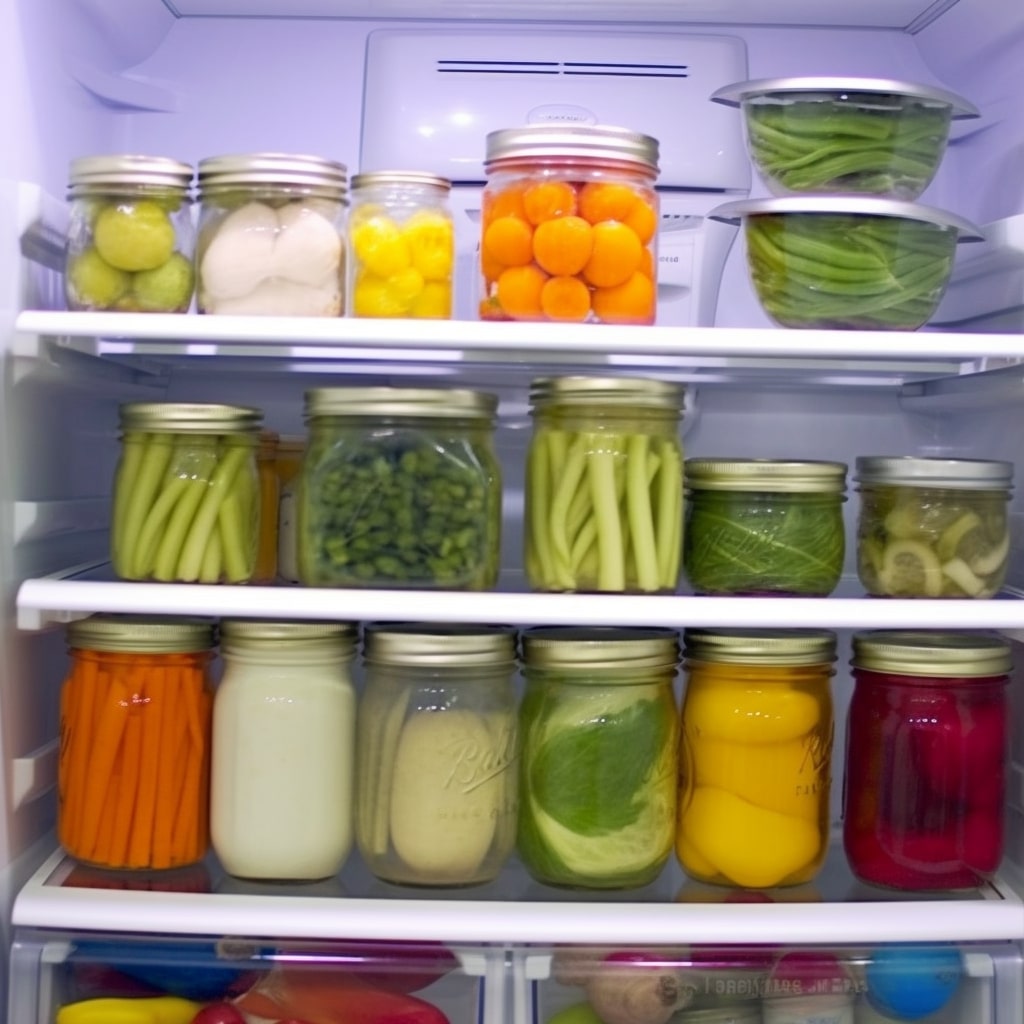
Canning jars are the containers in which we store our handcrafted treasures, and traditionally, boiling has been the preferred method for sealing them airtight. However, new canning standards have recently developed, giving alternate methods for sealing canning jars without boiling.
This post will look at these novel ways for how to seal canning jars without boiling safely and successfully. Ever get bored of traditional canning process? Try out these methods for interesting experience.
Alternative techniques for sealing canning jars without boiling
Here are the brief ways you should consider for vacuum sealing:
- Vacuum sealing
- Wax sealing
Vacuum Sealing
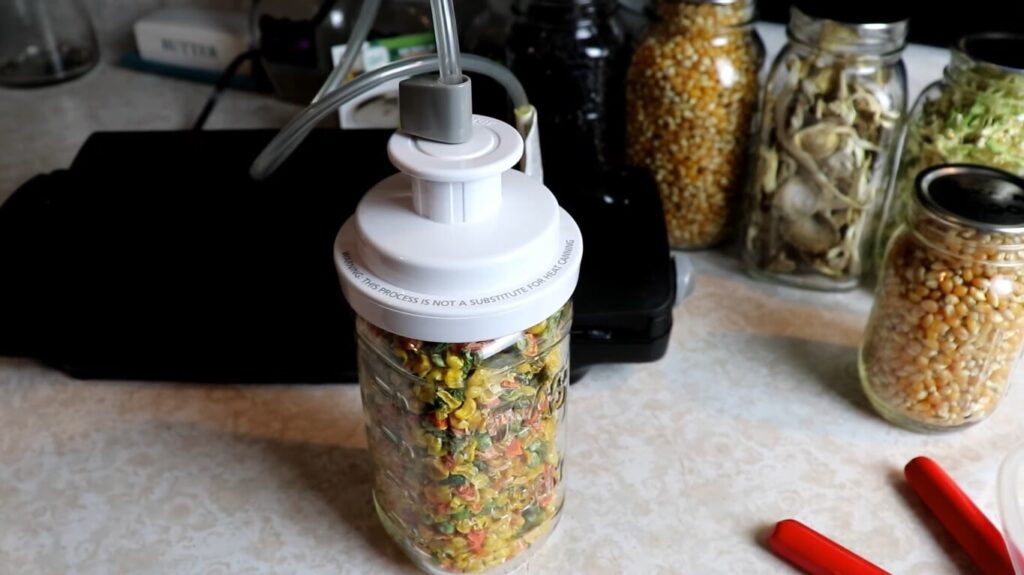
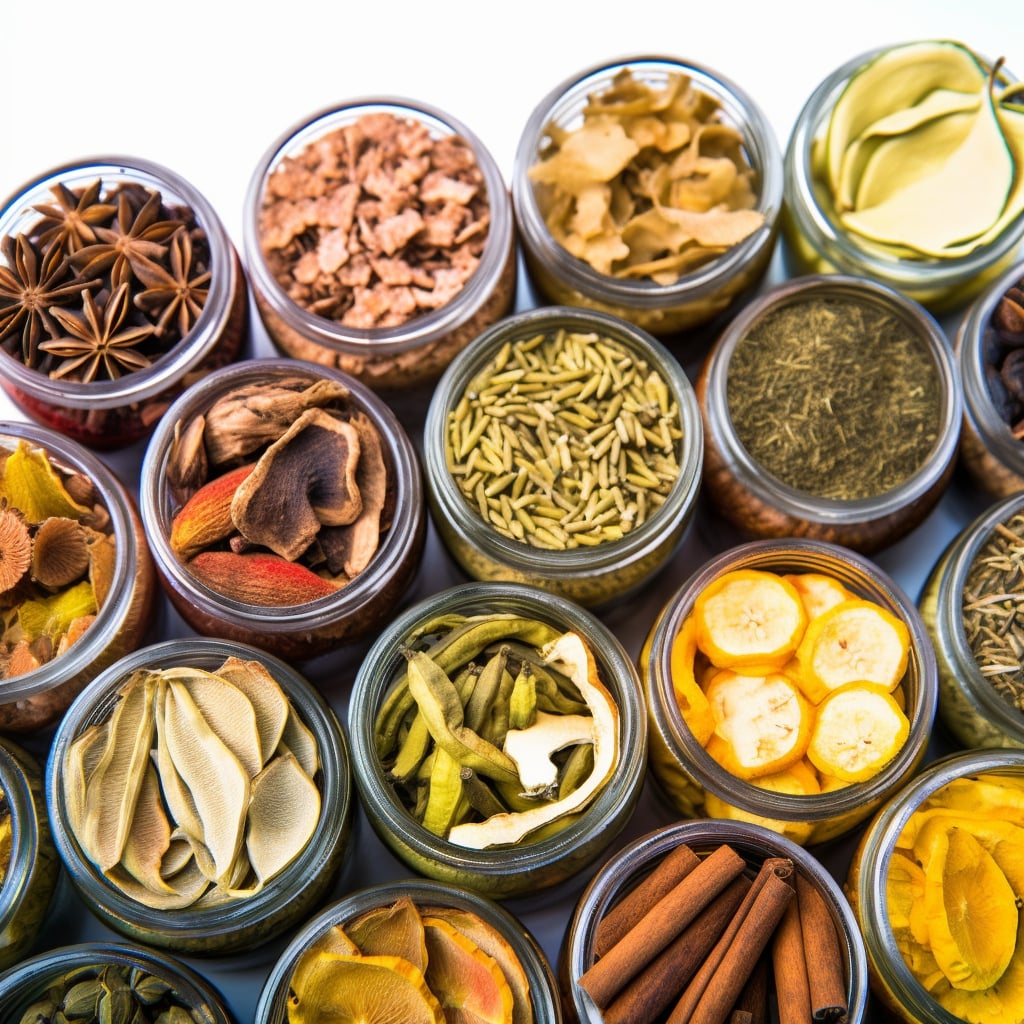
Vacuum sealing is the popular way to seal a jar with dry goods. If you’ve been looking for a way to keep your dried ingredients fresh and well-preserved, vacuum sealing might be the answer you’ve been searching for.
This works: Lay a metal lid over the rim after filling your Mason jar with your favorite dried products. Attach the vacuum sealing device created exclusively for Mason jars to the lid, lock it in place, and let the magic begin! Run the machine, and your jar will be sealed and ready for storage.
What makes vacuum sealing so great is that it creates an airtight atmosphere within the jar. This sealing technique prevents rotting and the growth of troublesome germs by eliminating excess air. Your dried foods will last longer, allowing you more time to appreciate their tastes and smells.
It’s important to understand that vacuum sealing is different from standard canning. While canning uses heat to preserve food, vacuum sealing focuses only on forming a tight seal without needing heat. While this procedure is ideal for dry products, it may not be acceptable for perishable things.
Consider the ease of having your vacuum-sealed jars neatly kept in your cupboard or closet without refrigeration. It’s a terrific space-saving solution for stuff you don’t use very often. Vacuum-sealed jars will keep your herbs, spices, and specialty ingredients fresh and ready to boost your culinary masterpieces.
Wax Sealing

Source: Youtube@Modern Refugee
Wax sealing is an excellent and time-honored way of preserving and safeguarding handmade goods in glass jars. If you’ve ever wanted to add a bit of tradition and charm to your canning routine, this technique might be precisely what you’re looking for!
Preserving jams and jellies using wax is an age-old method that has endured time. It not only keeps your delicious preserves fresh, but it also lends a pleasant touch of nostalgia to your culinary ventures. So, let’s get started on wax-sealing canning jars!
Fill your clean and dry glass jar halfway with the wonderful preserves you’ve painstakingly prepared, leaving some room at the top. This gap allows the wax to rest without spilling after it’s melted.
The paraffin wax must then be melted. This is simple to perform in a double boiler or saucepan over low heat. Swirl the wax until it is melted and ready to work its magic.
When your wax is smooth and ready, it’s time to have fun! Pour the melted wax over the preserves with care, leaving about 1/4 inch of room at the top of the jar. Don’t be concerned if you spill some; it happens to the best of us!
Now, let’s make sure those pesky air bubbles are gone! Use a spoon to remove any trapped air gently; if needed, add a bit more wax to ensure the entire surface of your preserves is nicely covered.
For the hardening stage, allow the wax to cool completely and solidify, creating that protective seal over your precious contents. While you might be eager to get your hands on those beautifully sealed jars, patience is key here!
Once the wax has hardened, give your preserves a final touch-up. Trim any excess wax around the edges of the jar with a knife, giving it a clean and polished look.
That’s all there is to it! Your jams and jellies are now sealed and ready to be kept or given to lucky friends and family members. The wax seal keeps the air and bacteria out, adding a rustic and attractive look that transports us back to simpler times.
Unsafe sealing canning jars techniques widely shared
The techniques we are about to introduce have yet to be recognized due to their dangerous element. Accordingly, South Dakota State University has confirmed that it mislead users, causing users to try things that are not suitable for canning.
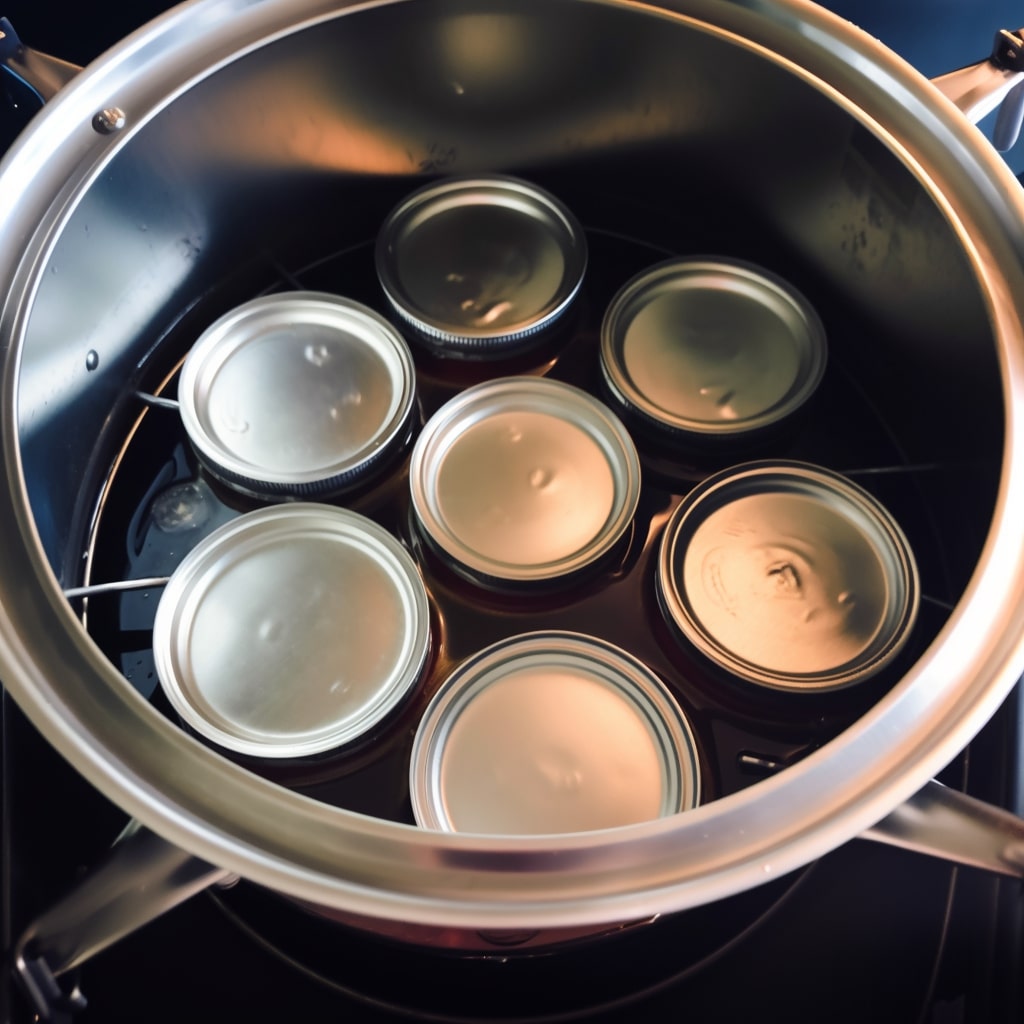
Using the upside down method
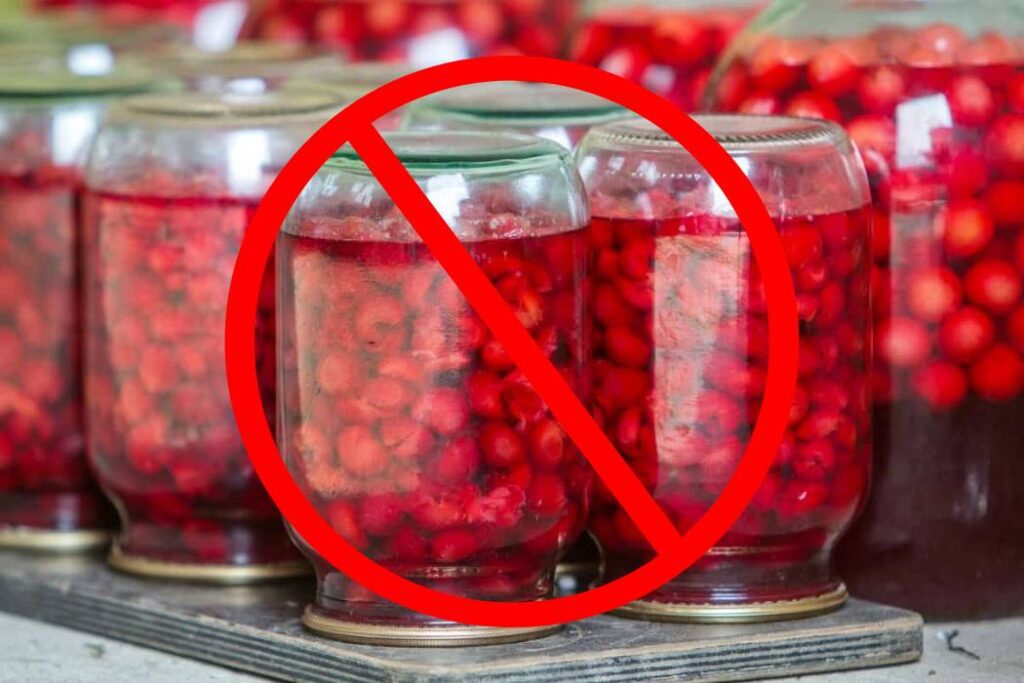
You’ve probably heard of the Upside Down Method if you’re a canning fanatic or simply interested in preserving your favorite foods! This unusual method comprises a dangerous procedure that distinguishes it from typical canning methods.
The Upside Down Method, sometimes called inversion canning, is an unconventional and potentially dangerous procedure. This technique takes a different approach, unlike traditional canning, which involves processing jars in a hot water bath for safety. To begin, boil the food you wish to preserve, such as fruits, vegetables, or preserves. The heated contents are poured into clean jars and carefully sealed with lids and bands.
The odd bit comes next: you turn the jars upside down and leave them to cool for a few minutes. It may appear to be a bizarre gymnastic display for your preserves, but the true trick is said to occur during the chilling phase, which is thought to help in the sealing process.
However, while inversion “canning” can generate a seal, it is not as dependable or long-lasting as seals created by standard canning procedures like water bath or pressure canning. This makes it a dangerous option, particularly for those new to canning or seeking long-term preservation.
Another big disadvantage of this approach is that because the food is not adequately prepared, there is great uncertainty regarding its safety and possible contamination. This ambiguity about what lurks beside your prepared sweets might be frightening.
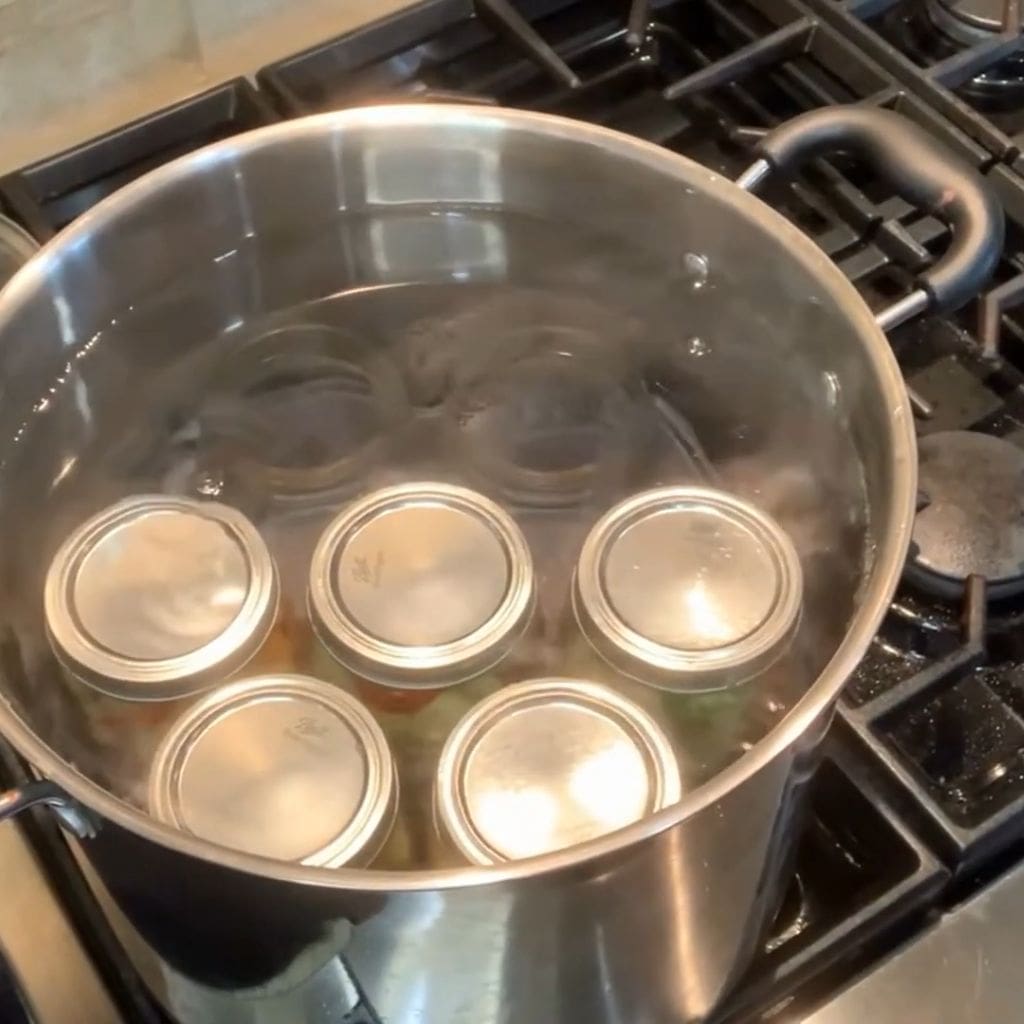
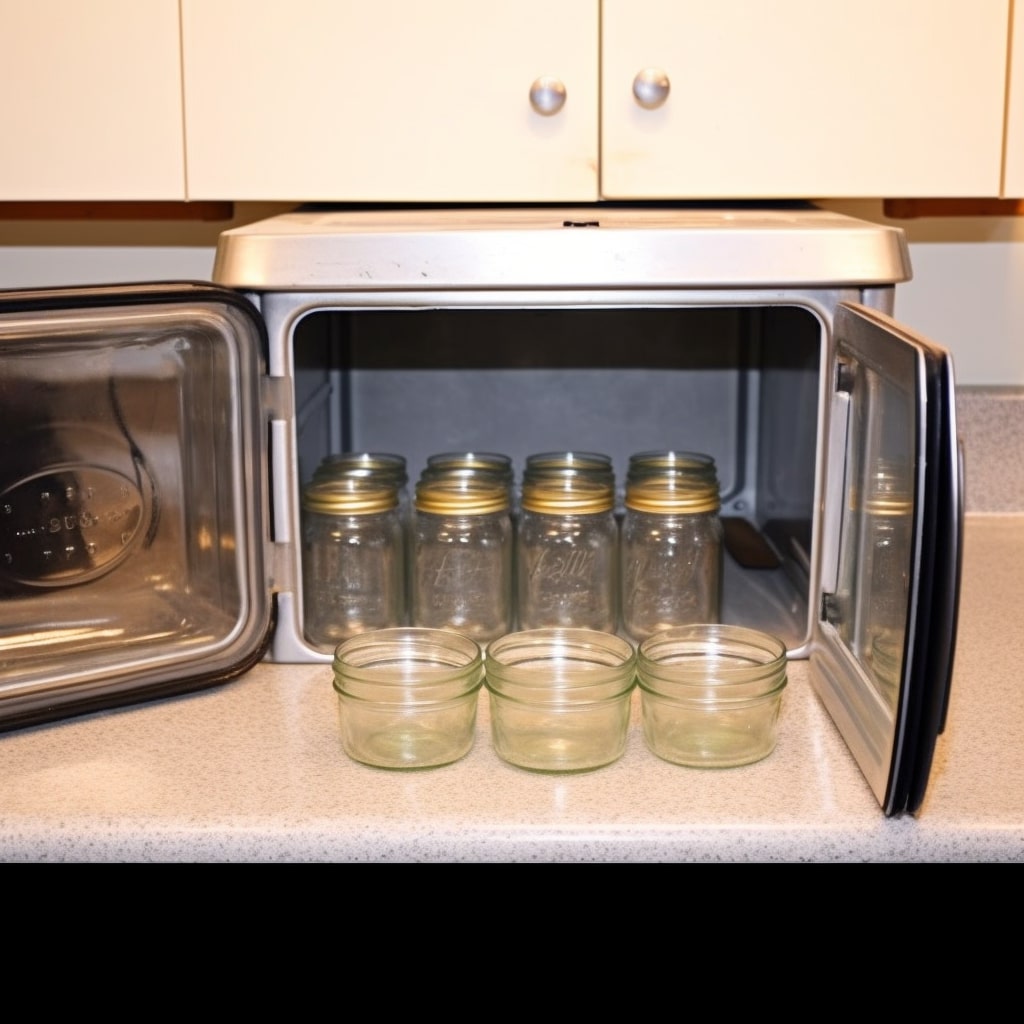
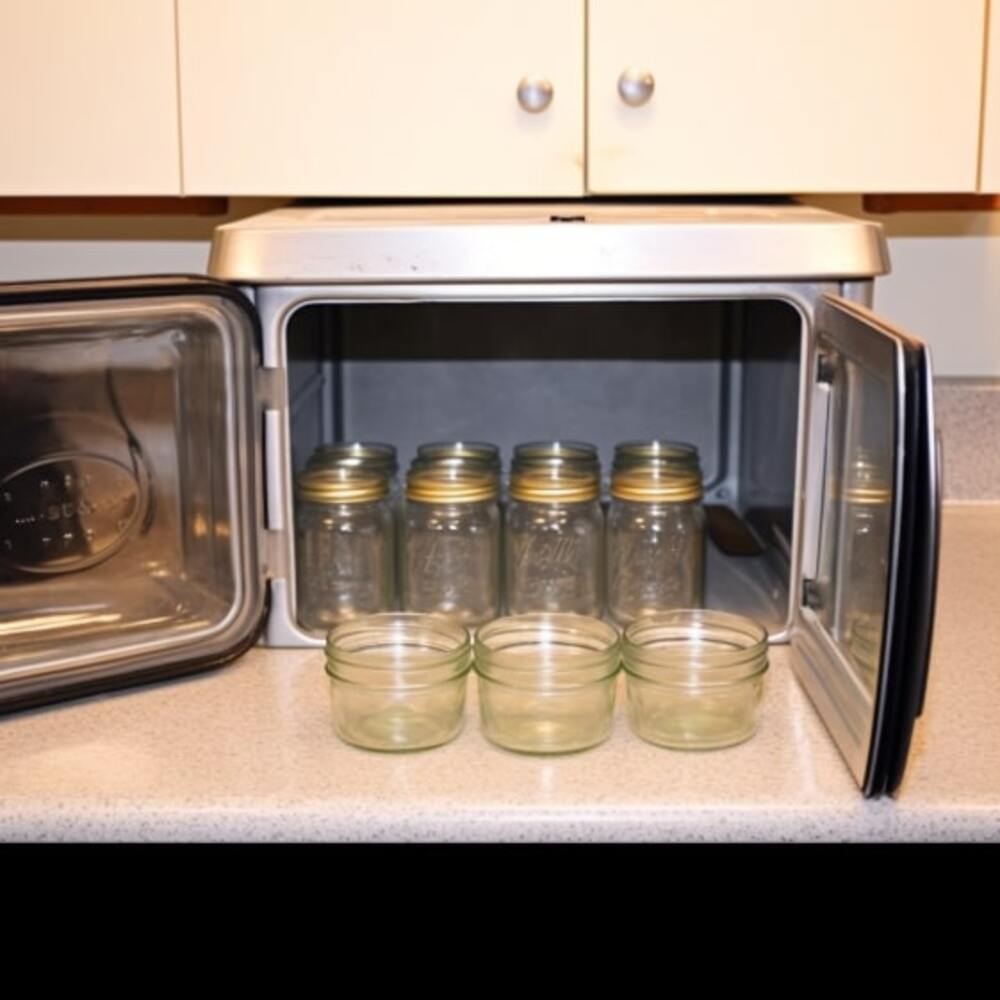
Microwave and oven sealing
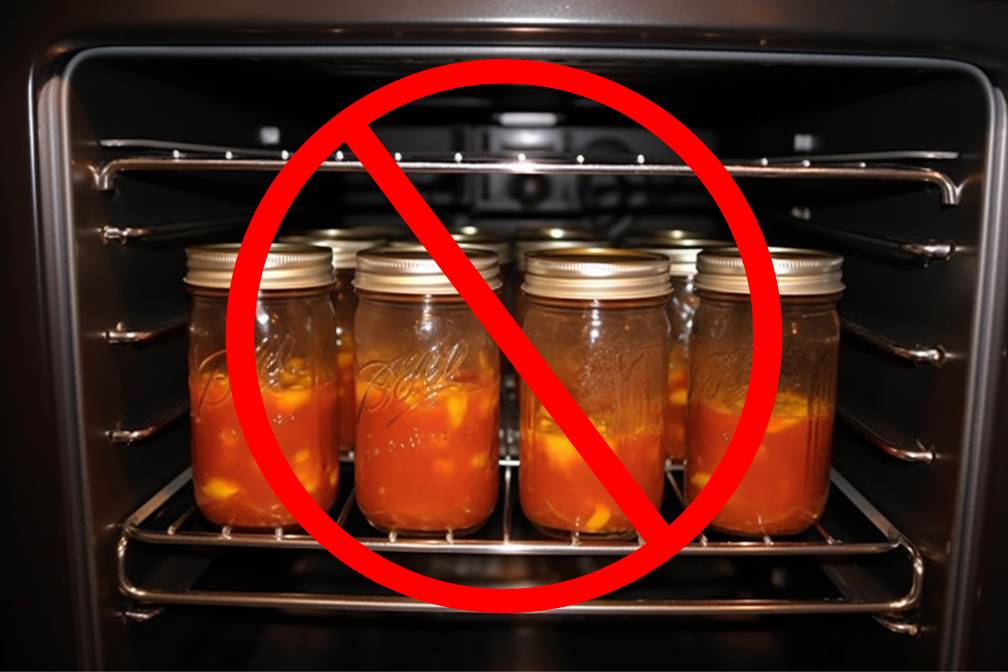
The most difficult aspect of microwave and oven sealing canning is maintaining constant and deep heat penetration to ensure the safety of your canned goods. Dry heat from microwaves and ovens may sometimes yield different assured outcomes than the two well-established canning procedures, water bath canning and pressure canning.
One important problem is that sluggish heat penetration in jars might lead to insufficient processing, thereby jeopardizing the safety of the food inside. Unlike traditional canning procedures with considerable temperature and processing duration studies, the oven method lacks credible scientific evidence on safe processing settings.
Prioritize safety and stick to tried-and-true canning processes for your peace of mind and the well-being of your canned products. Water bath and pressure canning have withstood the test of time and are recommended by food safety experts for their efficacy in eliminating hazardous germs and keeping food at peak quality.
Furthermore, canning jars were not meant to handle dry heat. Thus, canning in microwaves or ovens may pose a concern. The strong dry heat may cause the jars to shatter or, in worst-case circumstances, even explode, resulting in serious kitchen catastrophes.
While microwave and oven-sealing canning may be appealing owing to their ease of use, we invite you to delve into the intriguing realm of classic canning methods.
You may securely manufacture a broad range of delectable canned foods with the certainty of their safety and lifespan by following suitable instructions and recipes for water bath canning and pressure canning.
Sealing via microwave or oven is prohibited, but if it is for heating food or whatever storing in mason jar is ok as long as there is microwave safe symbol on mason jars.
Checking the effectiveness of seals
Whether you’re a seasoned pro or a curious beginner, one of the most crucial steps in this delightful process is ensuring your jars are properly sealed. Fear not, for we’re here to guide you through three easy and reliable ways to test those seals, ensuring your culinary creations stay fresh and delicious for months to come!
The center press test
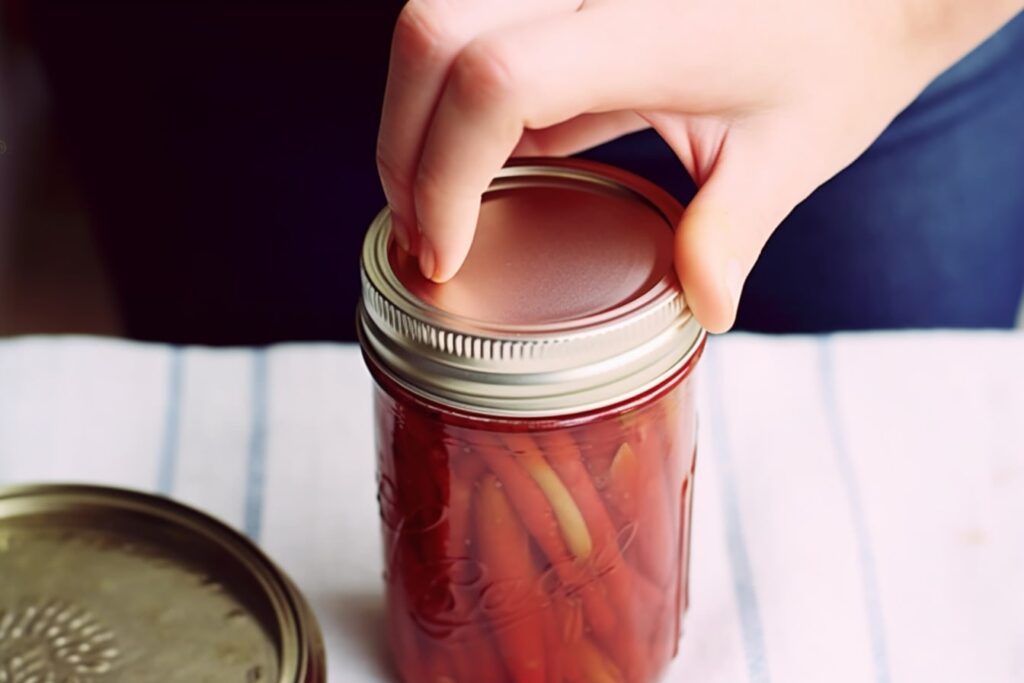
Once you’ve filled your jar with the delectable contents, it’s time for the center press test. Gently press down on the center of the lid with your finger if it stays firm and doesn’t budge; congratulations! Your seal is good to go. This simple yet effective method confirms that your jar is airtight, securing all those flavors and nutrients.
The ridge feel test
Now, let’s move on to the ridge feel test. Run your finger carefully around the edge of the lid. If you detect a distinct ridge, rest assured that your seal is secure. That reassuring ridge indicates a proper vacuum seal has been formed, shielding your delicious creations from potential spoilage.
The gentle shake test
Last but not least, let’s give your jar a gentle shake. Hold it close to your ear and listen carefully. If you hear nothing but silence, congratulations! Your jar is sealed to perfection. That absence of rattling noises inside indicates that the contents are safely locked in, waiting eagerly for that special moment when you choose to savor them.
Conclusion
To summarize, while there are various techniques for how to seal canning jars without boiling, it is essential to emphasize safety and follow the advice of trustworthy authorities. Avoid attempted sealing procedures like upside-down or oven sealing, which have been demonstrated in studies as dangerous and inaccurate.
Proper canning processes are critical for efficiently preserving food and limiting the formation of hazardous microorganisms. Always use reliable canning guidelines and resources to ensure the safety and quality of your canned foods.
Remember that shortcuts in canning can lead to deterioration and health dangers, so it’s better to stick to tried-and-true methods to enjoy your homemade preserves with confidence. Have fun canning!
FAQs
How long does it take for canning jars to seal?

The sealing procedure might vary, but it usually takes an hour or a little longer.
To guarantee that your canned goods are well sealed, avoid the need to open them right away. Patience is essential in this situation! Allow the jars and lids to remain undisturbed for 24 hours before inspecting them.
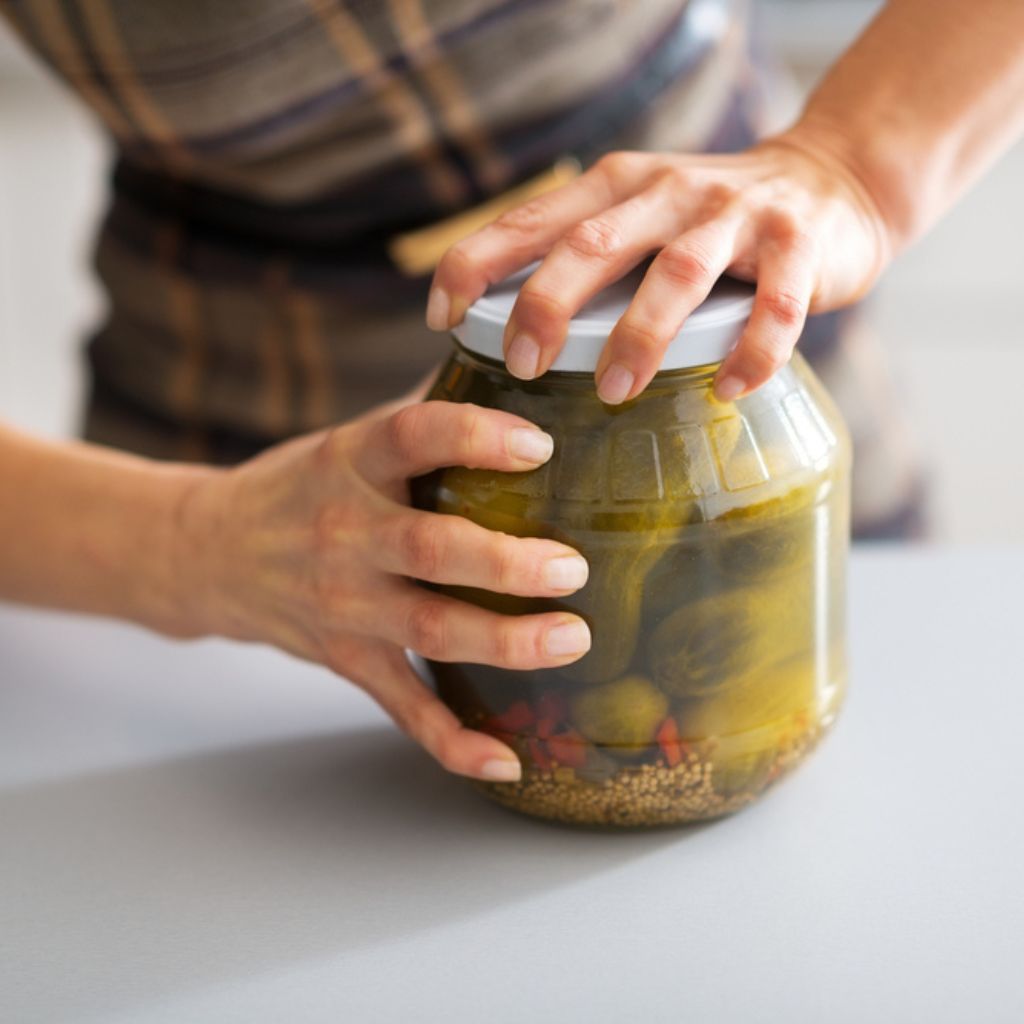
Can I reuse canning lids for sealing without boiling?
We understand the temptation to be resourceful, but when it comes to canning lids, it’s best to avoid the inclination to reuse them.
Those little lids are only designed for one dance! Reusing them without boiling them might jeopardize the seal and safety of your prized preserves.
Use new, unused canning lids for each canning session to preserve your canned food in good condition. Isn’t it true that safety comes first? In detail, you can take a look at our Can you reuse lids when canning.
Is it necessary to sterilize jars before seal canning jar?
Excellent question! When you first start water baths or pressure canning, you may notice that your jars are generally sterilized.
However, cleaning and sterilizing those jars is still a good idea if you want to conduct some rapid processing for less than 10 minutes. But if your processing time is 10 minutes or more, you may skip the sterilization step and store your tasty sweets!

![Top 5 Best Jar Opener for Seniors Elderly [Updated 2023]](https://manzanillanyc.com/wp-content/uploads/2023/07/Top-5-Best-Jar-Opener-for-Seniors-Elderly-Updated-2023.jpg)