I’ll lead you through the process of water bath canning for novices in this step-by-step manual. You may enjoy the tastes of summer all year long by preserving food using the straightforward and efficient process of water bath canning.
This guide will provide you with the information and confidence you need to effectively can your delectable fruits, veggies, and more, regardless of your culinary experience.
What is a water bath canner?
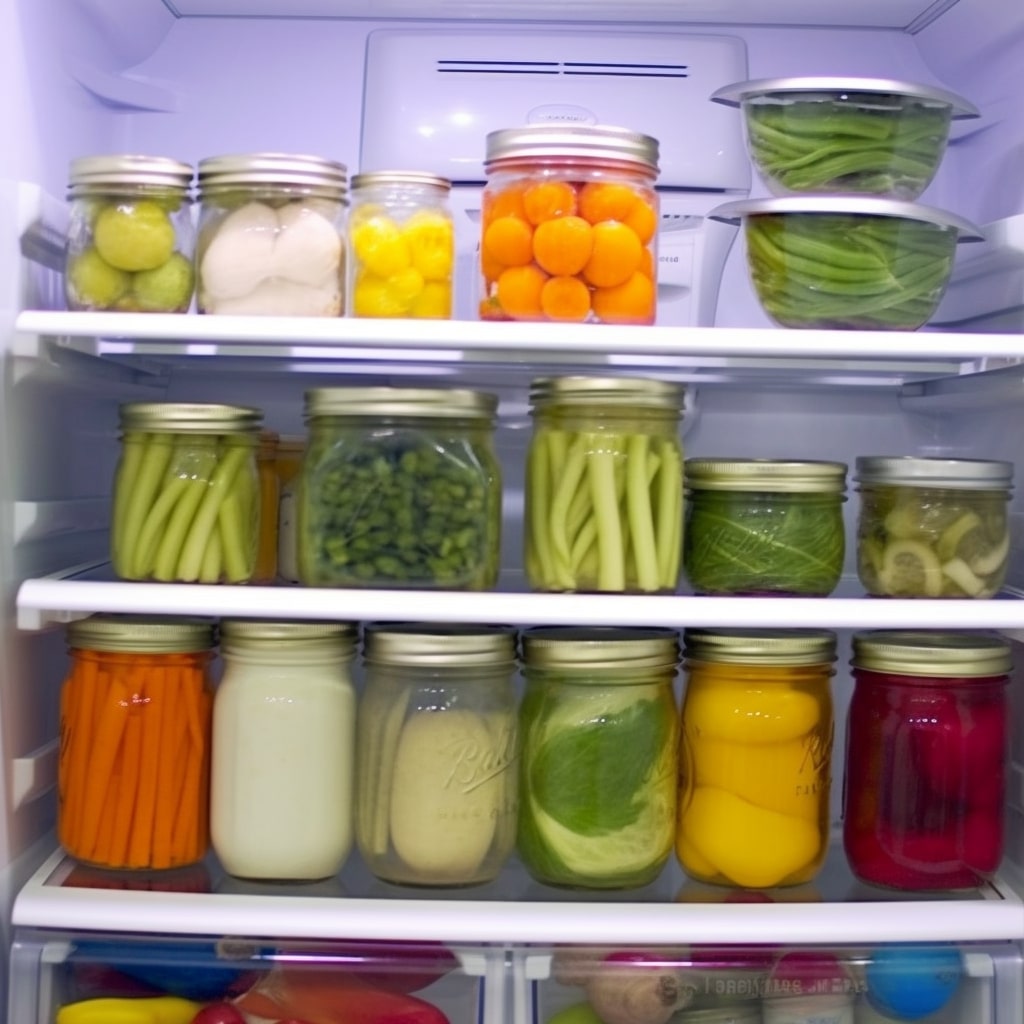
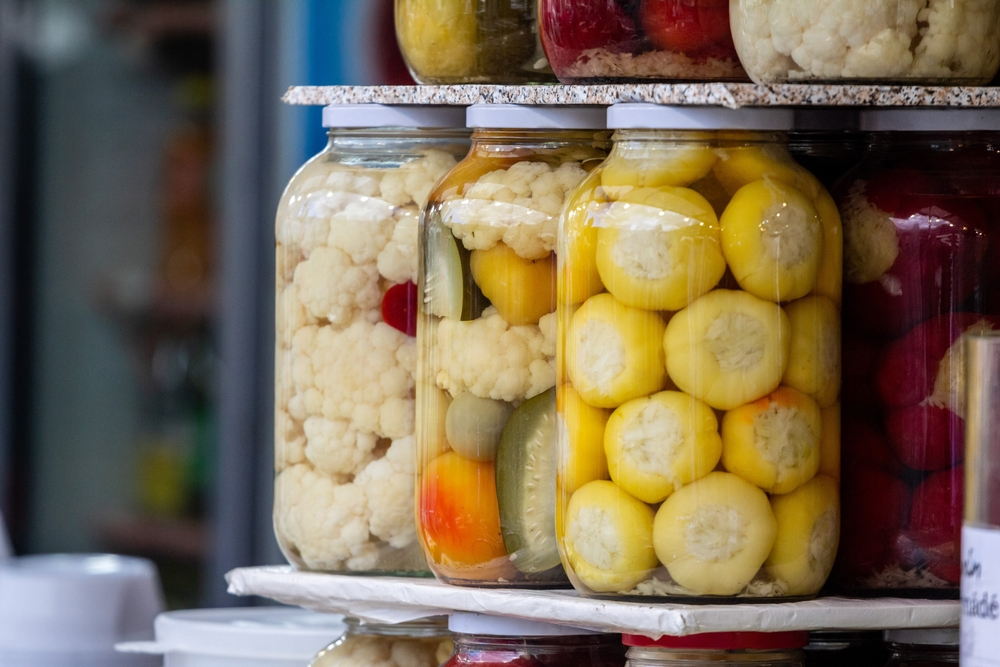
Process high-acid foods in a water bath canner using the preservation technique known as boiling water canning, sometimes called water bath canning. Fruits, pickles, jams, jellies, certain tomato products, and other foods with a pH level of 4.6 or below are the foods it is mainly appropriate for. When I use the water bath method to can food, I submerge the tightly sealed jars in boiling water for a long time.
It is essential to remember that water-bath canning was created especially for vegetables with a high acid content. Foods like tomatoes, berries, fruit, sauerkraut, and pickled veggies come to mind. These foods may be successfully preserved without high pressure thanks to their inherent acidity and exposure to boiling water. And, if you are still wondering about which method is the best for preserving or which would be suitable for your upcoming plan, visit our Preserving via pressure canner vs water bath for more details.
To maintain the security and lifespan of the preserved foods, you may need to take a few measures during water bath canning. These safety measures can involve thoroughly sterilizing the jars, following suggested processing times and temperatures, and utilizing trusted canning recipes. According to these rules, you can effectively use water bath canning to make delectable jams, jellies, and pickled veggies.
Water bath canning preparation
Before starting the water bath canning process, gathering and preparing the necessary equipment is important.
Necessary equipment
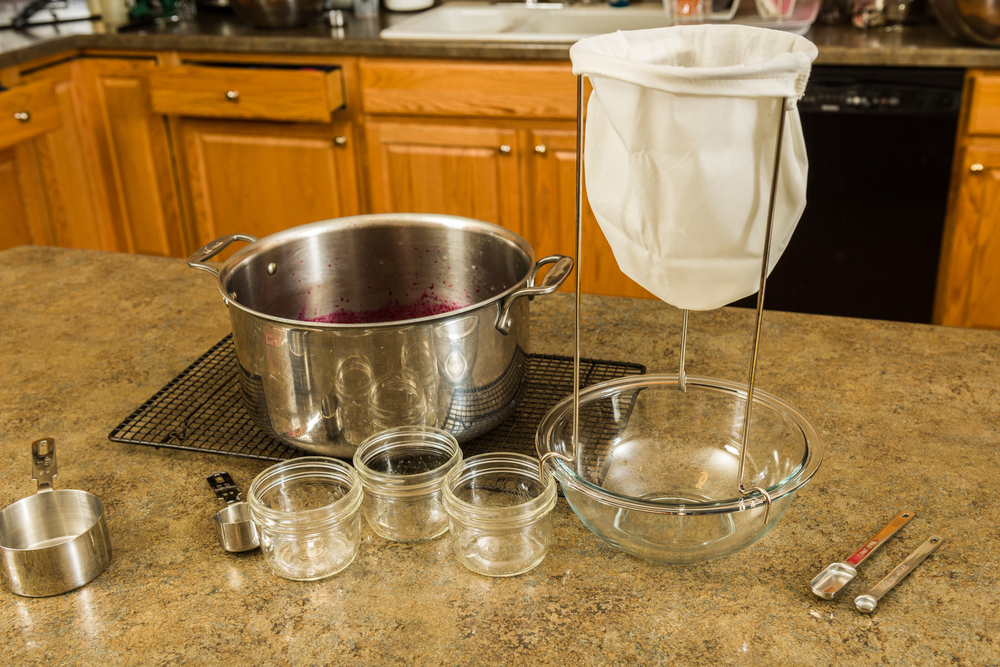
Gather and prepare the necessary equipment to start the water bath canning process properly. Here are the key items required:
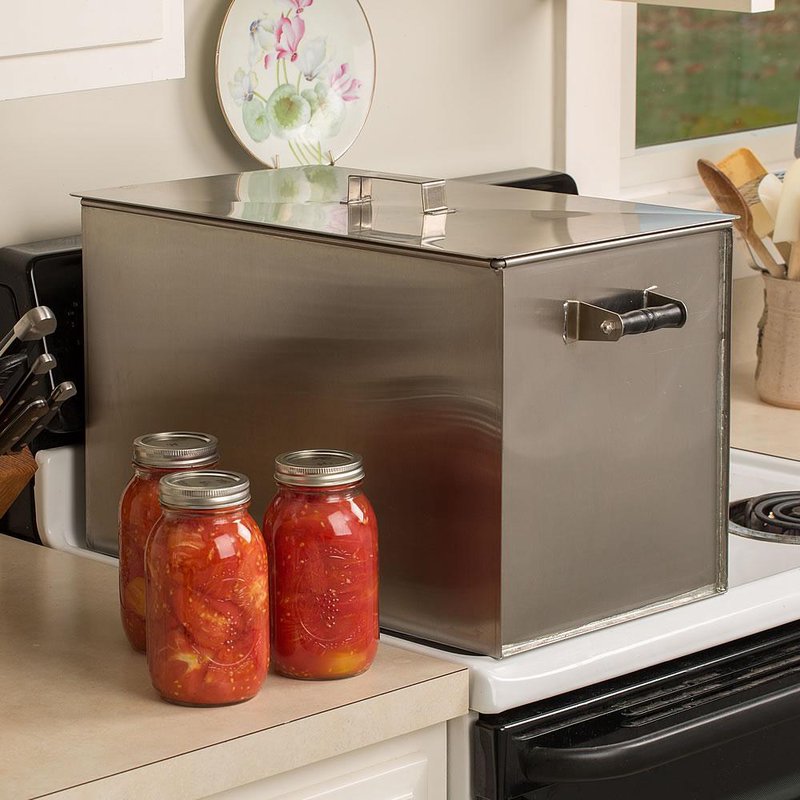
- Water Bath Canner: I should have a water bath canner, which is a large, deep pot specifically designed for canning. It must have a lid, canning rack, or folded towel to keep the jars off the direct heat source.
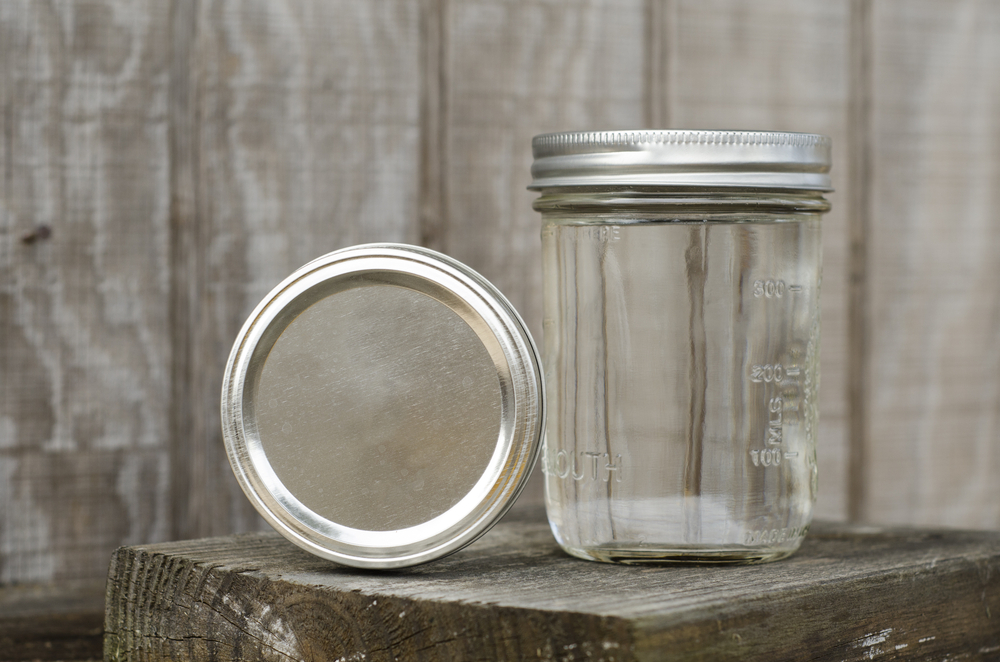
- Canning Jars: I need to select appropriate canning jars for my recipe. They should be specifically designed for hot bath canning and have airtight lids. It’s important to choose jars in the correct size for the recipe, such as pint or quart jars.
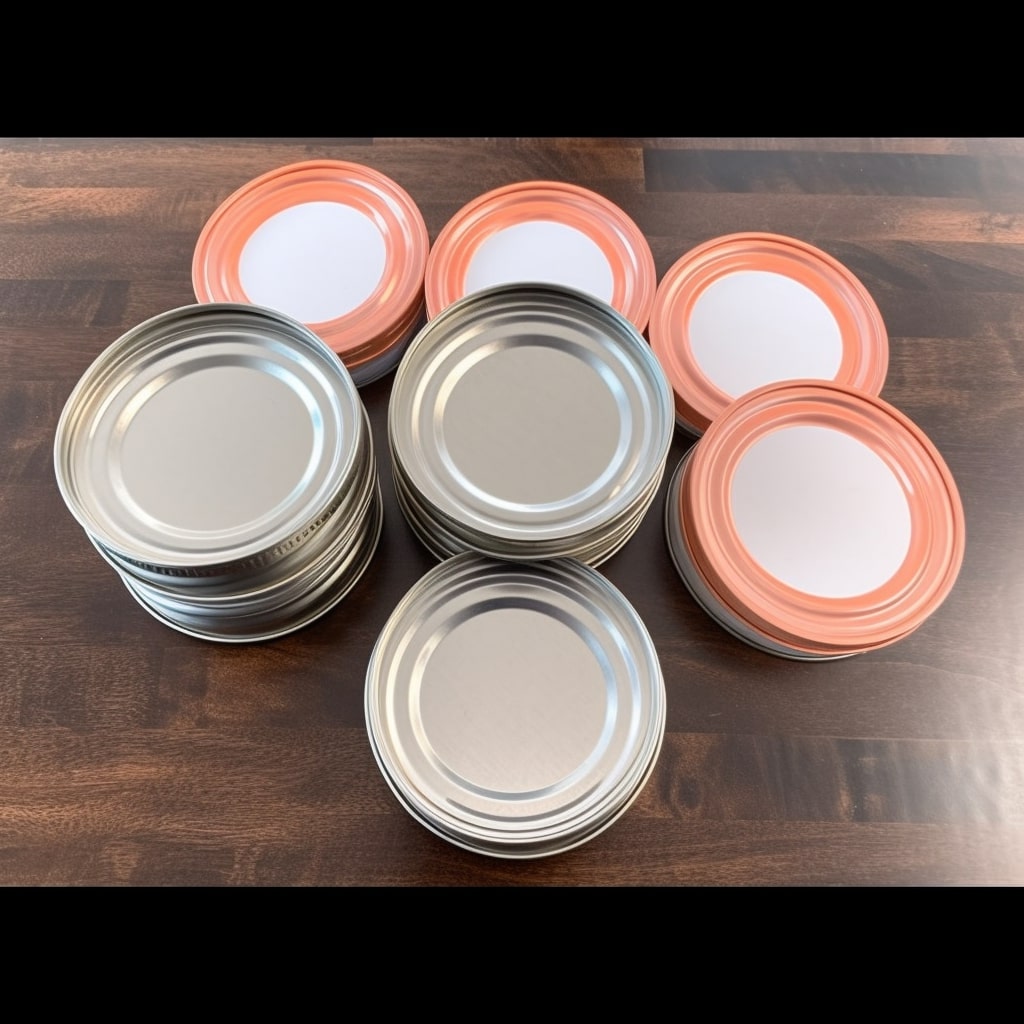
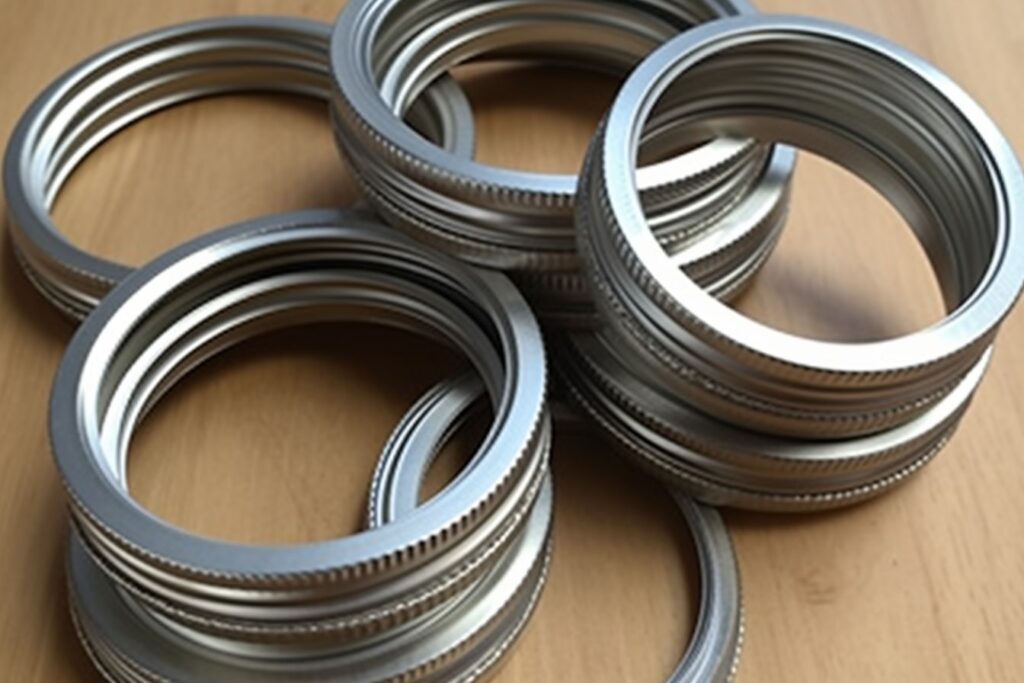
- Canning Lids and Bands: I should use new, unused canning lids for each batch of canning. The bands, also known as screw bands or rings, can be reused as long as they are in good condition and not bent or rusted.
- Jar Lifter: I need a tool with gripping tongs to safely lift hot jars in and out of the water bath canner.
- Canning Funnel: A wide-mouthed funnel is necessary to help me clean jars and prevent spills.
- Lid Lifter: I should have a magnetic tool for lifting hot water bathing canning lids from hot water without touching them.
- Timer: I must use a reliable kitchen or a timer on my stove or smartphone to keep track of processing times.
- Large Pot: I need a large pot with enough capacity to hold sufficient water to fully cover the jars with around 1-2 inches of water. The pot should be deep enough to allow for boiling without water overflowing during processing.
- Rack: I should use a rack to elevate the jars off the bottom of the pot. This prevents direct contact with the heat source and promotes proper circulation of boiling water around the jars. A canning rack helps prevent potential jar breakage due to direct heat contact.
Optional equipment
In addition to the necessary equipment, the following items are optional but can be helpful for the water bath canning process:
- Jar Funnel with a Handle: A jar funnel with a handle makes it easier to hold and position the funnel while filling jars, especially when working with hot liquids or larger batches.
- Lid Wand: A lid wand or magnetic lid lifter is a tool with a magnet at the end designed to lift and place canning lids onto jars without touching them. It can help prevent contamination and is particularly useful when handling hot lids.
- Canning Tongs: Canning tongs are specialized tongs with a rubberized grip designed for lifting and moving hot jars. They provide additional stability and control when transferring jars to and from the water bath canner.
- Air Bubble Remover Tool: While a bubble remover/headspace tool is often included in canning kits, standalone air bubble remover tools are available. These tools are designed to help release trapped air bubbles from filled jars before sealing.
- Stainless Steel Canning Rack: If my water bath canner doesn’t come with a canning rack or if I prefer an alternative, a stainless steel canning rack can be a useful accessory. It helps keep the jars elevated off the bottom of the canner to ensure even heat distribution.
- Water Bath Canner with a Built-in Rack: Some water bath canners come with a built-in canning rack, eliminating the need for a separate rack or towel. This can make the canning process more convenient.
- Canning Kit: A kit typically includes several essential tools and equipment, such as a jar lifter, lid lifter, funnel, and bubble remover tool. It can be a convenient option, especially for beginners who want all the necessary tools in one package.
Ultimate guide to process food in water bath canner step-by-step
As you may know, waterbath canning is a method using to preserve high-acid foods, such as fruits, pickles, jams, jellies, and some tomato products. Here is a step-by-step guide on performing water bath canning:
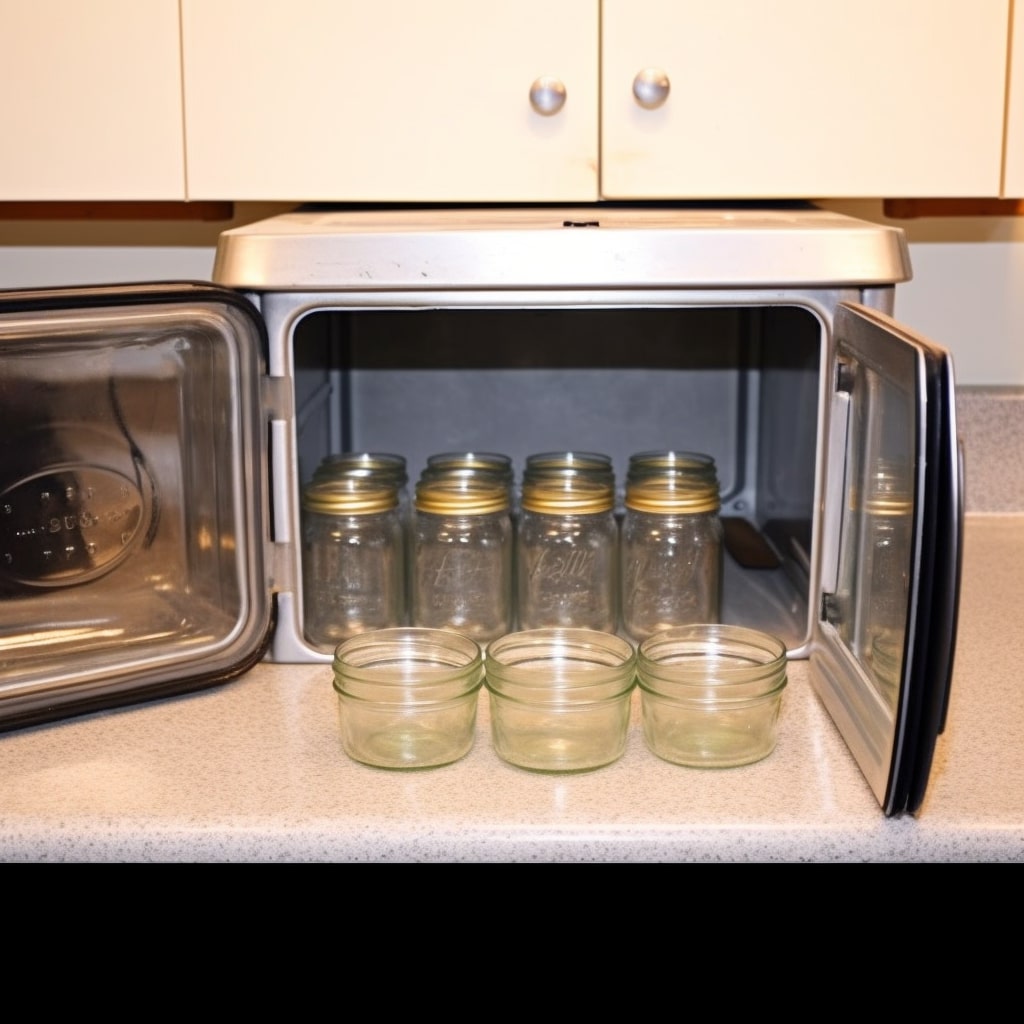
Step 1: Prepare the Jars
- Start by cleaning the jars with hot, soapy water to prepare them for canning. This procedure aids in clearing the jars of any debris, dust, or residue that may be there. After applying soap, you rinse the jars to ensure no soap was left behind.
- You would then carefully look for fractures or flaws in each jar. This is a crucial step to make sure the jars are in good shape and will offer a reliable seal. To prevent problems during the canning process, I would throw away any cracked or defective jars you find.
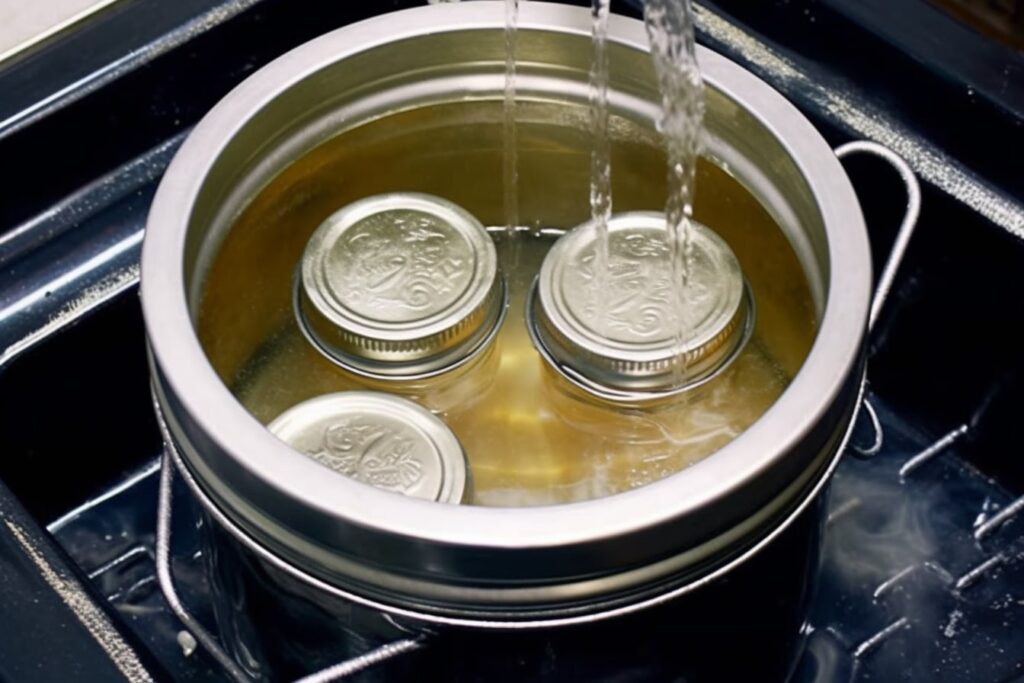
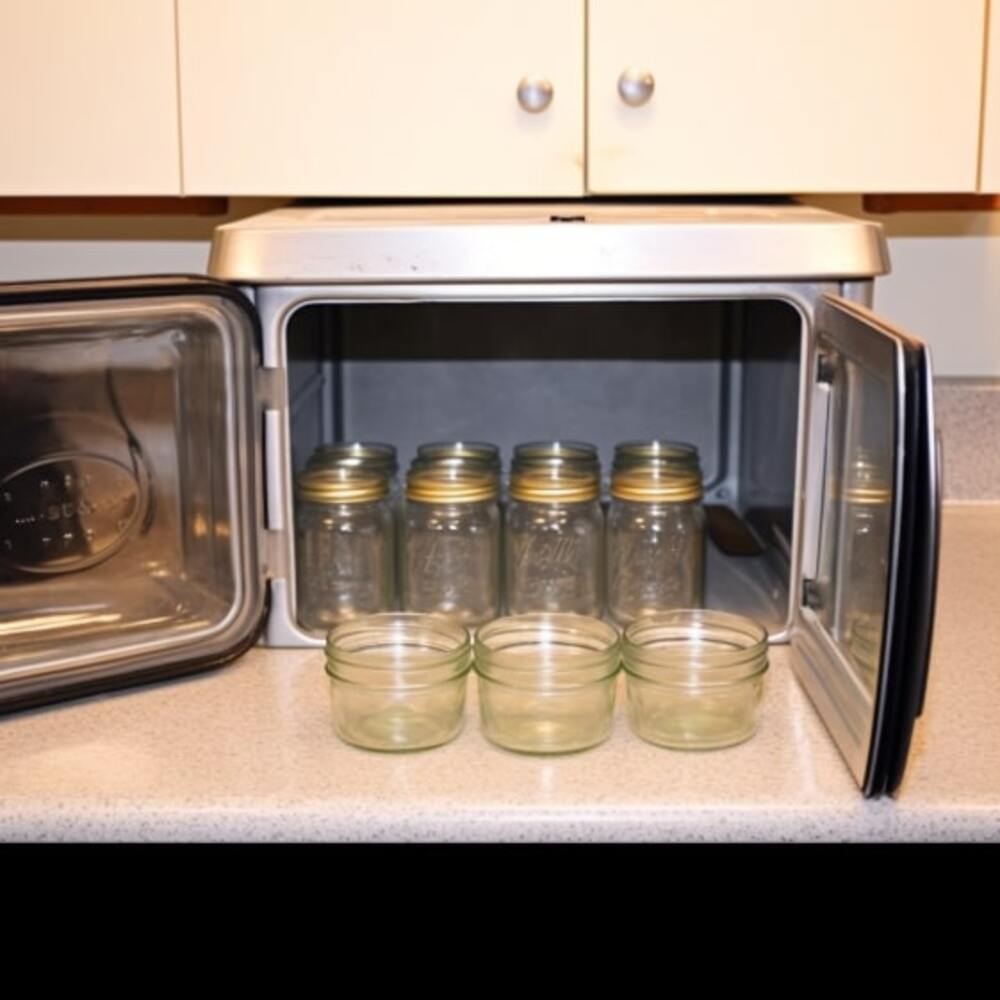
- Put the cleaned and examined jars in a big saucepan or a water bath canner to process them. Water should be added to this container until the jars are completely submerged. I can keep the jars heated until I’m ready to use them for water bath canning by placing them in the canner or saucepan.
- Bring the water in the canner or saucepan to a simmer, preventing it from boiling to retain the temperature of the jars. When it’s time to fill the jars with the preserved food, this low heat will maintain a stable temperature for the jars, preparing them for usage.
Step 2: Fill the Jars
- Gently take a jar from the hot water bath canner and drain the water from it before filling the jars. To prevent any burns, make sure to handle the jar carefully, you will then start adding the prepared food to the jar while being careful to leave the required headspace called for in the recipe, which is often 14 to 12 inches from the top of the jar.
- Take a clean, wet towel and carefully wipe the jar’s rim once you have eliminated the air bubbles. This step is essential to remove any food residue that can prevent the jar from sealing properly. Effective food preservation requires a tight seal, which can only be achieved with a clean rim.
- Following these instructions will help fill the jars correctly and retain the food’s quality and integrity.
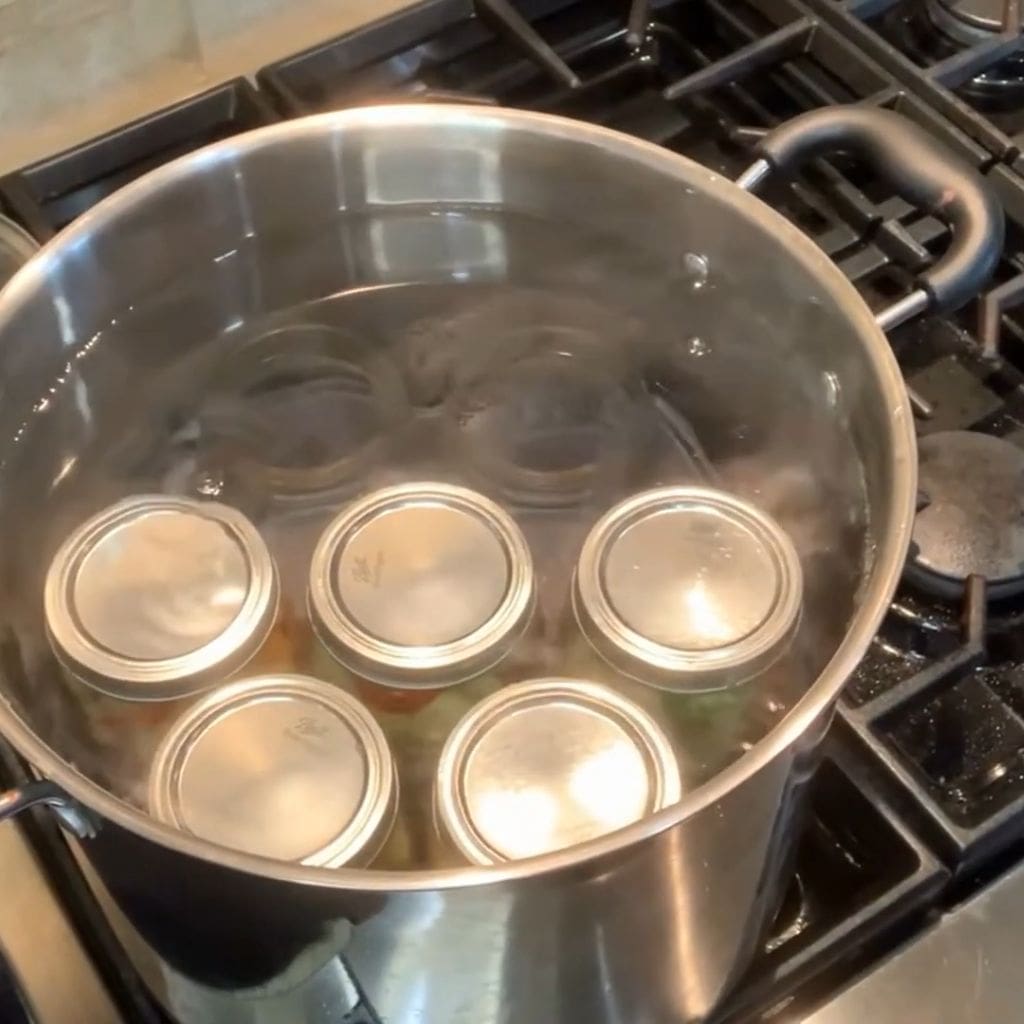
Step 3: Apply the Lids and Bands
You should take a lid out of the boiling water before you put the lids and bands on the jars. The lid must be gently positioned on the jar’s rim while maintaining precise alignment. This step is crucial to guarantee an airtight seal for the items within.
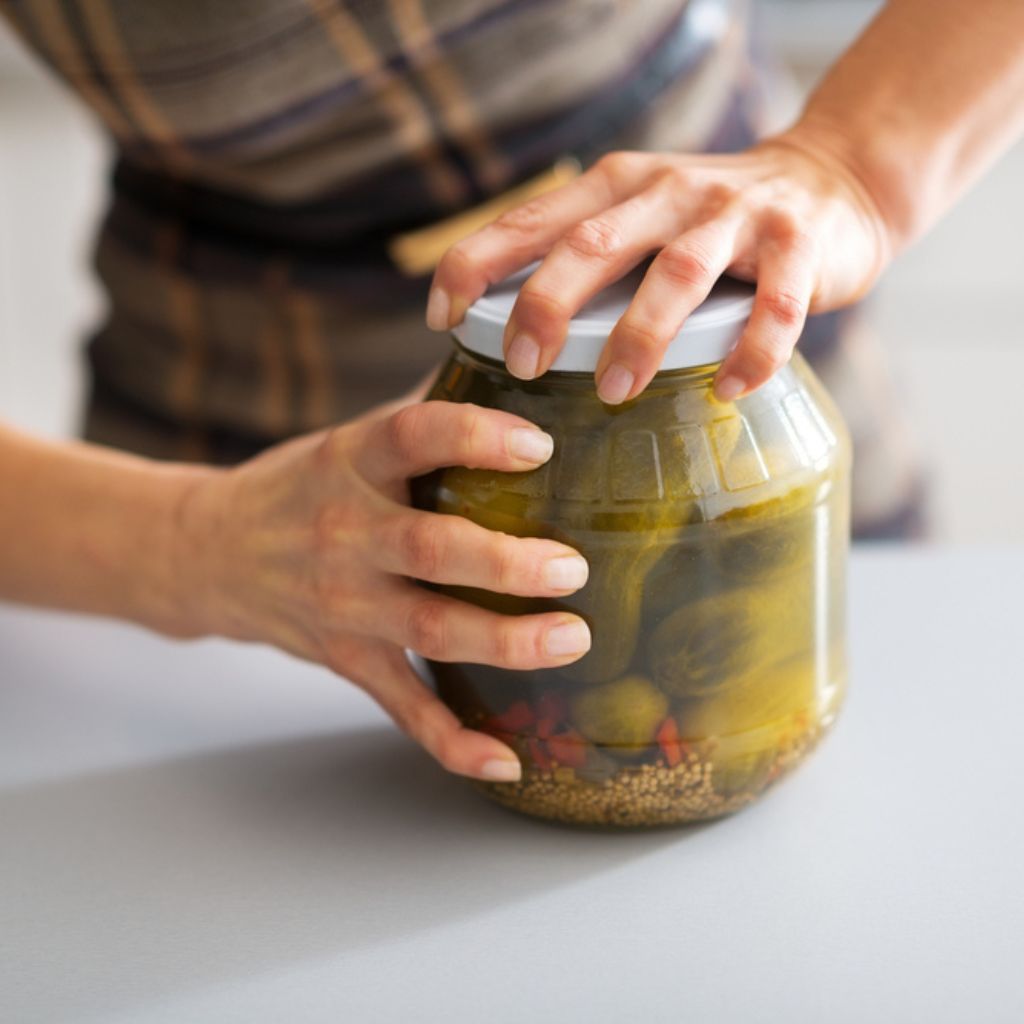
Then, continue tightening the band onto the jar after the lid is properly placed. you should use my fingertips to squeeze the band while avoiding using too much power firmly. It’s important to avoid overtightening the band since doing so might prevent the jar from properly closing and make it challenging to open later.
And one more thing I think we must discuss around is whether or not reusing canning lids once canning process finished? Well the short answer is always NO, for more details, I think we got a whole post for this: Can you reuse lids when canning?
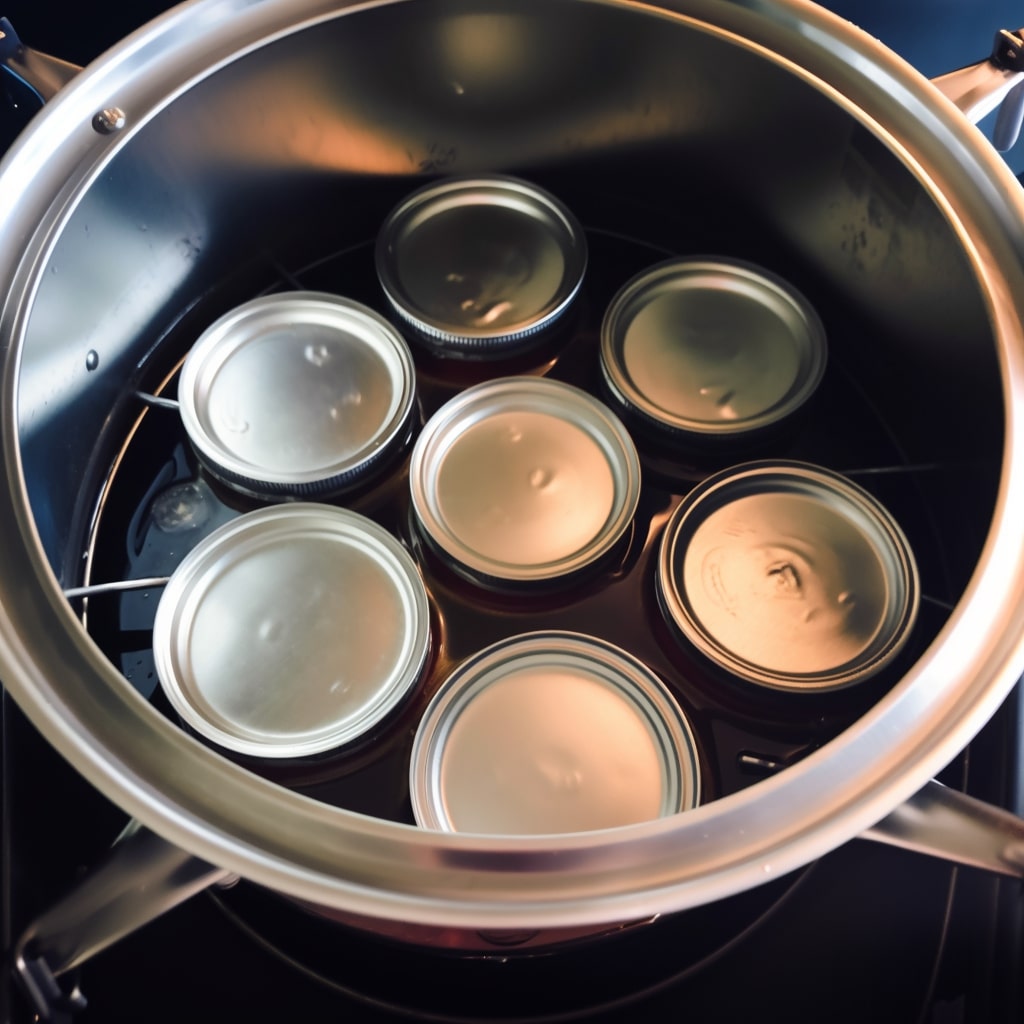
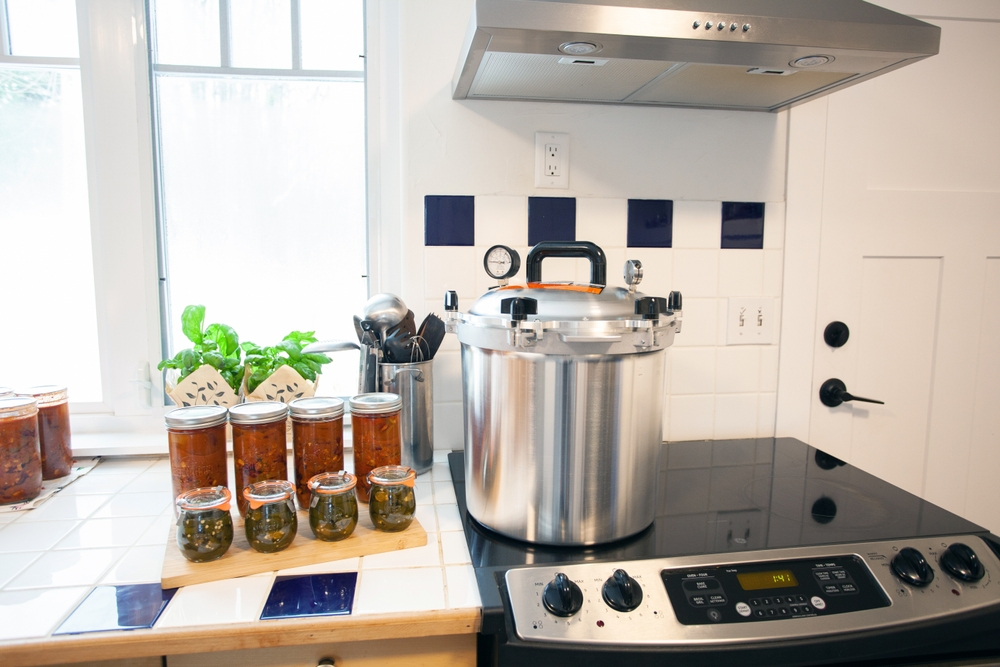
Step 4: Process the Jars in the Water Bath Canner
Carefully set the filled jars on the canning rack so they don’t contact each other or the canner’s edges before processing them in the water bath for canning. This enables the processes to circulate heat properly.
Next, you will fill the boiling water canner with enough water to cover the jars by at least 1-2 inches. This water level helps to maintain a consistent temperature environment while providing an adequate barrier for the jars during processing. This is a crucial step when it comes to canning with water bath, if you are wondering something like do jars have to be fully submerged when canning well yes, follow these basic rules, you shall have a successful canning process for sure.
Firmly secure the lid of the canner after the jars are in position and the water level is appropriate. The jars are kept in a regulated environment by the lid’s assistance in containing the heat and steam.
Step 5: Process for the Recommended Time
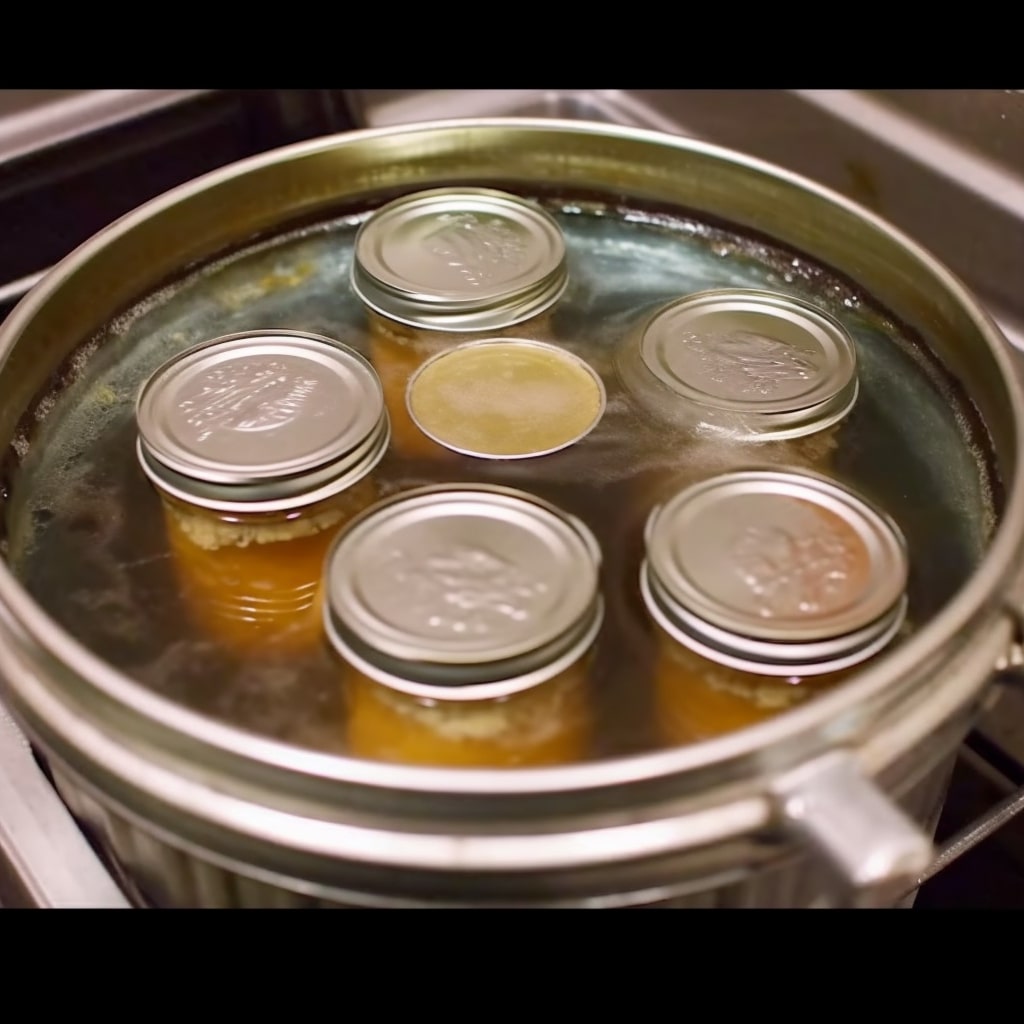
Set the timer for the recommended processing time mentioned in the recipe after the water comes to a roaring boil. Make sure to keep the boil constant throughout the whole processing period, you will set the timer for 10 minutes if you use 4-, 8-, or 12-ounce jars.
Make sure the water boils steadily during the allotted processing time. To provide optimum preservation and safety, this boiling temperature must be constant. I’m establishing a sterilizing environment for the contents of the jars by sustaining the boil.
Now, wait for the jars to cool for 10 minutes after the allotted water bath canning times have passed before taking them from the pot. The jars can stabilize during this brief cooling phase, lowering the likelihood of abrupt temperature variations that could cause breaking.
Step 6: Remove and Cool the Jars
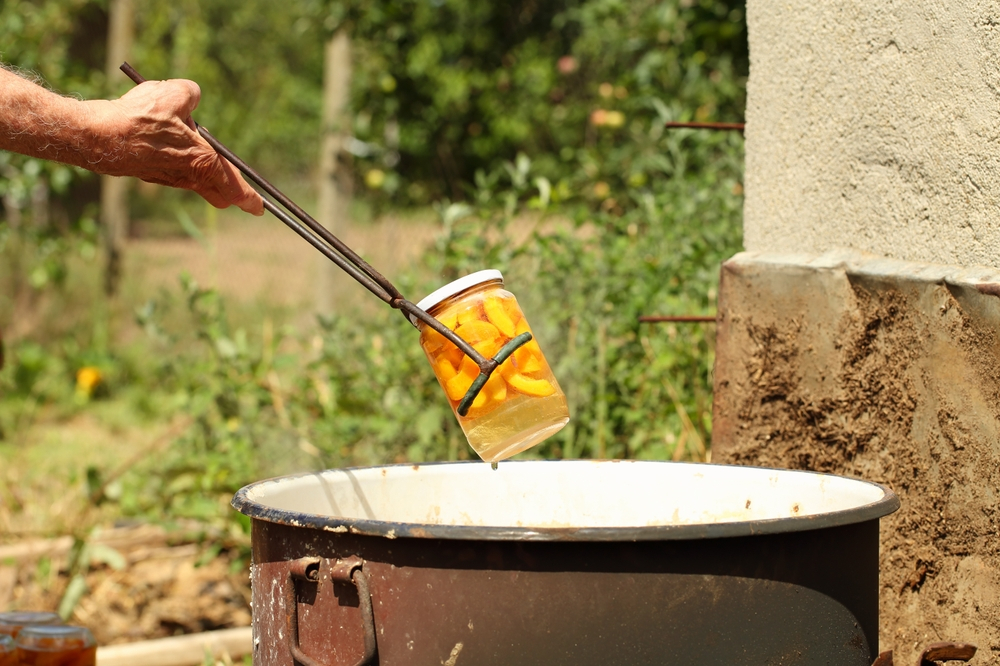
Next, you will turn off the heat when the processing period is through and use jar lifters to remove the jars from the boiling water bath canner carefully. Handle the jars carefully and keep a tight hold on the jar lifters to avoid mishaps or spills.
When having properly removed from the canner, you should set the jars on a fresh cloth or a cooling rack. To ensure optimum air circulation and cooling, leaving some space between the jars is crucial.
The jars may pop or shift somewhat as they cool since the lids seal securely, but this is typical. You will, however, repress any impulse to handle the jars or tamper with the sealing system.
Step 7: Check the Seal and Store

I’ll inspect the seal after the jars have cooled to ensure the lids are securely fastened. I’ll accomplish this by lightly pressing each lid’s center. I know the jar is sealed properly if strong resistance and the lid does not bend or burst.
After verifying the seal, I’ll start by removing the bands from the jars. After removing the bands, I’ll conduct another test to verify the integrity of the seal. I’ll carefully raise each jar by its lid without much effort. The seal is reliable if the lid stays put and does not separate or come undone.
Some advice for a perfect water bath canning day
- Become familiar with the suitable canner: Use a water bath canner, simply a big canning water bath pot with a lid and a rack at the bottom, for high-acid items that naturally resist bacterial development (for example, many fruits). Consider checking out Williams Sonoma’s water bath canner if you need to buy a canner for your vital kitchen supplies.
- Choose appropriate jars: Use jars that are specifically made for canning, such as the Ball Mason jars that are sold at Target. Even though they resemble canning jars, avoid using recycled glass jars from store-bought items. Avoid using jars that look different from the canning jars currently on the market. Avoid jars with damaged corners as well since they might interfere with sealing. Follow the recipe’s instructions about the jar size.
- Use lids properly: Use specialist two-piece lids, especially for hot water bath canning. The lids include a sticky material that helps jars seal, so while you can reuse the rings, you shouldn’t. Avoid latching the lids too firmly, as this might prevent a vacuum seal from being created.
- Select the proper recipe: Modern canning recipes may call for longer or hotter processing durations and prioritize safety. Always use tried-and-true recipes from dependable, up-to-date sources, and follow the directions exactly. Substituting ingredients should be avoided since they might jeopardize the food’s safety.
- Maintain both cleanliness and heat: Keep the canning process impeccably clean. Thoroughly clean and sterilize the jars. Instead of utilizing an assembly line, pour hot food into hot jars one at once, I mean do not separate the step. Only one sterilized jar should be removed from the canner at a time, and after it is full, it should be quickly placed back into the canner’s boiling water.
- Double check: Check the rims of the jars before using them for any damage that can interfere with the sealing.
- Prevent food spoiling: To avoid bacterial contamination while home canning, fully sterilize all equipment and the workstation. Screw band canning rings, on the other hand, don’t need to be sterilized because they don’t come in touch with the food. Besides, to prevent food spoiling from moisture, make sure the jars and lids are totally dry before filling them. The jars must be heated before being placed in the canning kettle to avoid shattering due to abrupt temperature fluctuations. For useful hints and methods, refer to the hot water bath canning procedure.
Conclusion
I hope that as a novice, this step-by-step tutorial has helped you understand the basic principles of water bath canning. You may reliably preserve your favorite seasonal foods and eat them all year long by following the instructions.
If you are interested in water bath canning technique, these popular canning recipes shall be very first steps to challenge yourself:
- Persimmon Jam Canning Recipe
- Strawberry Pie Filling Canning Recipe
- Green tomato jam recipe for canning
- Canning lemonade concentrate
- Homemade cranberry juice for canning
Always put safety first by employing appropriate methods and according to advised principles. You may quickly relish the flavor of your home-canned foods and proudly serve them to friends and family with a little practice. Have fun canning!

![Top 5 Best Jar Opener for Seniors Elderly [Updated 2023]](https://manzanillanyc.com/wp-content/uploads/2023/07/Top-5-Best-Jar-Opener-for-Seniors-Elderly-Updated-2023.jpg)