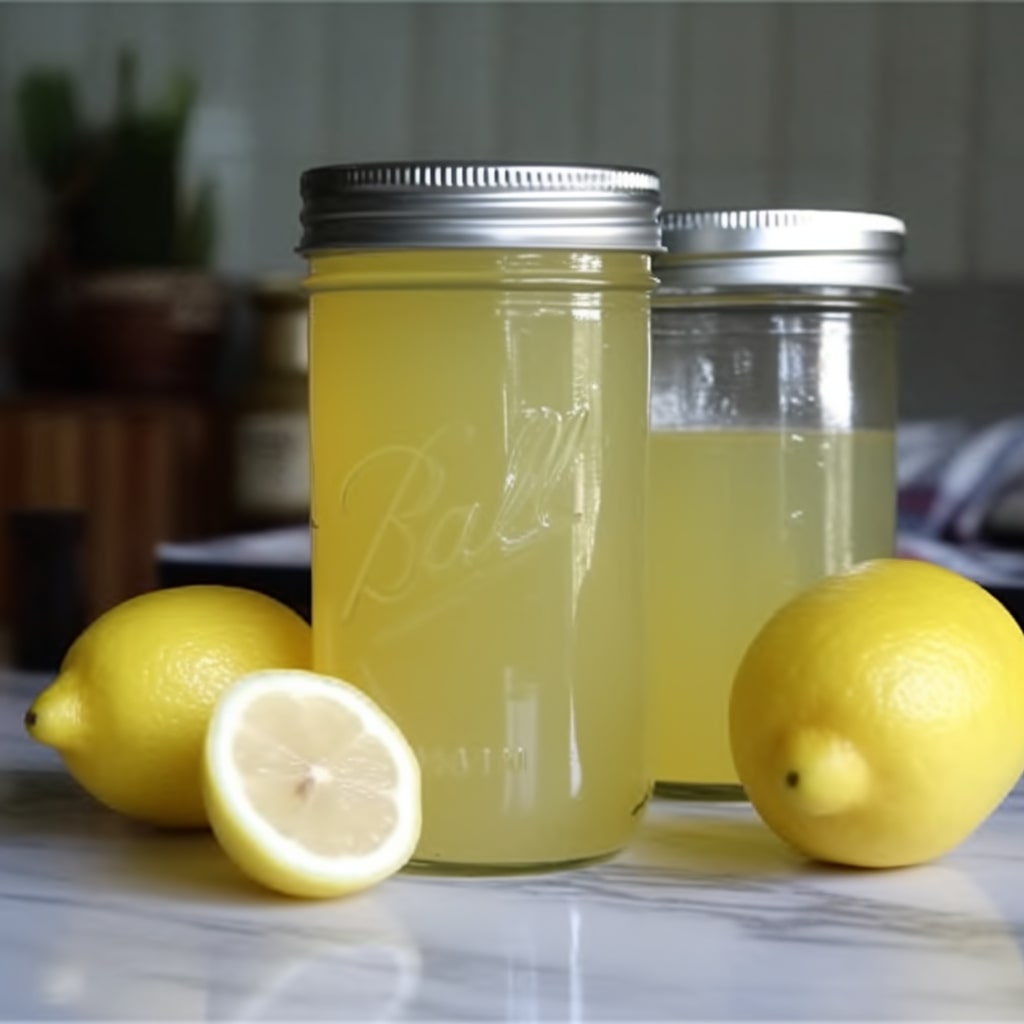
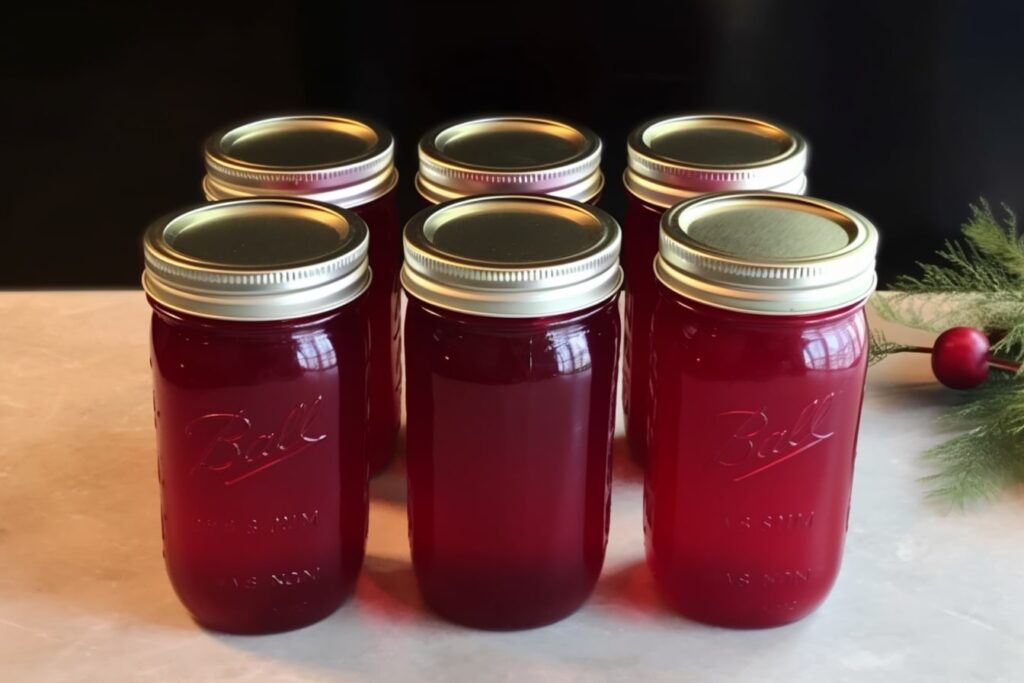
Greetings from the realm of healthy and tasty homemade cranberry juice! In this recipe for canning, we’ll look at two delectable ways to make this tart and energizing drink using real cranberries and extract.
This article will take you step-by-step through preserving the vivid tastes of cranberries via homemade cranberry juice for canning recipe, ensuring you have a pleasant supply of cranberry juice all year long, whether you’re an experienced canner or a rookie in the kitchen. So put on your apron, and start learning how to make your homemade cranberry juice for canning!
Whole cranberries vs Extracted cranberries – Which method is better for canning?
You have two choices when preserving cranberries: whole cranberries or extracted cranberries. Let’s examine each approach in detail so you can make an informed choice because they both offer advantages.
It’s a quicker and easier process if you choose the whole cranberry technique. Just put the cranberries in a simple water and sugar container and wait patiently in your cabinet for the juice to spontaneously extract. Using this technique, you may have the convenience of canned cranberries and a fruitier, less concentrated juice. It’s ideal for individuals who like cranberries with a milder flavor and don’t mind a little more sweetness.
On the other hand, extracting the juice first can be your best option if you’re searching for a more concentrated and adaptable cranberry juice. Even if it takes a little more work, the benefits are worthwhile.
You may produce a powerful, unsweetened cranberry juice ideal for adding concentrated flavor to other drinks and foods by extracting the cranberry juice as you would for creating cranberry jelly. This extracted cranberry juice works very well to add flavor to sparkling water, combine into drinks, or even tanging up your favorite dishes.
The decision comes down to your tastes and intended usage. Choose the first approach if you prefer cranberries’ pure flavor and value whole berries’ practicality.
After my testing, I advise considering both approaches and experimenting to see which suits you best. Try combining the two by extracting cranberry juice for your artistic pursuits and storing whole cranberries in cans for their lovely texture and milder flavor.
Extracting cranberries for juice canning method
The delightful tang of cranberry juice, captured and preserved through a meticulous canning method, is a testament to our commitment to quality. Every step is taken with care and precision, from the bog to the bottle.
Extracting Cranberry juice

I’ve conducted many experiments since I like homesteading and home canning, and I’m eager to share my results with you.
Let’s begin by using the whole cranberry approach. As with any canning recipe, the first step is to ensure you’re utilizing premium ingredients. Wash your cranberries from your garden or the shop; this is very important! The greatest juice will surely come from clean, premium cranberries.
I advise beginning with 3 pounds of cranberries for this technique. You can modify the quantity if you like a more concentrated juice. 4 quarts of water and cranberries should be combined in a big stockpot before simmering. You’ll see the berries explode after 5 to 10 minutes, revealing their rich scents and hues.
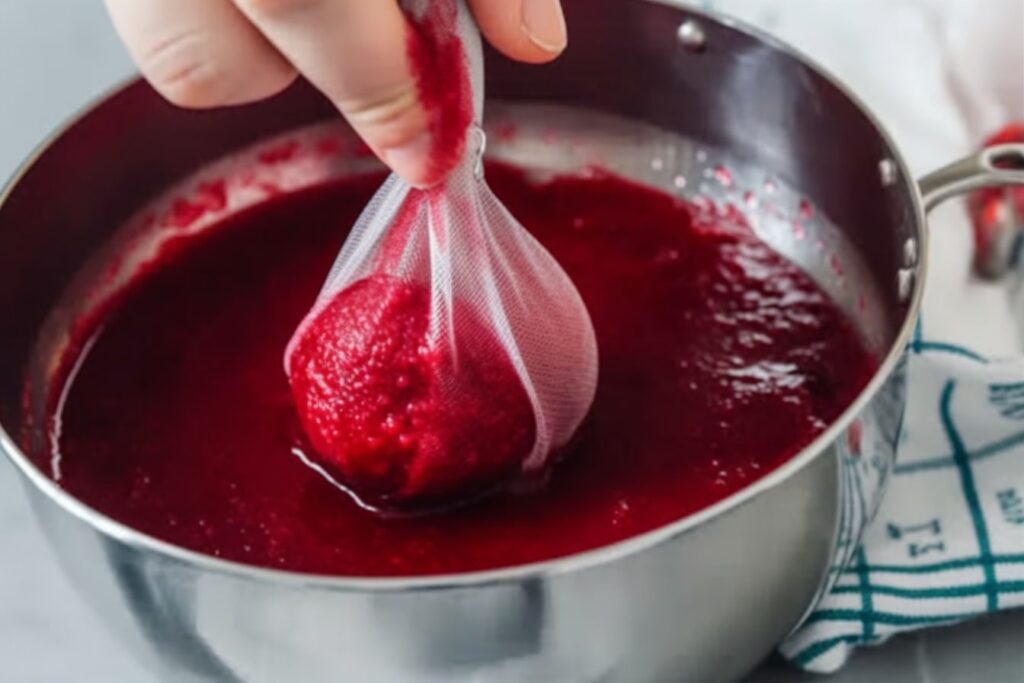
The mixture should now be strained using a jelly bag or two layers of cheesecloth. The liquid will be separated from the remaining solids using this technique. Repeat the cooking and filtering as necessary to get every last drop of flavor out of the cranberries if you think they still have juice to spare.
Let’s now discuss the extracted cranberry approach. This method extracts the juice without boiling the ingredients beforehand. It entails taking the juice straight from the cranberries using a juicer or other instrument. There are a few things to think about, even if this approach can appear more practical.
For the extracted cranberry technique to produce the same amount of juice as the whole cranberry approach, you might need to use more cranberries. The whole cranberry approach produces a juice that is richer and more strong since boiling enables the flavors to emerge.
According to my observations, the flavor of the extracted cranberry juice differs from that of the simmering juice. The whole cranberry method’s simmering step reveals the cranberries’ inherent characteristics and may result in a more complex flavor profile.
Although each approach has advantages and disadvantages, the choice ultimately boils down to preference. The extracted cranberry technique can be your best option if you want ease and a quick procedure. Conversely, the whole cranberry technique can be your best option if you desire flavor depth and a more conventional approach.
Let’s now discuss sugar. Once you have your cranberry juice, you should taste-adjust the sweetness. Everyone has different tastes, so feel free to alter the sweetness. But pay attention to the sugar content. Cranberries’ inherent acidity can be effectively balanced with the appropriate degree of sweetness.
Stir slowly to help the sugar mix in the juice after adding it. After adding sugar, it is crucial to simmer the liquid as little as possible since it can easily turn into jelly. Possibly one of the hardest things, but don’t worry! You’ll master striking the ideal balance with practice and perseverance.
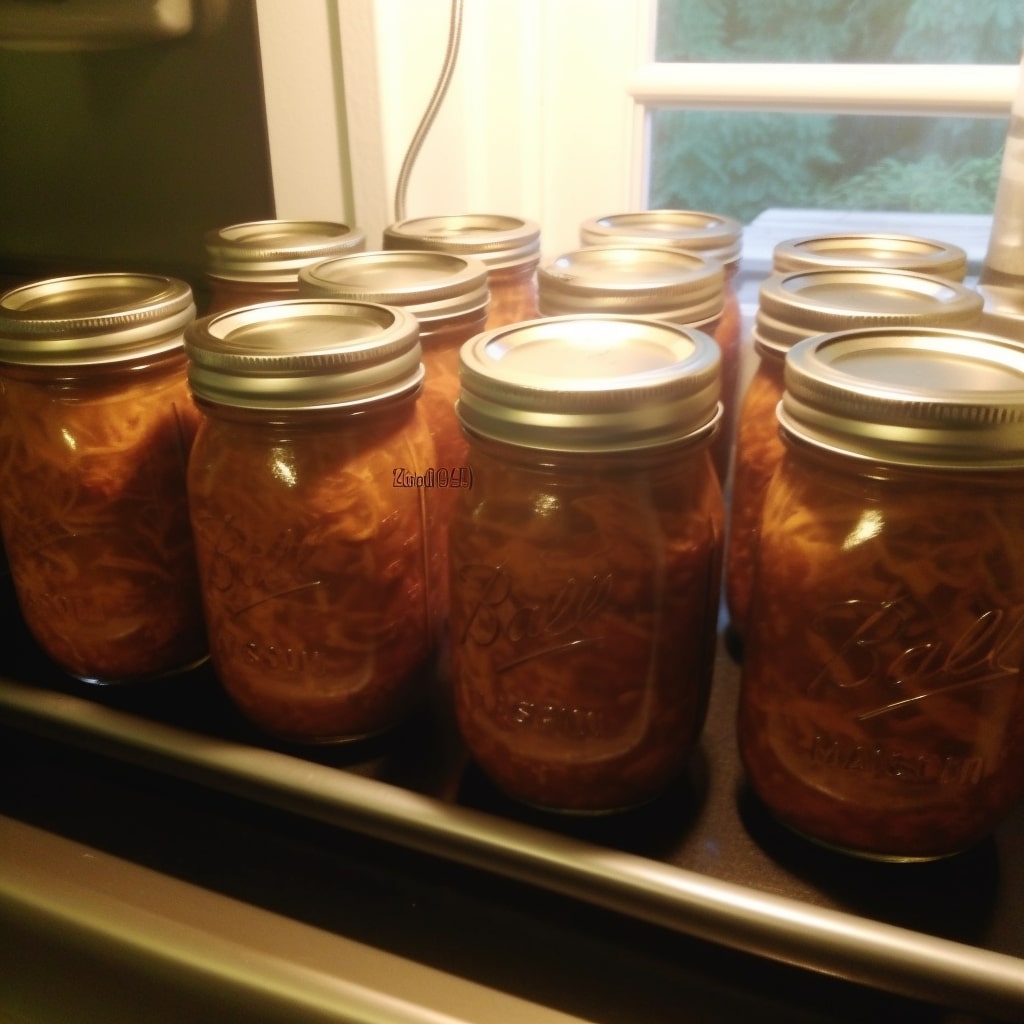
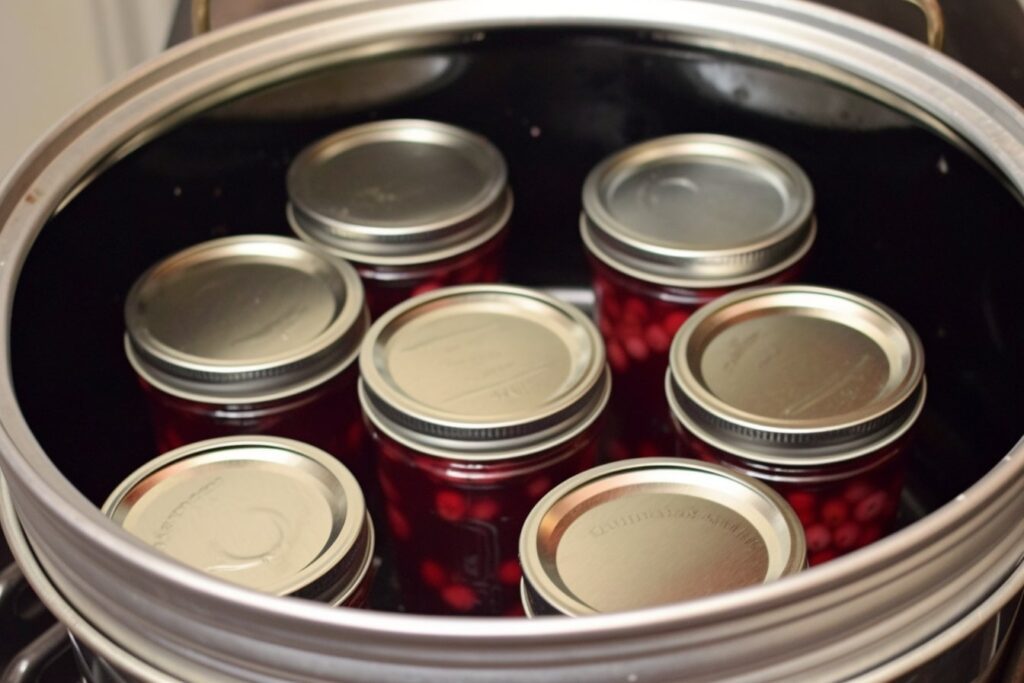
Process Water Bath Canning
I’ve discovered that using a water bath canner is an excellent way to keep cranberries’ delicious flavor fresh. Continuing to savor fresh cranberries’ flavor after the harvest has ended is a wonderfully pleasant experience. I’ve looked at many canning methods, but water bath canning has always stood out as a practical and dependable choice.
My research has shown me the value of utilizing fresh, high-quality cranberries for the greatest outcomes. Your favorite cranberry juice will be produced by choosing firm, ripe berries. Before beginning the canning process, I advise thoroughly washing the cranberries and sorting them meticulously.
I’ve discovered that leaving around 1/4 inch of headroom is essential when filling the canning jars. This additional space enables processing expansion and aids in forming a strong seal, both essential for secure and efficient preservation. You can depend on a good seal to keep your cranberry juice tasty and fresh for several months.
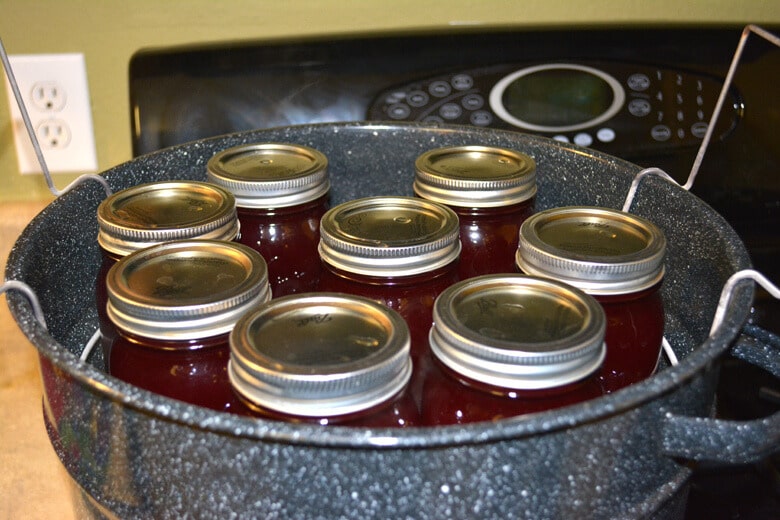
Regarding the actual canning procedure, most home canners can readily reach and utilize a big pot with a canning rack or a water bath canner. The jars are sealed firmly, and the boiling water creates a stable atmosphere. This also kills any possibly hazardous germs.
Let’s now discuss processing time. While adhering to canning instructions is crucial, you should always alter the processing time by your altitude. I’ve made this error and had jars of food that must be properly canned. Fortunately, I learned from it and urged you to do the same. To ensure your cranberry juice is securely preserved, double-check the suggested processing times for your area.
After extensive testing and countless cans of cranberry juice, I can attest that there is nothing more pleasurable than hearing the lids shut with a satisfying “pop” sound. It means your efforts have been successful, and your cranberry juice is now ready to be preserved for later consumption.
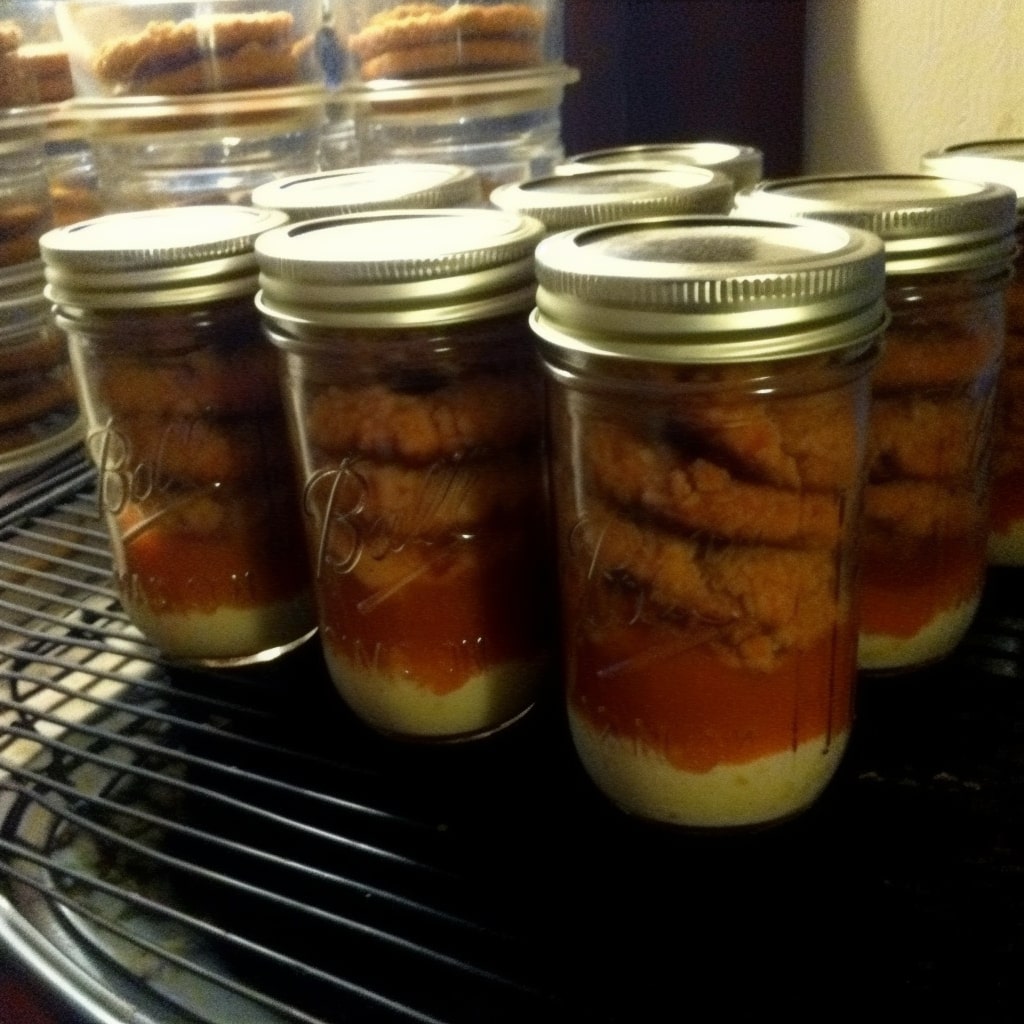
Whole berries canning method
Preserve the essence of nature’s sweetness with our whole berries canning method. Discover the joy of capturing the juiciest, ripest fruits at their peak, ensuring year-round delight in every jar.
Preparing berries mixture jars
I’ve had some interesting adventures with it, and it’s a great way to keep the mouthwatering flavor of cranberries.
Therefore, there are a few crucial actions while creating the berry combination jar to guarantee that your canned cranberries turn out well. The whole-berry canning method not only takes less time and effort but also enables you to enjoy preserving these lovely berries while saving time.
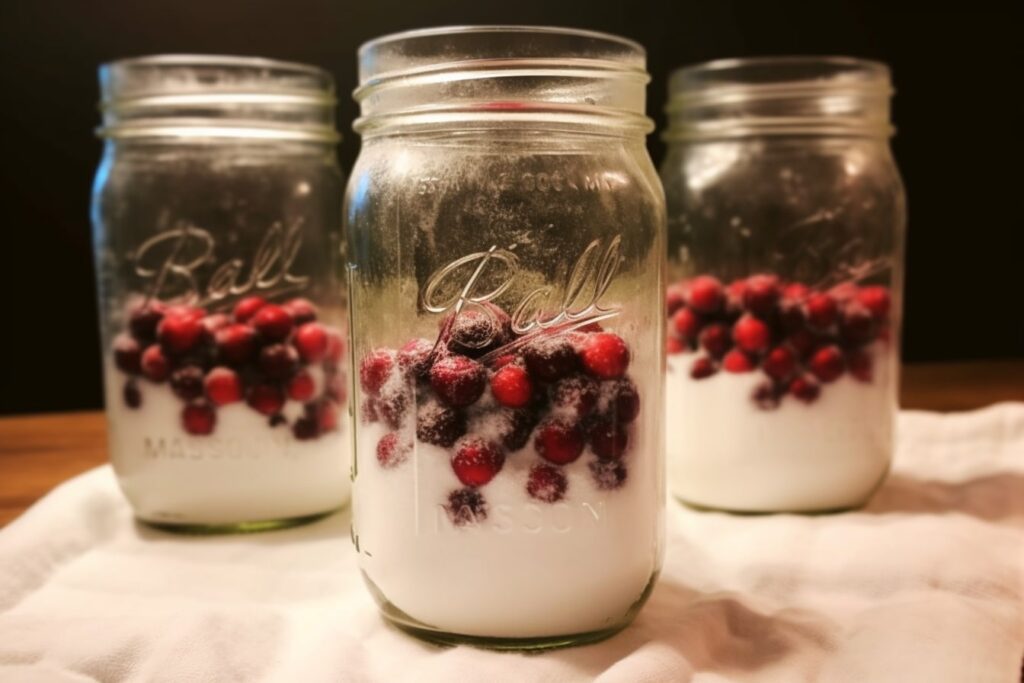
Grab your quart-sized jars and get ready to fill them with delicious cranberries first. Adding 1 1/2 to 1 3/4 cups of fresh cranberries to each quart jar. There’s no need to be overly accurate here, so feel free to wing it.
Now for the tasty part! Add roughly 1/2 cup of sugar to the cranberries. You may, of course, change the sweetness to your preference; if you’d like less sugar, go ahead and add a little less. However, based on my experience, don’t use less than 1/4 cup since the syrup could be insufficient to squeeze out enough juice from the berries in the container.
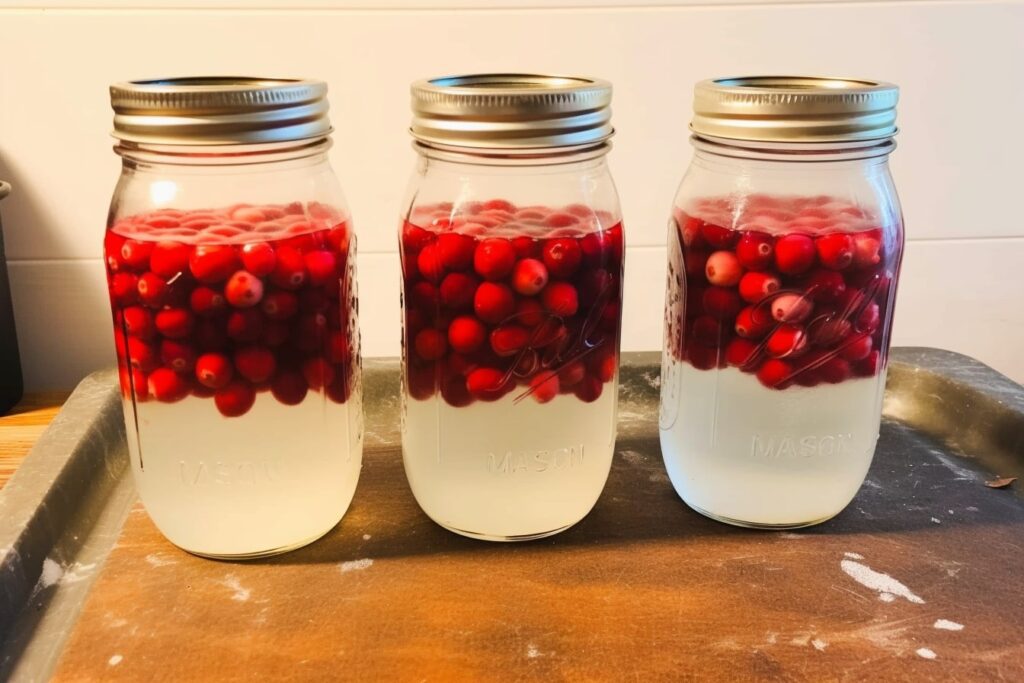
Once your sugar and cranberries are ready, it’s time to add the key ingredient: boiling water. Giving the cranberries and sugar a generous 1/2 inch of headroom at the top of the jar, pour the boiling water over them. Your canned cranberries will stay fresher longer if you leave this headspace, which is necessary for safe canning.
The jars are finished after the lids are secured. Your jars of berry combinations are prepared for canning. It’s that easy! While this approach is great for producing rich and sweetened cranberry juice, it’s crucial to remember that there might be better choices than unsweetened cranberry juice. I advise looking into other canning techniques that concentrate on extracting the juice from the berries for unsweetened juice.
How does the juice quality produced by canning the entire berries compare to juice produced by other extraction techniques? According to my research, this procedure is practical and still yields wonderful cranberry juice, although the quality might be higher when employing extraction techniques that are specifically designed to extract juice. Even though the juice is a little less concentrated, it’s still a wonderful method to preserve cranberries and enjoy their distinctive flavor all year.
Process water bath canning
I adore canning, and one of my favorites for preserving entire berries, especially cranberries is the water bath method. It’s a wonderful method to preserve and enjoy the seasonal fresh flavors all year. Take your apron, and let’s begin!
Make sure you have all of your equipment ready before anything else. A water bath canner and jar lids are required for canning. For optimal results, ensure everything is tidy and in good working order.
The exciting part is now here: the berries! In this instance, our attention is on cranberries. First, fill the jars with approximately a half-inch of headspace with boiling water after adding the sugar and cranberries.
As storing fruit in mason jars principles whether they are whole fruits, cuts or juice,… the jars must then be sealed. This step is crucial to preserving the durability and freshness of your canned cranberries. To avoid leaks during processing, ensure the lids are firmly secured.
Processing the jars in the water bath canner is the next exciting step. Be patient because this process takes some time. Cranberries should be processed for pints and quarts at a full rolling boil for about 25 minutes. However, remember to modify the processing time based on your altitude to guarantee safe canning.
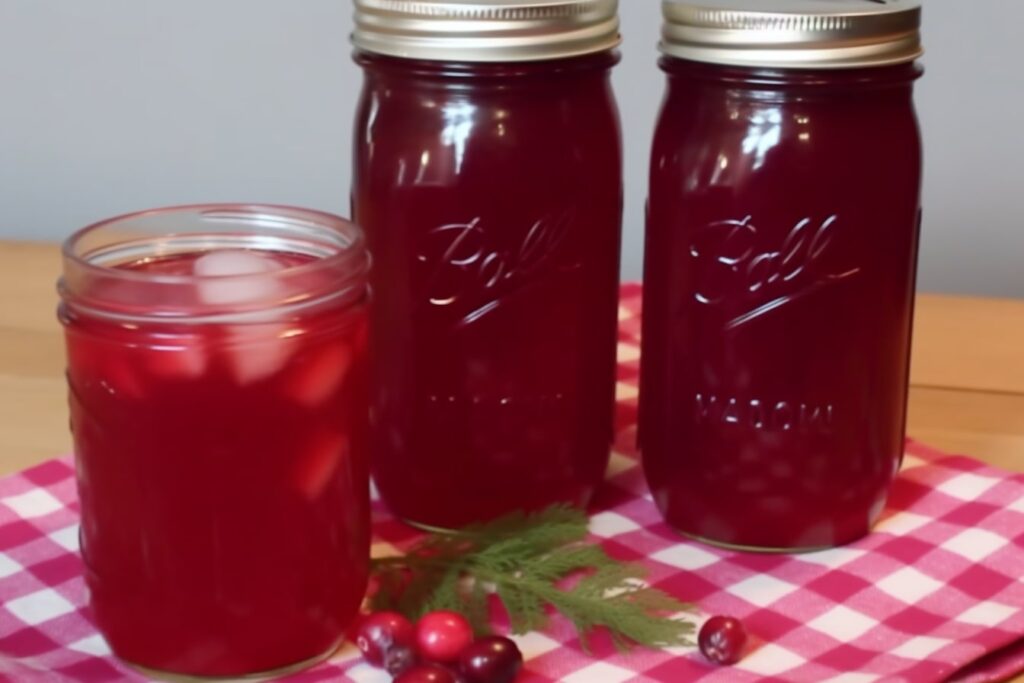
You could see that the cranberry “juice” in the jars doesn’t get colored during the processing period. This is entirely normal, so don’t be alarmed! The tastes take some time to develop and properly meld.
You have successfully boiled and canned your cranberries after the canning is done! Congratulations! The trip does not, however, finish here. It will take another 4-6 weeks before the cranberry juice is ready to consume since it requires a little more time to achieve its full potential.
While the waiting game might be challenging, the payoff is worthwhile! Your home-made canned cranberries will be overflowing with flavor and ready to lend a healthy touch to your meals, desserts, and even drinks. Additionally, there is something very rewarding about reaping the rewards of your effort all year long.
Useful tips on canning homemade cranberry juice
You have successfully boiled and canned your cranberries after the canning is done! Congratulations! The trip does not, however, finish here. It will take another 4-6 weeks before the cranberry juice is ready to consume since it requires a little more time to achieve its full potential.
While the waiting game might be challenging, the payoff is worthwhile! Your homemade canned cranberries will be overflowing with flavor and ready to lend a healthy touch to your meals, desserts, and even drinks. Additionally, there is something very rewarding about reaping the rewards of your effort all year long.
Let’s now discuss the extraction technique. process #1, sometimes referred to as the extraction process, is boiling the cranberries and filtering the resulting liquid through a mesh to remove all the beneficial components of the fruit.
Be bold and repeat the extraction procedure several times to optimize the flavor. This will guarantee that you extract every last bit of cranberry flavor, producing a juice that is richer and more potent.
Ah, the annoying cranberry jelly issue. We’ve all experienced it, but worry not—there’s a quick tip to prevent it! The jelly-like texture can be avoided by freezing the cranberries before pressing the juice.
You see, fruit’s pectin concentration is reduced by half when frozen for roughly a week. In light of this, I advise pre-freezing the fruit for a week if you intend to add sugar while canning your cranberry juice. You’ll produce a deliciously smooth and precisely balanced juice in this manner.
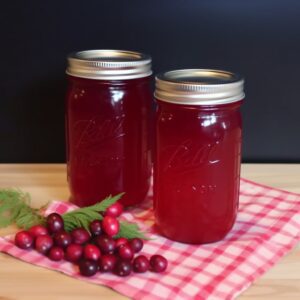
In my experience, canning cranberry juice involves more than simply keeping the fruit fresh; it also involves keeping memories. The vibrant crimson color, the sweet-tart flavor, and the pleasure of enjoying a glass of wine during holiday parties all become beloved elements in our life.
Don’t be scared to experiment and learn as you embark on your canning journey. To make your distinctive blend, add your flair, tweak the sweetness to your taste, and perhaps even incorporate more fruits. The options are unlimited, and making your cranberry juice is a wonderfully satisfying experience.
Keep in mind that mistakes do occur, and that’s acceptable. Don’t give up if your first batch doesn’t come out precisely as planned. Every attempt you make at canning puts you one step closer to perfecting the craft.
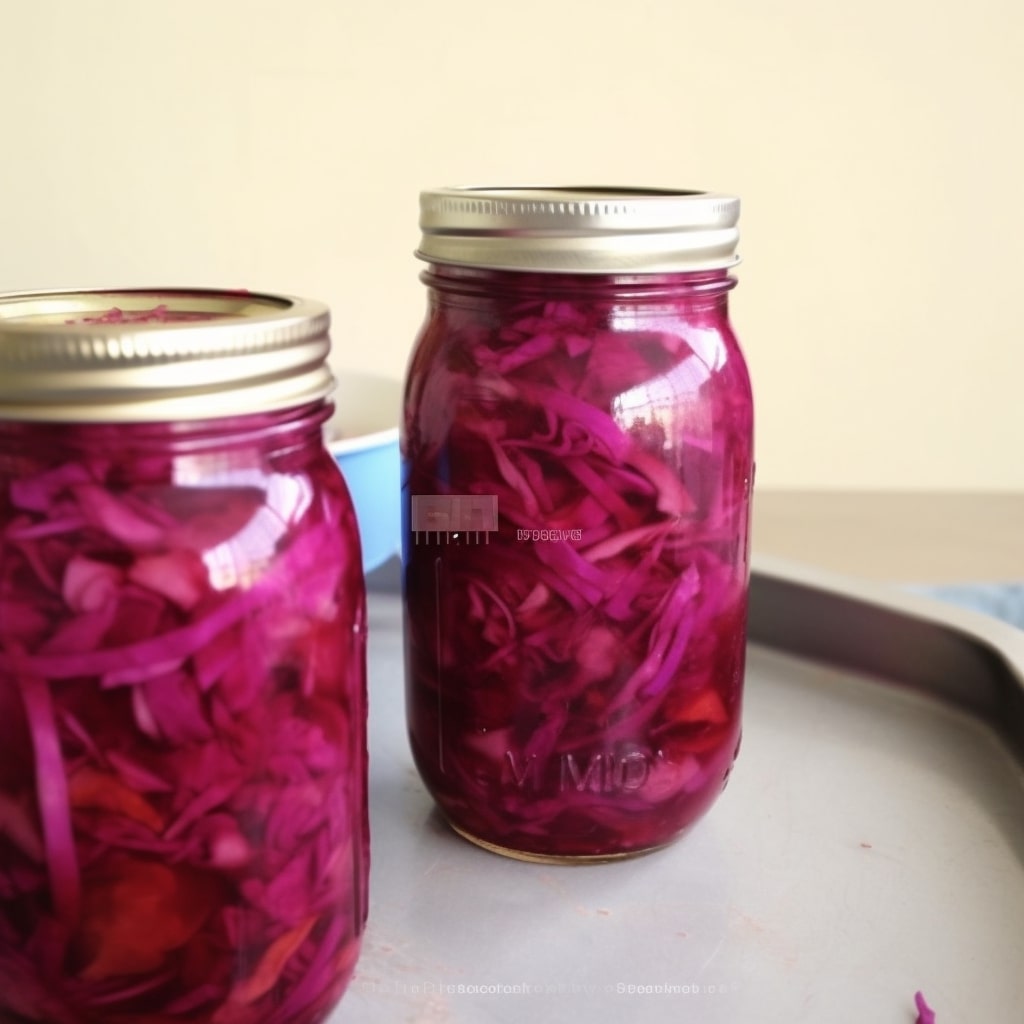
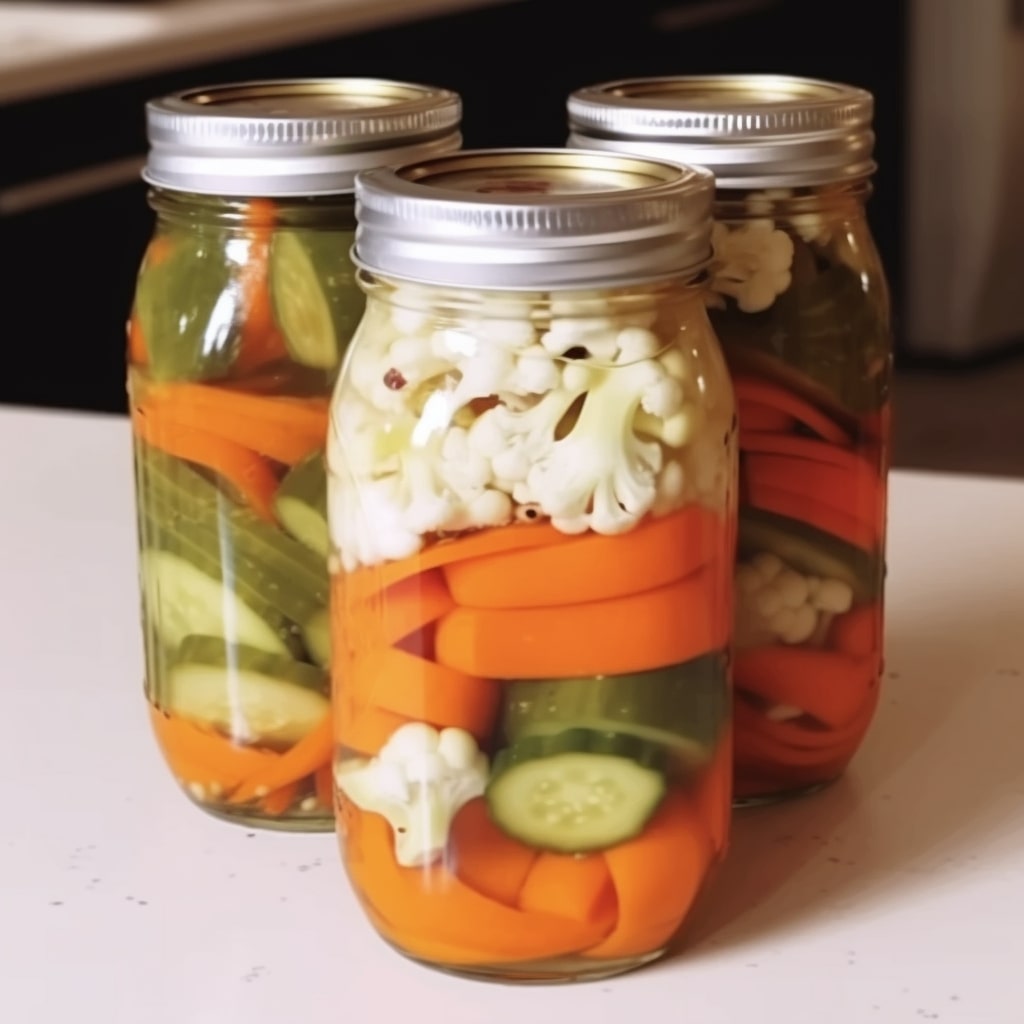
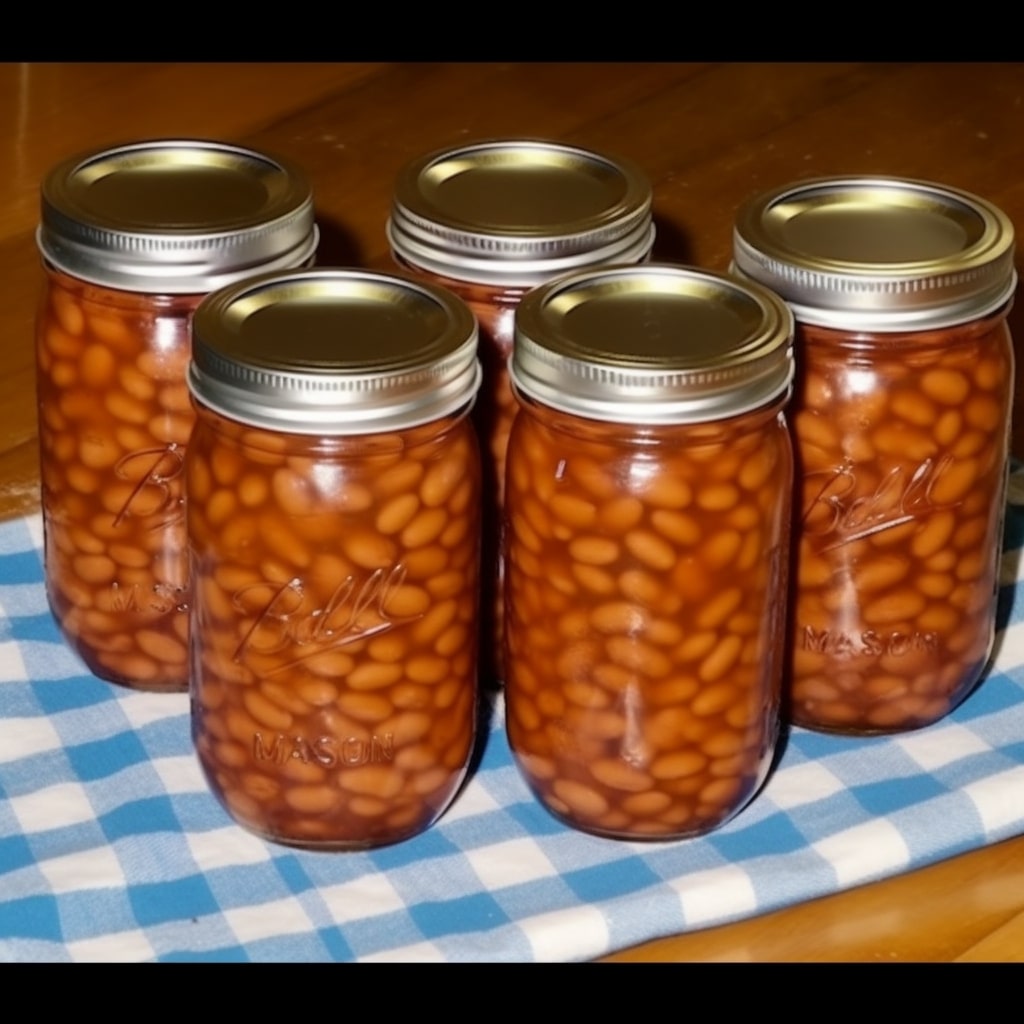
And in case you want to stock your pantry with colorful, tasty jar made from those fresh fruit from your garden out there. We got some amazing ones for you to take a look, and give them a try maybe.
Homemade Cranberry Juice For Canning Recipe
Equipment
- Mason Jars
- Water Bath Canner
- Pot
- Canning Kit (funnel,tongs, etc)
Ingredients
- 3 pounds of fresh cranberries adjustable based on preference
- 4 quarts water
- sugar
Instructions
Extracting craberries for juice canning
- Use premium, clean cranberries from your garden or shop.
- Start with 3 pounds of cranberries (adjust quantity for more concentrated juice).
- Combine 4 quarts of water and cranberries in a large stockpot and simmer.
- After 5 to 10 minutes, the cranberries will burst and release their scents and colors.
- Strain the mixture using a jelly bag or two layers of cheesecloth to separate the liquid from the solids.
- Repeat cooking and straining if there’s more juice left in the cranberries.
- Use a juicer or other instrument to extract the juice directly from the cranberries.
- You might need more cranberries to produce the same juice as the whole cranberry approach.
- The flavor of the extracted cranberry juice may differ from the simmered juice, which tends to be richer and stronger.
- Once you have your cranberry juice, taste-adjust the sweetness to your preference.
- Stir slowly to mix the sugar into the juice.
Whole berries canning
- Prepare quart-sized jars and fill them with fresh cranberries (1 1/2 to 1 3/4 cups per jar).
- Add roughly 1/2 cup of sugar to each quart jar. Adjust sweetness according to preference, but don’t use less than 1/4 cup to ensure enough syrup for juicing.
- Leave about 1/2 inch of headroom at the top of the jar.
- Pour boiling water over the cranberries and sugar, covering them completely.
- Seal the jars with lids.
Water Bath Canning
- Filljars with cranberry juice, leaving 1/4 inch headspace (half-inch you canning whole berries)
- Ensure lids are firmly secured to prevent leaks during processing
- Process pints and quarts of cranberries at a full rolling boil for about 25 minutes, adjusting based on altitude
- Whole berries canning require an additional 4-6 weeks to develop flavors before consumption
Notes
- To extract the maximum cranberry flavor, repeat the boiling and filtering process several times.
- To avoid the jelly-like texture in the juice, freeze the cranberries before pressing them, as freezing reduces pectin concentration.
- Canning cranberry juice is not just about preserving the fruit; it also creates lasting memories of enjoying the vibrant color and sweet-tart flavor during holiday parties.
- Don’t be afraid to experiment and customize your cranberry juice with different flavors and fruit combinations. Mistakes are normal, and each attempt helps you improve your canning skills. Enjoy the rewarding experience of making your own cranberry juice!