Welcome to this detailed tutorial on canning dry cooked pinto beans under pressure. Pinto beans are a wholesome and adaptable item to keep on hand. Pressure canning is a well-liked technique for preserving dried pinto beans.
You can make your own batch of wonderful, delicate pinto beans by following this method, and they’ll be ready anytime you want to use them in different meals. Let’s get going into pressure canning dried pinto beans recipe and instruction!
Prepared Your Pinto Bean Ready For Pressure Canning
To prepare pinto beans for pressure canning, follow these detailed steps:
Dried pinto beans needed for canning recipe

Dried Pinto Beans
- Average of 5 pounds per canner load of 7 quarts
- Average of 3 1/4 pounds per canner load of 9 pints
- Average of 3/4 pounds per quart
Jar Quantities
- ½ liter (US pint) jar: Allow 175 g (6 oz) dried pinto beans per jar
- 1 liter (US quart) jar: Allow 350 g (¾ lbs) of dried pinto beans per jar
Cook your pinto bean
- Amass your ingredients first. Water and pinto beans are required. Simple, yes? Pinto beans are a well-liked option because of their rich taste and creamy texture, making them ideal for various recipes, including soups and stews, and serving on their own as a side dish.
- Let’s now discuss how food is prepared. You can cook pinto beans in a few different ways. While the second approach calls for an overnight soak, the first method only calls for a fast boil and soak. Choose the approach that best fits your schedule and preferences from the two available approaches, in this method I call out for fast boil method.
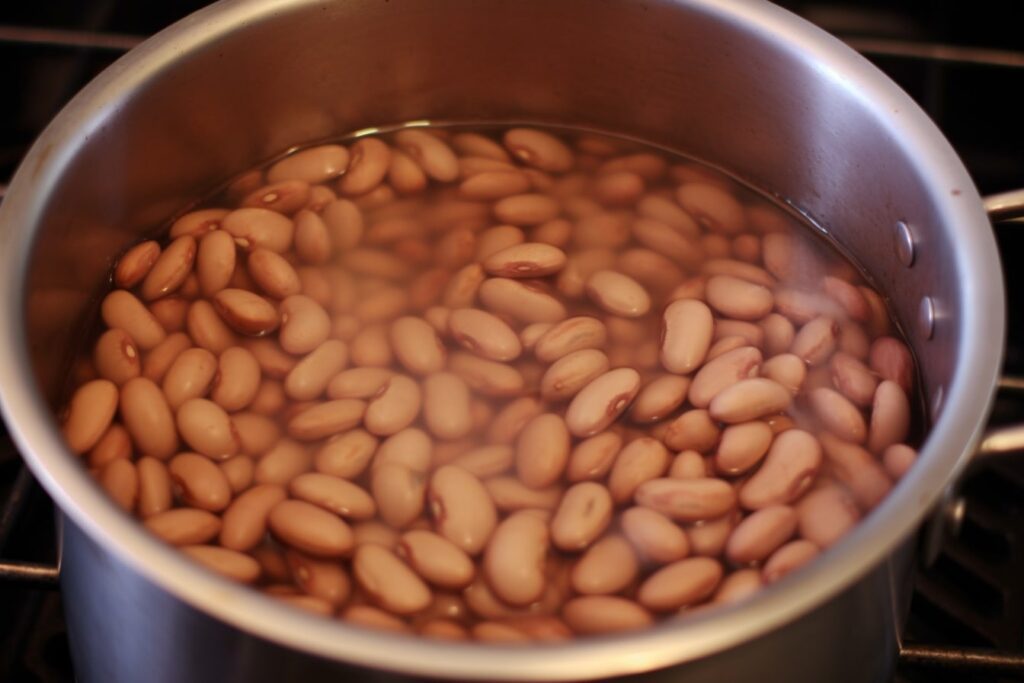
- Put your pinto beans in a big pot and cover them with water, ensuring the water level is about 2 inches above the beans for the first approach.
- The additional water is necessary because the beans absorb part of it while cooking. The beans should be boiled and left to bubble for two minutes.
- After then, turn off the heat and give the beans an hour to rest. The beans might get softer and absorb more water throughout this resting period. The beans may now be used in your favorite dish or further cooked after being drained.
- As soon as the water in the saucepan has completely covered the beans, cover it. The beans should soak all night. This prolonged soaking period softens the beans and cuts down on cooking time.
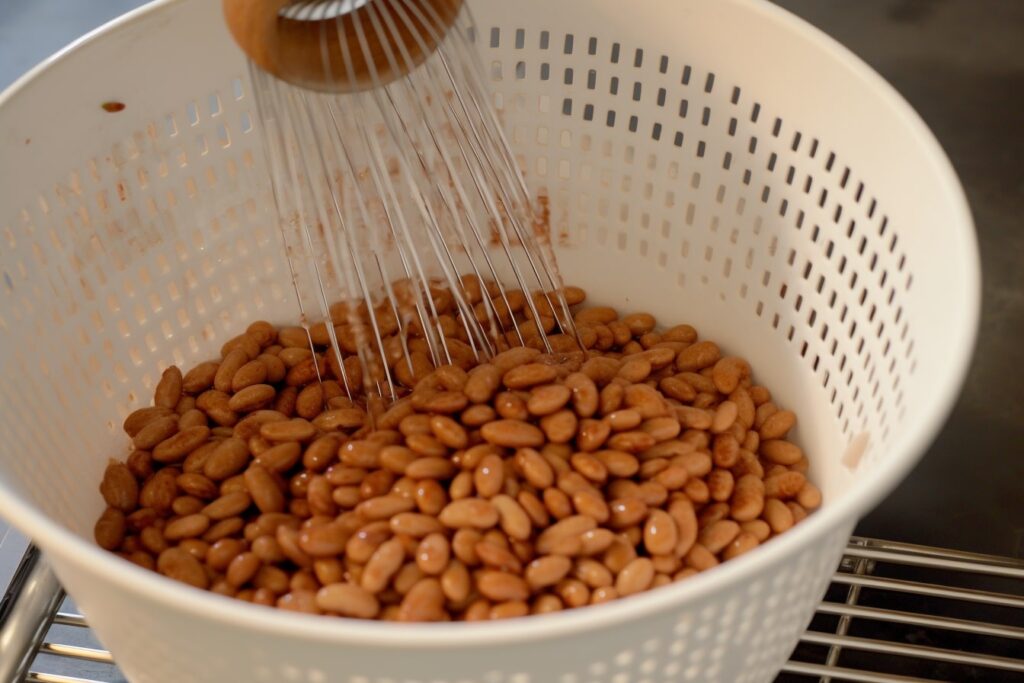
- Drain and thoroughly rinse the beans the following day before moving on to the next step.
Prepare Ingredients For Canning Dried Pinto Beans

- Pinto beans (dried)
- Water
In my opinion, preserving dried pinto beans has completely changed how I cook. It enables me to store this adaptable legume in a practical, usable form. After researching various methods and dosages, I found a few crucial advice items that I heartily endorse.
First, I’ve discovered how crucial it is to prepare ahead of time and pick the proper canner. We need to make sure that all of our jars will fit into the canner simultaneously.
I suggest carefully taking the canner’s size and capacity into account. In my situation, I’ve discovered a canner that holds roughly 7 quarts or 17 double-stacked pint jars. It’s important to remember that stacking pint jars necessitates a tall canner while making your decision.
Let’s now discuss the serving sizes suggested by the National Center for Food Preservation. For a 7-quart batch, they recommend 5 pounds; for a 14-quart batch, they recommend 10 pounds.
But after testing, I’ve decided that these dosages are too high for what I need. I had more cooked beans than I needed, which, although not a big deal, can result in unwelcome leftovers. Therefore, to accommodate your tastes and save waste, reduce the quantity.
Pinto beans work best when canned in quart-sized containers for my household of four. Each meal contains a quart of beans, the ideal serving size.
Additionally, it speeds up the process of food preservation, which is a significant bonus. However, feel free to use pint-sized jars if you prefer them. The secret is to adjust your canning strategy to your unique demands and consumption habits.
Essential Equipments For Canning Dried Pinto Beans
When canning dried pinto beans, it’s important to have the right equipment for a successful and safe process. Here are the essentials
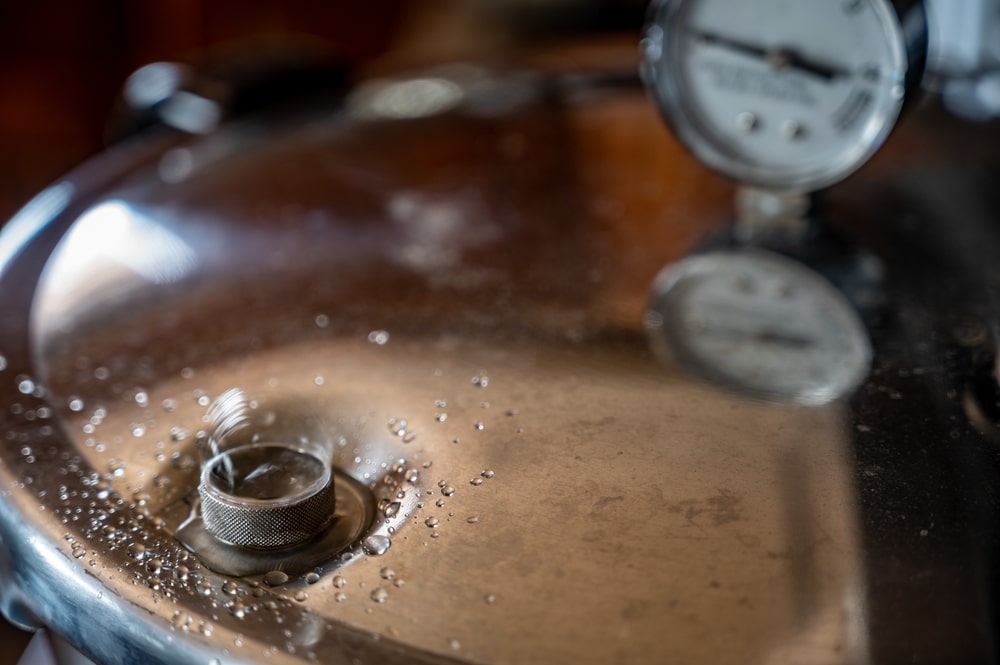
- Pressure canner (not just a cooker) with a pressure regulator or working dial gauge.
- Extra canning rack for double stacking jars, if needed.
- 14-16 pint or 7 quart mason jars (wide mouth is recommended).
- Lids and rings that fit the jars.
- Canning tools like jar lifters and bubble removers.
- Large stock pot for par cooking the beans.
Not simply a cooker, but a pressure canner is what you’ll need first. Beans and other low-acid foods may be securely preserved using a pressure canner, which is specially made for the process. Make sure your pressure canner has a pressure regulator; otherwise, if it has a functioning dial gauge, you can use the one that came with the canner. .
I advise having an extra canning rack to enhance your canning productivity, especially if you intend to double stack your jars. This enables you to process more jars in each batch and optimize the capacity of your canner.
Let’s now discuss the mason jars, who steal the show! You will need 14–16 pint-sized jars or 7 quart-sized jars to can dry pinto beans. I personally like using wide-mouth jars since they are much simpler to fill and empty.
With the bigger hole, you can spoon the beans in without worrying about spills or messes. You’ll save a ton of frustration and cleanup time, I promise!
Naturally, you must remember to get lids and rings that suit your canning jars. Whether they are pint or quart jars, be sure they are the same size.
To guarantee a good seal, it’s crucial to use fresh lids for every batch of canned goods. As long as they’re in good condition, rings, on the other hand, can
Step-by-step Instructions for Pressure Can Pinto Beans
If you’re eager to preserve your delicious pinto beans through pressure canning, you’re in the right place! I’ll guide you through each step, sharing tips and insights from my experience to ensure you have a successful canning adventure. Get ready to enjoy shelf-stable jars of flavorful pinto beans that can be easily incorporated into your favorite recipes whenever you desire.
Pre-Cooking for beans
Let’s speak about pre-cooking the beans before canning first. Now, why is this action required? From my research, I’ve discovered that pre-cooking aids in the beans’ attainment of the proper size and prevents excessive expansion in the jars. Trust me, you want your beans to absorb only some of the liquid and ending up with dry jars!
Here’s what I recommend:
- Begin by soaking the beans for at least 12 hours. This step softens them and helps them absorb water.
- After soaking, strain out the soaking water. This removes starches and improves the quality of your home-canned beans.
- Now, fill a large pot with water and add the soaked beans. Bring it to a boil and let the beans simmer for around 30 minutes. This partial pre-cooking ensures the beans are the right size for canning.
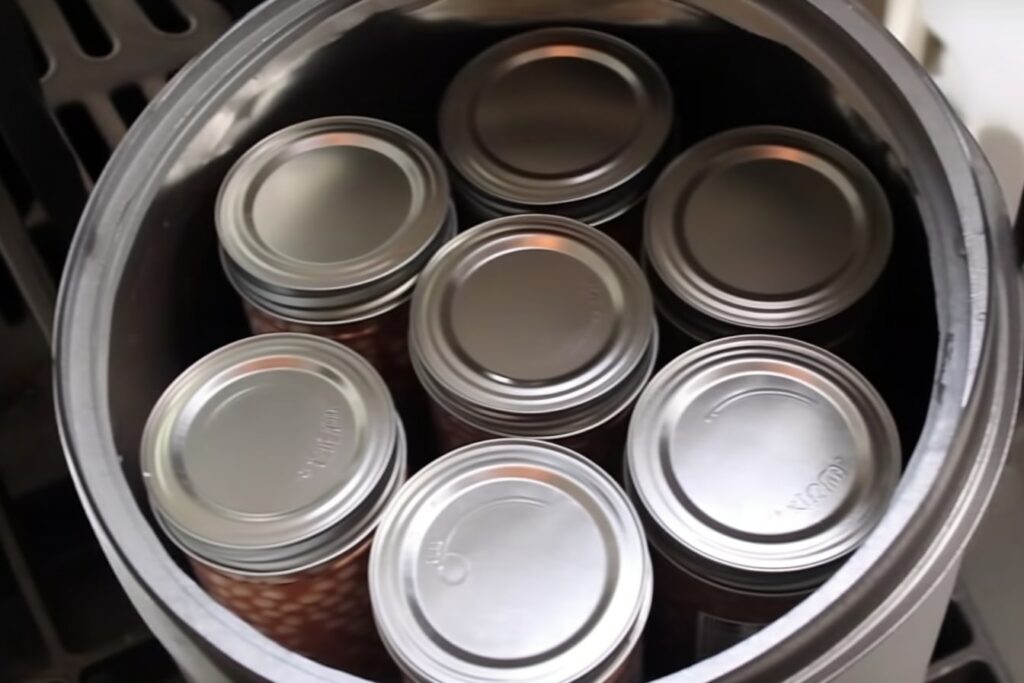
Loading Pressure Canner
While your beans are pre-cooking, it’s time to prepare your trusty pressure canner. I recommend following the manufacturer’s instructions, as each canner may have specific requirements. Here’s what usually works for me:
- To ensure a good seal, I like to apply a thin coat of oil to the rim of the lid. This helps with a solid metal-on-metal seal at the top.
- Now, place the bottom trivet inside the canner and add about 2-3 inches of water to the bottom. It’s crucial to have enough water for the canning process.
- While the canner and beans are getting ready, preparing your canning jars is a good idea. Have enough jars and lids within reach, ready to go.
When the beans have finished their pre-cooking, it’s time to load them into the canning jars:
- Grab a canning funnel, which makes the process easier and less messy. Carefully transfer the partially pre-cooked beans into the jars, leaving about 1 inch of headspace at the top.
- Now, cover the beans with boiling cooking water. You want to ensure there’s enough liquid to fill each jar adequately.
- Remember, having a kettle of boiling water on standby is always handy, just in case you need extra cooking liquid to fill the jars.
Pinto Beans Pressure Canning
Now that your jars are filled with pre-cooked beans and water, it’s time to seal them up and start the pressure canning process. Here’s what I’ve found to work well:
- Follow the manufacturer’s instructions to seal the lid of your pressure canner. In my experience, tightening all the bolts and allowing the unit to steam out the vent pipe for 10 minutes before adding the canning weight helps ensure even heating.
- After the steam release, it’s time to add the canning weight, considering the right pressure for your altitude. I recommend referring to the pressure canning guidelines provided by your canner’s manufacturer. For pints, I usually process for 75 minutes, while quarts require 90 minutes.
- Remember that the pressure requirements may vary based on altitude and the type of pressure canner you’re using. Look at the table provided earlier to determine the appropriate canning pressure for your situation.
Checking Seals and Storage
Once the processing time is over, it’s important to let the pressure canner cool down to room temperature before opening it. I know it can be tempting to rush, but patience ensures the safety of your canned goods.
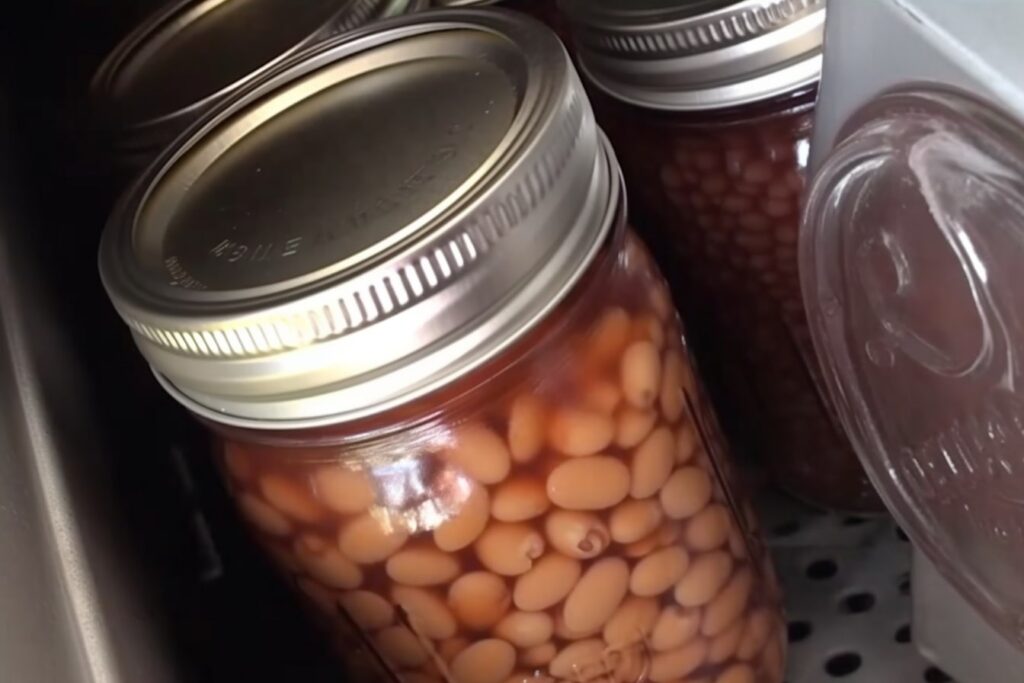
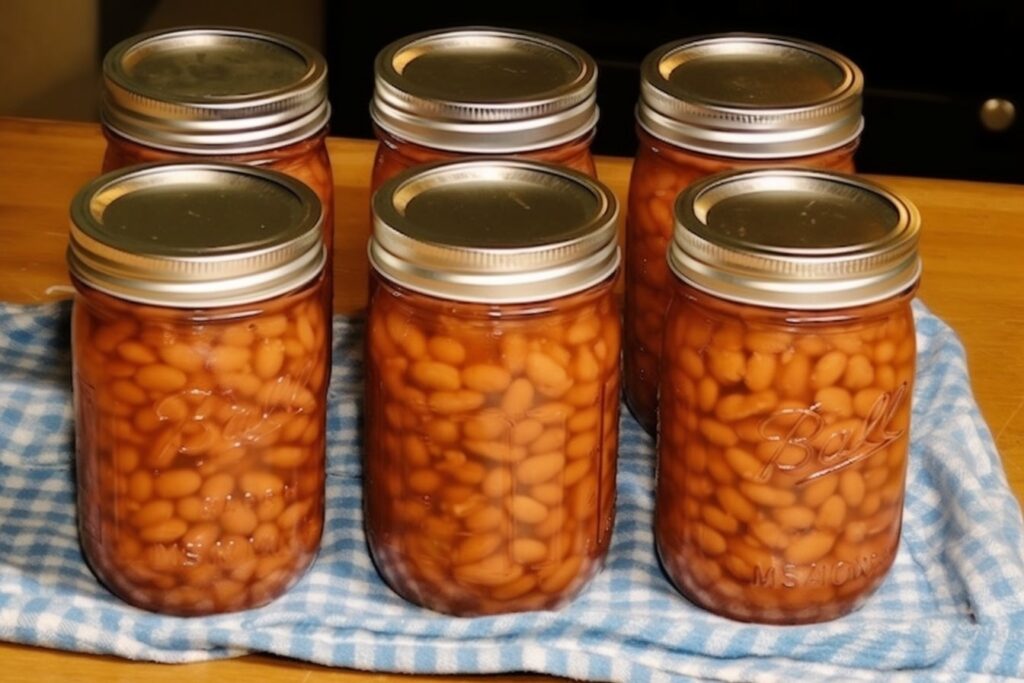
After cooling, it’s time to check the seals and store your lovely jars of pinto beans:
- Carefully remove the jars from the canner and give them a quick rinse in the sink to remove any residue. Take a moment to appreciate your hard work!
- It’s time to remove the canning rings. From my testing, I’ve learned that the rings are no longer necessary once the jars are properly vacuum-sealed. Leaving them on can lead to trapped water or bean juice, which might cause mold or rusting of the lids.
- Store your jars of pinto beans in a cool, dark place like your pantry. They should remain delicious and safe to eat for up to a year.
How long to pressure can pinto beans?
I advise you to set your timer for 75 minutes when cooking pinto beans in pints. On the other side, if you’re canning quarts, you need slightly increase the processing time to 90 minutes. This amount of time makes sure the heat gets into the jars completely, thereby killing any potentially dangerous germs.
It’s crucial to remember that these processing times are the result of in-depth testing and analysis. Depending on factors like altitude and the precise instructions included with your canner, canning times may vary. Always review the manufacturer’s instructions before making any adjustments.
Pinto beans may be safely and deliciously preserved by being pressure canned, which is a terrific method. From my experience, I’ve learned that correct timing is crucial for receiving the best outcomes.
It’s time to lower the heat when your canner reaches the right pressure. The lowest setting on your burner that yet retains the same pressure is what you want to use. This simple technique aids in avoiding overboiling inside the jars, which might obstruct the sealing procedure. That is definitely not what we want to happen!
While we’re talking about it, I’d like to point out a typical error that some people commit. It’s essential while canning with pressure canner to avoid rushing the procedure by cutting the processing time.
The suggested times I specified previously are intended to ensure both quality and safety. Cutting shortcuts might endanger food preservation or cause it to deteriorate, which is something we absolutely want to avoid.
Some Advice On Pressure Can Pinto Beans
From my experience, I find that soaking pinto beans before canning is a common practice to remove starches that can be difficult to digest and cause gas. However, I want to assure you that it’s perfectly okay to can pinto beans without soaking them too. It’s a matter of personal preference and convenience. So, if you’re short on time or simply prefer not to soak, go ahead and skip that step.
We want to choose the highest-quality pinto beans possible for our canning journey. Pick beans that are dry, fresh, and unharmed by insects, mold, or other damage. By doing this, you can be confident that you’re starting with the greatest ingredients and that the result will be lovely.
Let’s now discuss the deadline and processing time. Modifying these variables by your altitude and the directions for your particular canner is critical. We aim to retain the beans’ quality while achieving safe canning.
Remember that various canners may have varying pressure needs, so always refer to the canner’s instructions. Additionally, due to the reduced air pressure, changes are required if you reside at a higher altitude.
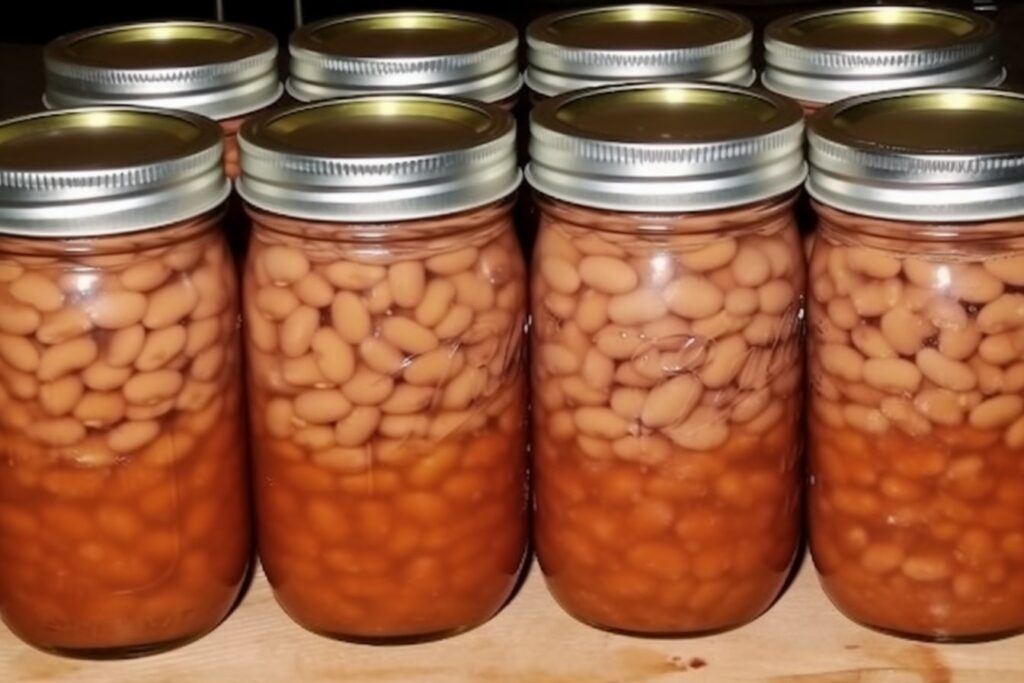
I can confidently say that pressure-canning pinto beans are a reliable method for preserving their texture and flavor. They hold up beautifully during the canning process, making them a fantastic addition to your pantry. Imagine the convenience of having your own home-canned pinto beans ready to go whenever you’re craving a delicious meal!
Enjoy your canned pinto beans jars
You’ll see that pinto beans come with a delectable broth or liquid when you open the container. Here, you have a few choices. The rich broth, which gives the beans an extra layer of flavor, may be consumed with the beans or you can drain it and utilize the beans as a variety of side dishes.
The addition of pinto beans to soups, stews, and chili is one of my favorite ways to eat them. The earthy taste and creamy texture of the beans provide depth and satisfaction to these meaty recipes. Pinto beans are a fantastic addition to vegan or vegetarian meals since they are a terrific source of plant-based protein.
But why stop there? Pinto beans can also elevate your salads to a whole new level. Toss them into your favorite green salad for a boost of protein and a delightful burst of flavor. You can even mash the beans slightly and use them as a protein-packed dressing or spread. The possibilities are endless!
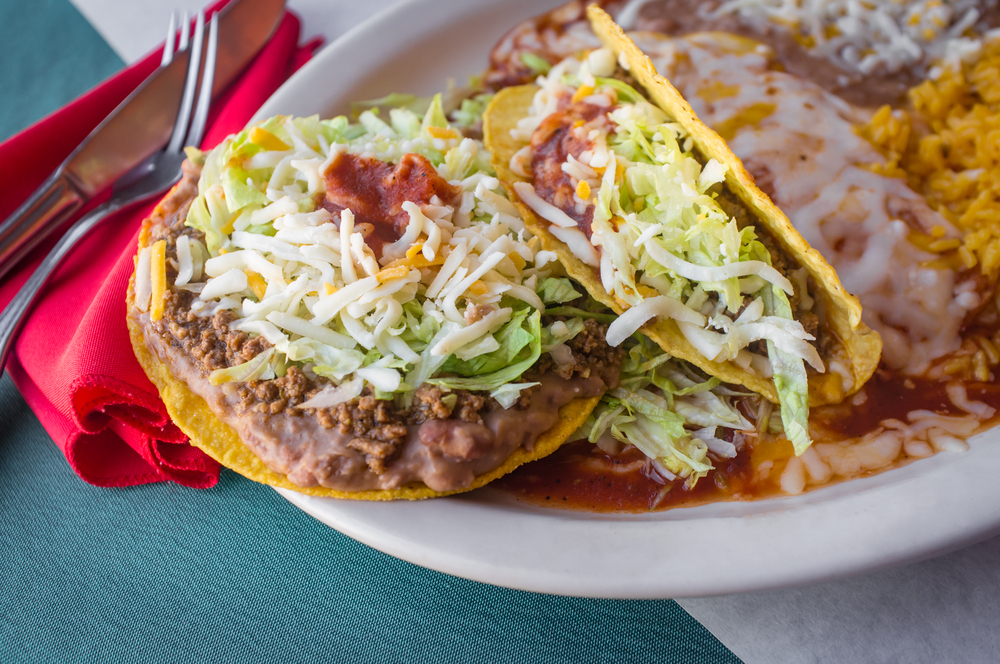
And here’s a bonus tip: If you’re a fan of meat tacos, adding pinto beans to your favorite recipe can take them to a whole new level. Not only do you get the benefits of high protein and gluten-free goodness, but you also reduce cholesterol intake without sacrificing flavor. It’s a win-win situation!
From my explorations with pinto beans, I’ve found that they are a fantastic ingredient that can transform your meals into something truly special. Whether you’re looking for a plant-based protein option, a flavorful addition to your salads, or a way to enhance your Mexican-inspired dishes, pinto beans are here to deliver.
Conclusion
And, lastly, wish you guys have a happy canning day. Beside canning dried pinto beans recipe, Manzanillanyc still got tons of vegetable canning recipes for you to uncover, if you already had your pinto beans canned, maybe give a try to one of these interesting recipes?
Pressure Canning Dried Pinto Beans Recipe
Equipment
- Pressure canner with a pressure regulator or working dial gauge.
- Extra canning rack for double stacking jars if needed
- 14-16 pint or 7 quart mason jars (wide mouth is recommended)
- Lids and rings that fit the jars
- Canning Tools like jar lifters and bubble removers
- Large stock pot for par cooking the beans
Ingredients
- 5 pounds Pinto beans (dried)
- Water
Instructions
Beans Cooking
- Soak the beans for at least 12 hours to soften them and aid in water absorption.
- Strain out the soaking water to remove starches and improve bean quality.
- Boil the soaked beans in a large pot for 30 minutes to ensure proper size for canning.
Pressure Canning
- Apply a thin coat of oil to the rim of the pressure canner lid for a good seal.
- Place the bottom trivet in the canner and add 2-3 inches of water.
- Prepare canning jars and lids.
- Cover the beans with boiling cooking water, ensuring enough liquid to fill each jar adequately.
- Follow the manufacturer’s instructions to seal the lid and steam out the vent pipe for 10 minutes.
- Process pints for 75 minutes and quarts for 90 minutes.
- Allow the pressure canner to cool to room temperature before opening.
- Remove the canning rings, as they are no longer necessary once jars are properly vacuum-sealed.
- Store the jars in a cool, dark place (e.g., pantry) for up to a year.
Notes
- For the greatest results, use dry pinto beans that are new and of good quality. Before utilizing the beans, look for any indications of damage or bugs.
- Before cooking, thoroughly rinse the dried pinto beans in cold water. This aids in cleaning up any dirt or debris.
- The dried pinto beans should soak for at least eight hours or overnight. This process shortens the cooking time while softening the beans.
- Before cooking, drain and rinse the soaked beans. The soaking water should be discarded since it may include carbohydrates and anti-nutrients.
- The soaked pinto beans should be cooked until completely soft. They may be prepared in a pressure cooker, a slow cooker, or on the stovetop.
- Cooking dry beans in a pressure cooker requires according to the manufacturer’s recommendations. Normally, you would boil the beans for 20 to 25 minutes under high pressure.
- When cooking the beans, avoid flavoring them with salt or other ingredients. This is because salt can impair the safety of canned beans and interfere with the canning process