Sausage, a treasured culinary delicacy prized for its savory qualities, has long maintained a particular place in kitchens worldwide. Its versatility has no boundaries, from sizzling brunches to substantial pasta meals. Consider how convenient it would be to have properly preserved sausage patties or links at your disposal, neatly kept in jars in your home pantry.
In a fast-paced world where every second counts, having rapid access to high-quality sausage may alter your meals. Imagine preparing a wonderful breakfast in minutes with sizzling patties or juicy links. The scent of properly seasoned sausage drifting through your kitchen sets the tone for a full start to the day.
But it does not end there. Consider spontaneous parties or last-minute meal plans. Making tasty pasta and noodle meals is a breeze when you have canned sausage.
So come along with us on a voyage into the world of canning sausage, a practical yet enjoyable undertaking that delivers the enchantment of delectable sausage to your cupboard.
Preparing Your Sausage
This in-depth investigation will investigate various sausage kinds and their ideal canning processes. From scrumptious patties ideal for pressure canning to a diverse selection of sausage variations, we’ve got you covered. Join us as we reveal the techniques of preserving your favorite sausages securely and pleasantly for future pleasure.
Sausage Link
Let’s take a trip into the world of sausages, where tastes and methods blend to produce delectable masterpieces. Consider yourself in front of a plethora of sausage selections – the possibilities are limitless! There’s a world of flavor waiting for you, from the rich tradition of Italian sausages to the smokey appeal of packaged smoked sausages.
The key to a successful sausage canning trip begins with making the appropriate option. Look for sausages that tick all the boxes: they should be fresh, free of any strange odors, and bursting with flavor. Remember, it’s like casting your culinary show: the better the actors, the better the performance!
Let’s get into the specifics of prepping sausages for their big preservation debut. I’ve discovered a nugget of knowledge that I absolutely must share with you. Be prepared to cut your link sausage into those adorable 3 to 10 cm (1 to 4 inches) bits. You may be wondering why. Well, there’s more to it than meets the eye, my fellow food adventurers.
To begin, consider it a heat symphony. You’re engineering a masterpiece of temperature distribution throughout the canning process by slicing your sausages. Each item gets its fair share of attention, ensuring that the core notes of taste and preservation are well-balanced.
Texture, ahoy! Imagine this: you bite into a perfectly cooked sausage on the outside, yet tender on the inside. Cutting your sausages into smaller pieces ensures that the magic of their texture is maintained throughout their canning journey.
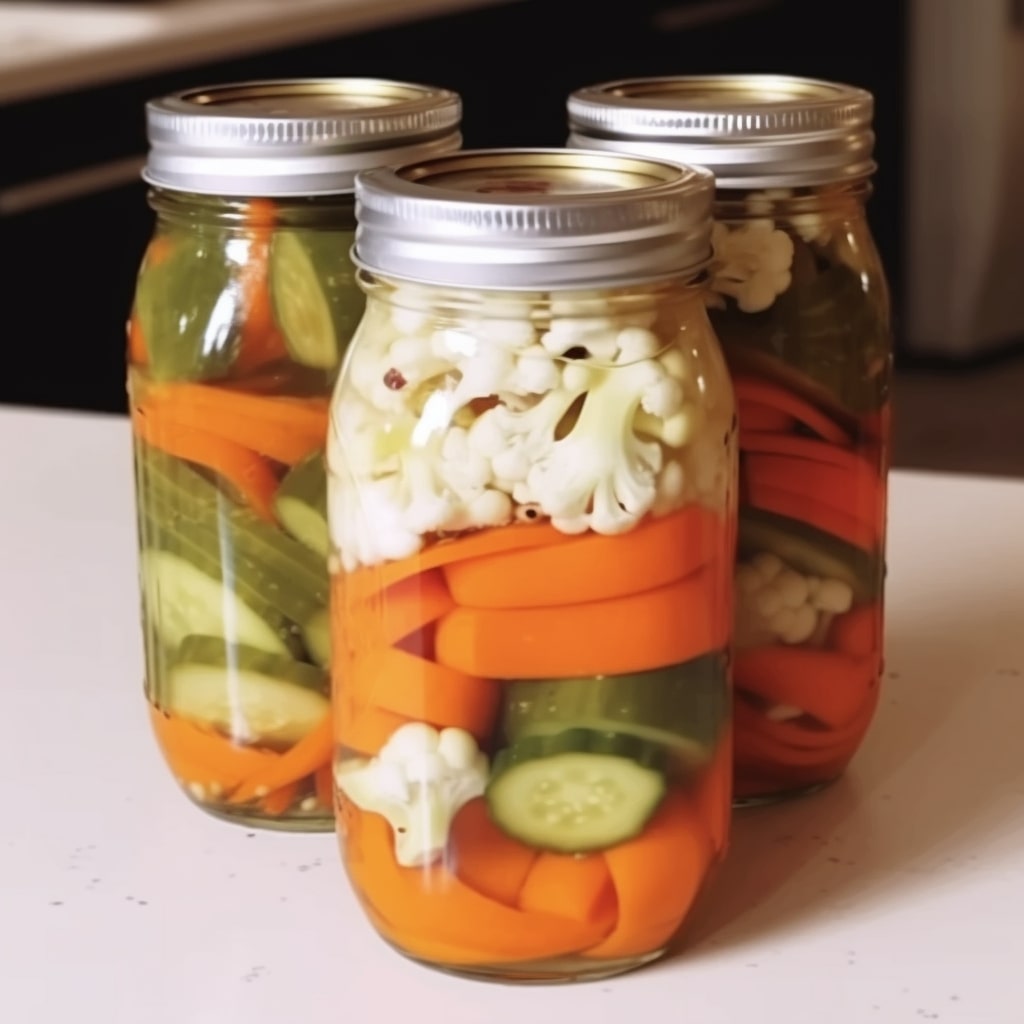
And who doesn’t love a neatly stacked pantry? This brings us to the third act – fitting those sausages into the jars. It’s like piecing together a savory puzzle, where every segment has its place, snugly nestled in the jar’s embrace.
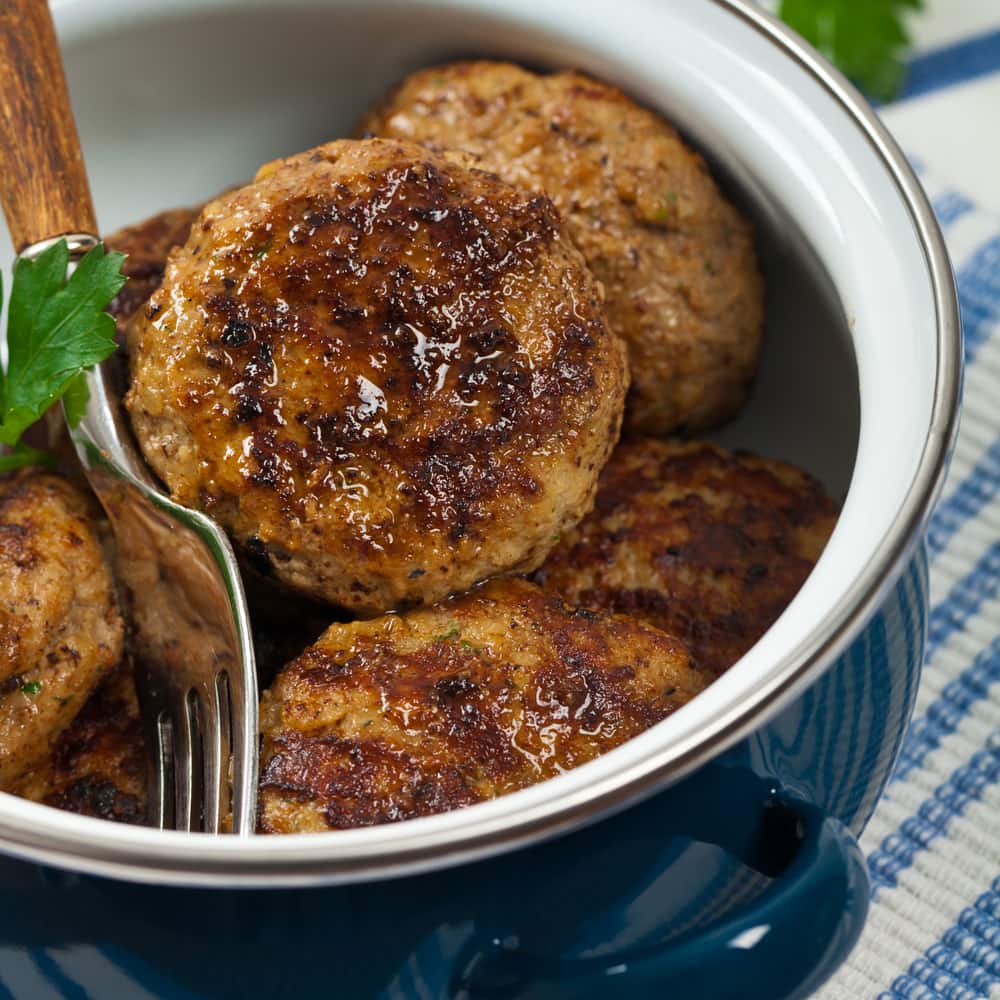
Sausage Patties
When it comes to crafting your sausage patties for canning, ingredient selection is key. Opt for high-quality ground pork – it forms the heart of your creation. Look for fresh, well-marbled pork that promises a juicy and flavorful outcome. From my experience, a mix of lean and fatty pork strikes a perfect balance, resulting in succulent patties that retain their moisture during canning.
Ah, seasoning – the secret behind every mouthwatering sausage patty. Embrace your inner chef and experiment with a variety of spices and herbs. I find that combining garlic, sage, thyme, and a touch of red pepper flakes adds layers of flavor that tantalize the taste buds. Don’t be afraid to get creative and customize your blend – it’s all about personal preference!
Now comes the fun part: forming those magnificent patties. Follow my lead and form the ground pork into tiny patties, about 4 inches in diameter, to enable effective packing and even preservation during canning. This maximizes jar space and guarantees that your patties retain their shape during the canning process. Consider it like creating small gourmet masterpieces!
Ground sausage
Quality ingredients are essential when it comes to making great ground sausage. I believe in obtaining fresh, high-quality meats. Choose cuts with a nice mix of fat and lean meat, whether using pig, beef, or a combination of meats. This balance guarantees that your finished sausages have a rich taste and a juicy texture. Our culinary adventure begins with the correct components, laying the groundwork for a final result.
A well-balanced blend of spices may take your sausage to new heights. Experiment with garlic, paprika, fennel seeds, and black pepper to create a taste symphony that dances on your tongue.
Feel free to experiment with different spices to suit your tastes. Keep in mind that this is your culinary creation!
It’s time to get our hands dirty now that we’ve acquired our supplies. For simpler grinding, I recommend breaking the meat into smaller parts. This step not only smooths out the grinding process but also guarantees that the flavors are evenly distributed throughout the sausage. Furthermore, keeping your meat cold during the procedure helps to retain its texture and keeps it from getting too mushy.
Pre-cook your sausage ready for canning

If you’ve been looking for tips on the internet, you may have come across the idea of uncooked packing your sausages for canning. But wait a minute! Based on my experience and extensive research, I’ve discovered that pre-cooking your sausages before canning makes them safer and results in a more delicious and visually pleasing end product.
You may be wondering why I’m so excited about pre-cooking your sausages. Let’s start with the elephant in the room: clumping. If your sausages are uncooked, they may clump inside the jar, resulting in uneven heat distribution throughout the canning process. This, my friends, is not what we want when we want flawlessly canned joy.
We strive to make sure that every bite of our sausages is delicious and safe to eat. Consider this: heat penetrates raw flesh differently than cooked meat. It’s like comparing a sprinter to a marathon runner; each has a different speed. So, by pre-cooking our sausages, we ensure that the heat can reach every portion of the meat uniformly, delivering a risk-free delight.
Let me now discuss the pleasant process of browning. Browning gives your sausages a gorgeous golden color and enriches their taste profile, giving every bite a blast of delicious delight.
I’ve put pre-cooking to the test on my culinary adventures, and the results have been spectacular. In such exquisite jars, the sausages retain their character, remain soft, and are well preserved. Brown your sausages to perfection, drain off any excess fat, and prepare for a canning adventure that will have your taste senses dancing with delight!
Process Canning Sausage with Pressure Canner
The first step in achieving that tempting flavor is to fry the patties to a golden brown color. Cook them on both sides until they get the desired color. No concerns if they aren’t completely cooked! The pressure canner will handle the rest. When done, drain the patties and pat them dry with a paper towel to remove extra fat.
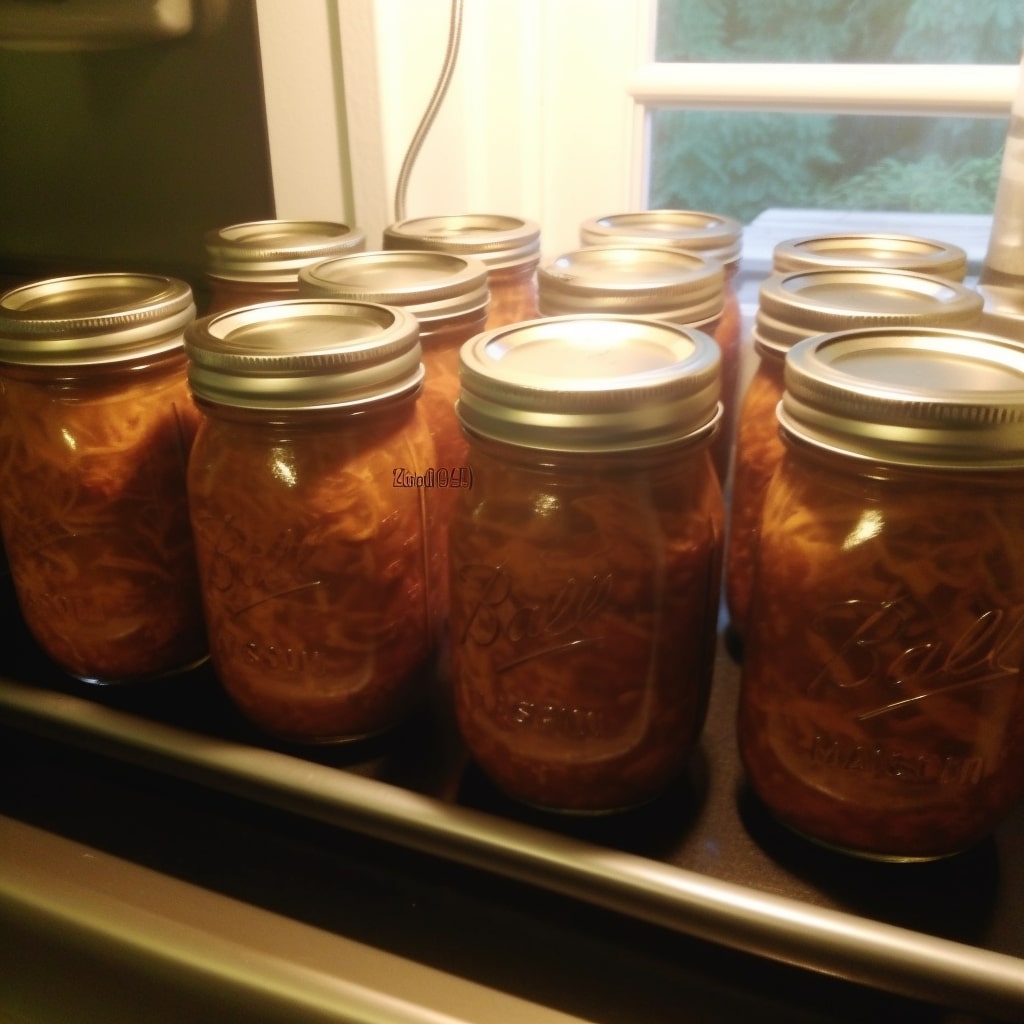
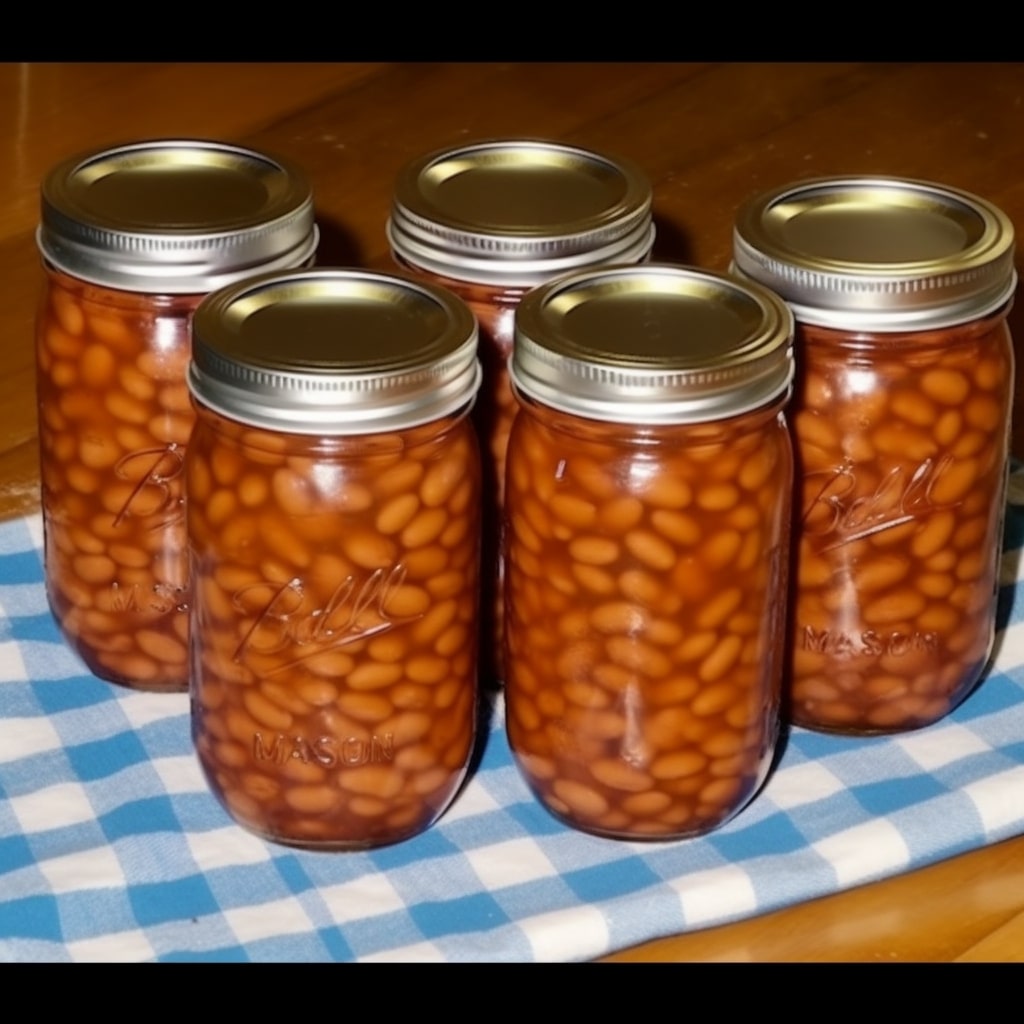
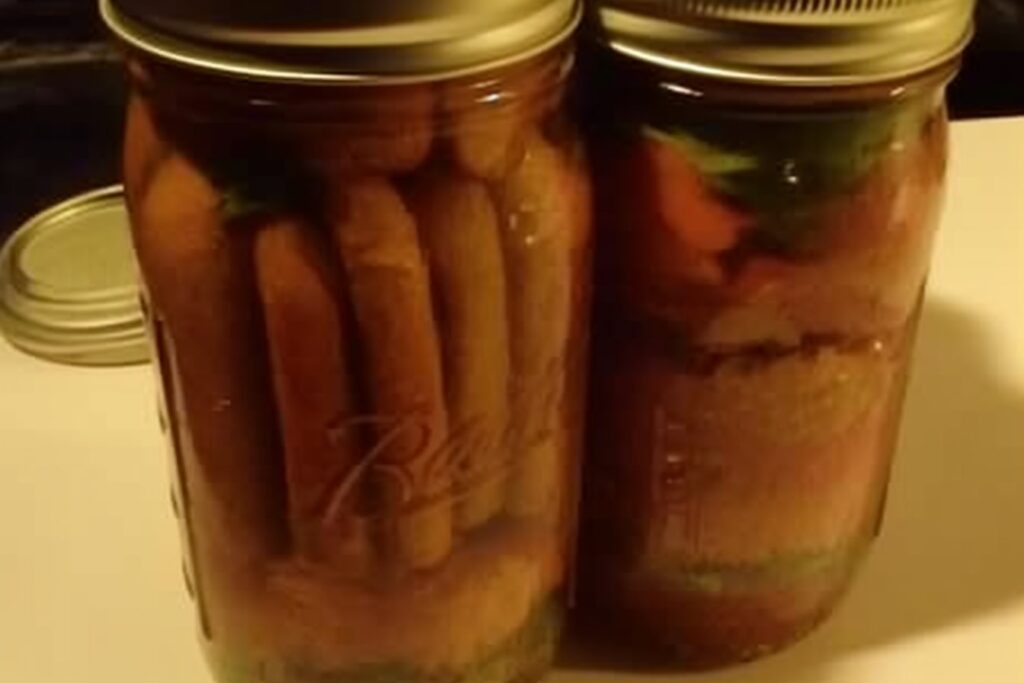
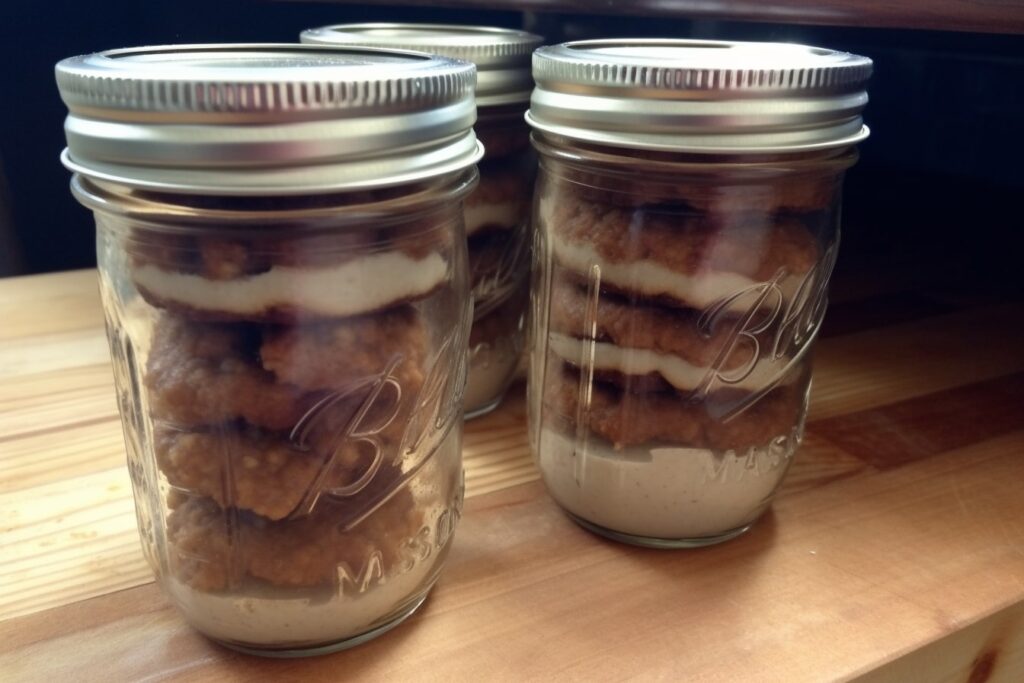
It’s time to start assembling your sausages for canning. Stack the delectable patties into heated pint jars. Each jar will hold roughly 4-5 patties on average, but feel free to modify them based on your overall number. Remember to leave approximately 1″ of headroom at the top for expansion during the canning process.
Let’s eliminate any trapped air bubbles to get the greatest results. A rubber or plastic spatula will come in handy here. Run it through the jar gently to eliminate any troublesome bubbles, and top it up with hot water if necessary. Let’s give those jar rims some attention now. Wipe away any oil or debris using a vinegar-soaked paper towel — this step guarantees a tight seal when the lids are popped on.
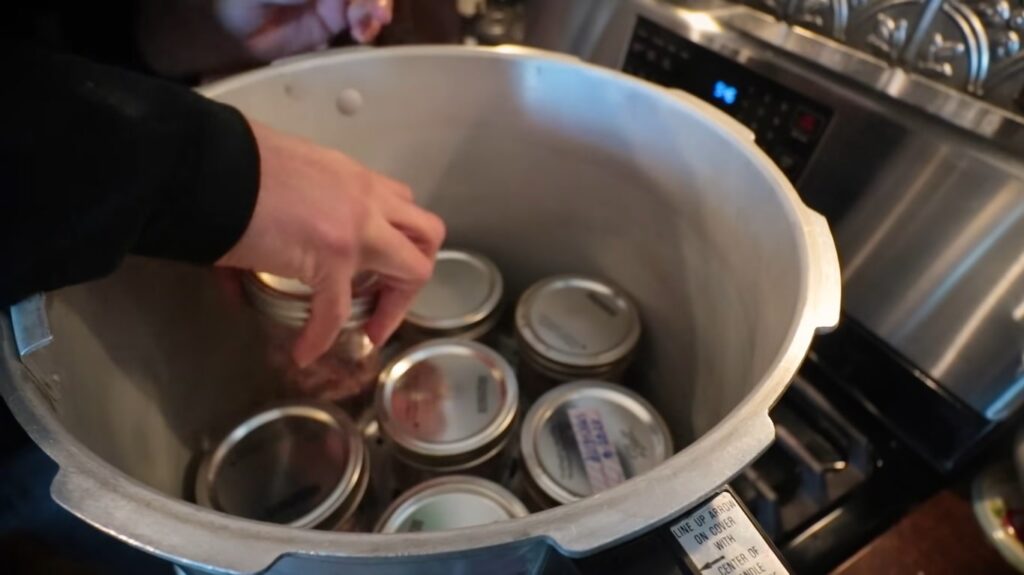
Adding the heated lids and rings (after a good boil) is the icing on the cake. Tighten the rings “finger tight,” and the canning adventure begins. Place your full jars in the pressure canner; now comes the tricky part.
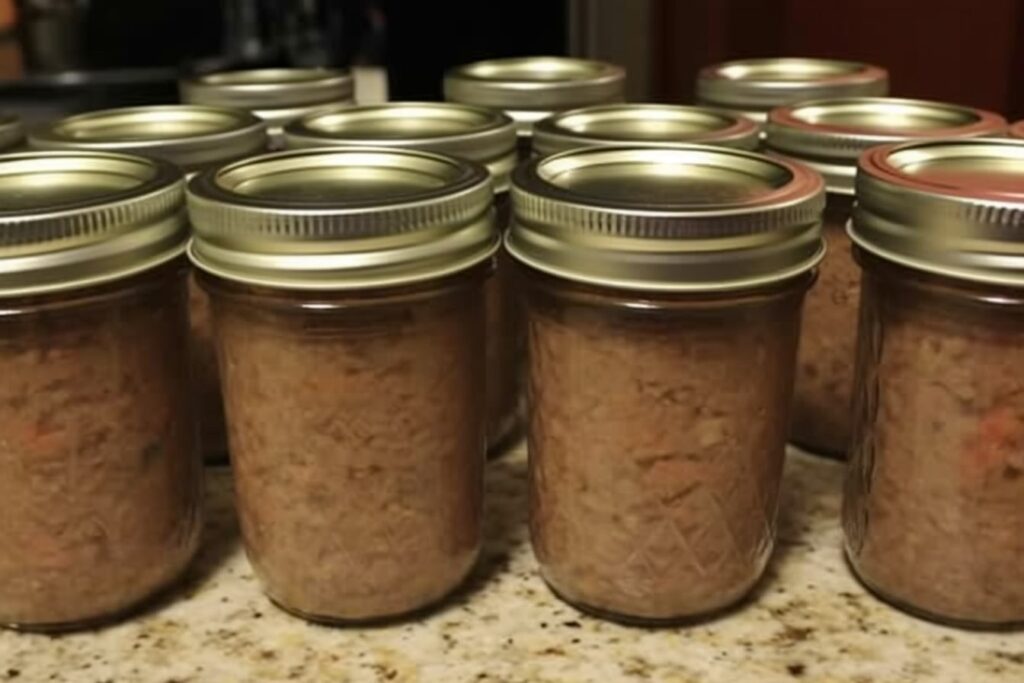
The processing time in the pressure canner for pint jars is 75 minutes. When utilizing a weighted gauge canner, 10 pounds of pressure is the golden amount. However, if you’re using a dial gauge, set it to 11 lbs. Quarts will require a touch longer – a cool 90 minutes under the same pressure settings if you like quarts.
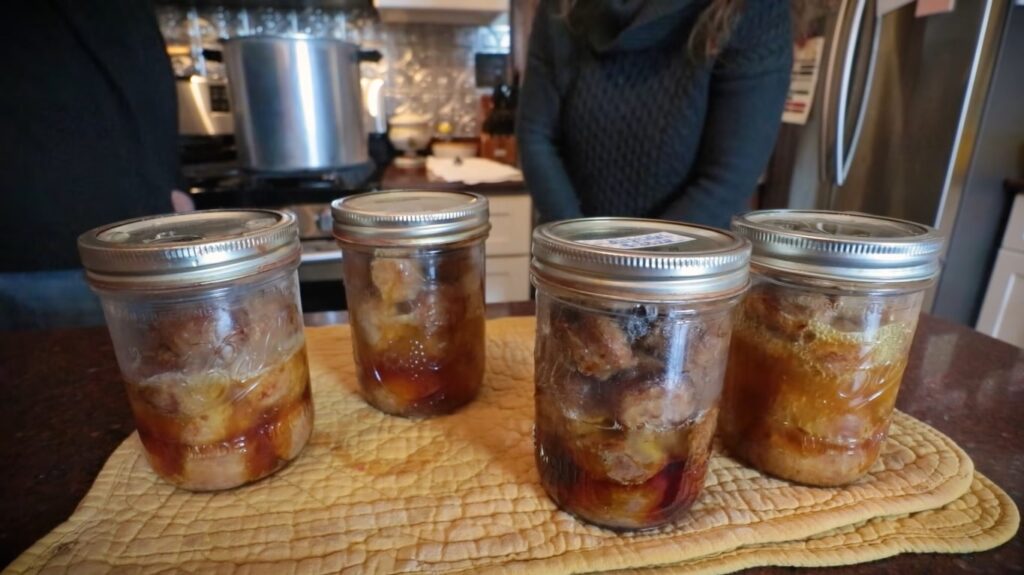
After you’ve finished pressure canning, you’ll see the broth inside the jars is still boiling. A small fat ring may form on top as they cool – this is quite natural. Your jars will be alright as long as it is not too thick and remains around the rim.
After the jars have cooled, add a personal touch by labeling them. A simple note with the recipe’s name and the date of canning will assist you in keeping track of your delectable products.
You might not know pound pressure is particularly suitable for the altitude. So, if you are considering this kind of mixture, here are the recommended table you can consider:
| Feet Above Sea Level | Weighted-Gauge (Pounds of Pressure) | Dial-Gauge (Pounds of Pressure) |
| 0-1,000 | 10 | 11 |
| 1,001-2,000 | 15 | 11 |
| 2,001-3,000 | 15 | 12 |
| 3,001-6,000 | 15 | 13 |
| 6,001-8,000 | 15 | 14 |
| 8,001-10,000 | 15 | 15 |
Usage Tips
When and how you should eat canned sausage depends on your personal preferences and the specific type of sausage you have. Here are some general guidelines:
Cooking and Heating
Canned sausages are often pre-cooked during the canning process, allowing them to be consumed directly from the can. Some people, however, like to heat them before eating them for greater flavor and texture. You may accomplish this by slowly boiling the sausages in their juices or in a skillet with a little water until warm or simply microwave whole mason jar to heat up but make sure you have checked if jars used are safe for microwaving by looking for safety symbol. To keep them from turning tough, don’t overcook them.
Stand-Alone Snack
Canned sausages can be consumed as a snack on their own. Simply open the container, drain any extra liquid, and eat them right away. They may be a quick, protein-rich snack on the road.
Sandwiches and Wraps
Canned sausages can be sliced or split into smaller pieces and used as a sandwich, sub, or wrap filler. For a quick and tasty supper, combine them with your favorite sauces, vegetables, and bread.
Pasta and Rice Dishes
You can incorporate canned sausages into pasta dishes, rice bowls, or stir-fries. Slice or dice the sausages and add them to your cooked pasta or rice, vegetables, and sauce for added flavor and protein.
Breakfast

Canned sausages can be used as an ingredient in breakfast dishes. Dice them and add them to scrambled eggs, omelets, or breakfast burritos for a hearty morning meal.

Canning Sausage Patties, Link, Ground Recipe
Equipment
- Fryer
- Pressure Canner
- Basic Kitchen Stuffs
- Canning jar lids with bands
- Canning funnel
- Jar Lifter
- Clean cloths or paper towels
Ingredients
- Fresh sausages cooked or uncooked
- Salt
Instructions
Pre-cook your sausage
- Fry the patties until golden brown on both sides, achieving desired color.
- Cooking doesn’t need to be complete, as the pressure canner will finish.
- Drain and pat the patties dry using a paper towel to remove excess fat.
Process Canning Sausage with Pressure Canner
- Assemble sausages for canning by stacking patties in heated pint jars.
- Each jar can hold around 4-5 patties; adjust as per your quantity.
- Leave about 1″ headroom at the top for expansion during canning.
- Remove trapped air bubbles using a rubber/plastic spatula.
- Run a spatula gently in the jar, and top up with hot water if needed.
- Wipe jar rims with a vinegar-soaked paper towel for a tight seal.
- Place heated lids and rings on the jars, and tighten the rings finger-tight.
- Prepare a pressure canner and process pint jars for 75 minutes.
- Use 10 lbs of pressure for the weighted gauge canner or 11 lbs for the dial gauge. (Quarts need 90 minutes under the same pressure settings as pints)
- After pressure canning, the jars’ contents may boil, and the fat ring could form on top.
- Cooling jars should be fine if a thin, fat ring remains around the rim.
- Once cooled, label jars with the recipe name and canning date for easy tracking.
Notes
- Select fresh, high-quality sausage from a trusted source. Leaner sausages with minimal additives and preservatives work best for canning.
- Ensure all your canning equipment, including jars, lids, and bands, is clean and in good condition. Follow recommended guidelines for sterilizing your equipment before use.
- Precook the sausage thoroughly before canning to eliminate harmful bacteria. You can simmer, bake, or pan-fry the sausage until fully cooked.
- Cut the cooked sausage into pieces that easily fit into your canning jars. Smaller pieces can help ensure even heat distribution during processing.
- Prepare a brine or broth to add flavor and moisture to the canned sausage. You can use a combination of water, broth, or tomato sauce. Make sure the liquid covers the sausage pieces.