Welcome to your go-to source for at-home food preservation, the beginner’s guide and recipe collection for the fundamentals of canning pressure. By preserving your favorite fruits, vegetables, and other perishable foods, you may significantly increase the shelf life of your favorite fruits, vegetables, and other perishable foods.
In this manual, we’ll show you how to securely store your goods in a pressure canner. This guide will provide you with the necessary knowledge and delectable recipes to begin your food preservation adventure, whether you are new to canning pressure or want to brush up on your skills.
What is canning pressure?
A specialized method of food preservation called canning pressure uses specialized machinery to prepare food at high temperatures, avoiding spoiling and guaranteeing long-term preservation. Most vegetables, except tomatoes, and low-acid foods like meats, poultry, and shellfish are the main beneficiaries of its use since they don’t naturally have the acidity needed to stop bacterial development.
Canning pressure’s primary goal is establishing conditions that efficiently kill hazardous germs like bacteria and spores. Low-acid foods must be processed at a temperature of 240°F (116°C) for a certain amount of time, as indicated by the recipe, as opposed to high-acid foods, which may be properly preserved using water-bath canning. Make sure you got this based knowledge to secure a safe canning process, and if you have not listened about this yet, no worry, we got your cover, have a look at pressure canning vs water bath.
Pressure canning creates the required thermal conditions to guarantee that hazardous germs are removed by heating the food to high degrees under pressure. A specialized pressure canner is used to prepare the food once it has been sealed in jars or other containers. The canner is made to produce steam and increase internal pressure, which raises the water’s boiling point.
The high pressure within the canner successfully kills bacteria, yeast, and molds as the temperature rises until it reaches the boiling point of water. This procedure helps maintain the meal’s nutritional content, taste, and texture while preventing food deterioration.
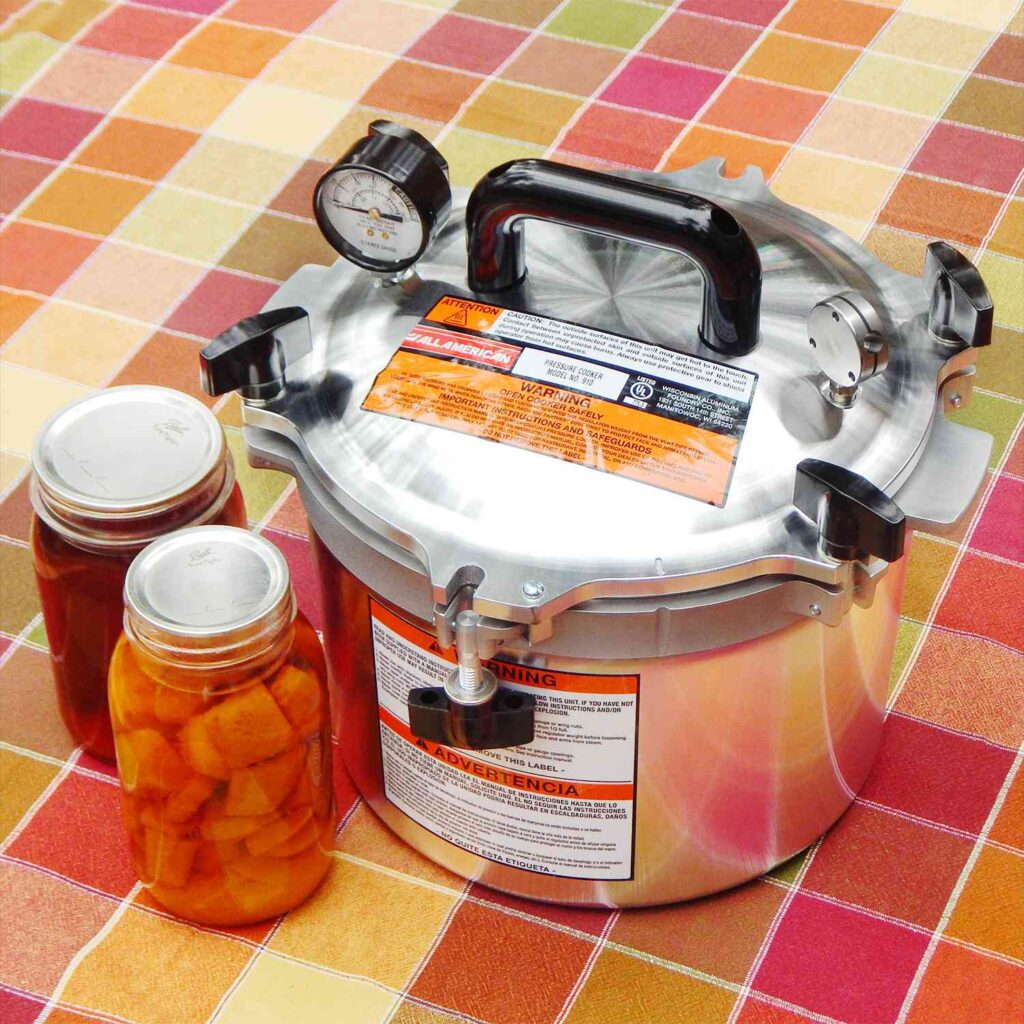
What is a pressure canner?
Low-acid food may be securely canned using a pressure canner, a specialist kitchen tool. A large pot with a locking cover and a steam pressure control device—typically a dial or weighted gauge—make up the device. A pressure canner is designed to produce and sustain high pressure and temperature, unlike a standard pot or a pressure cooker used for preparing meals, discover more at difference between pressure cooker and pressure canner.
A pressure canner’s main function is to eliminate potentially hazardous microbes, including bacteria, yeast, and mold, that might lead to food spoiling or pose health hazards when consumed. This is accomplished by exposing the tightly sealed food jars to pressured steam, which may reach temperatures of 240°F (116°C).
Its capacity to attain the necessary heat for safe canning is its main benefit over boiling water canners, which only reach temperatures of 212°F (100°C). Because of the canner’s high pressure, heat can penetrate the contents of the jars more quickly and thoroughly, successfully killing any potentially hazardous germs.
What are Pressure Canner Regulators
Pressure canner regulators are components of a pressure canner that help control and maintain the desired pressure levels during the canning process. They are responsible for regulating the pressure inside the canner and ensuring it remains within the safe range.
There are 3 types of regulators you should consider:
One-Piece Pressure Regulator
When you utilize the one-piece pressure regulator, pressurize your pressure canner by placing it on the vent pipe. The regulator’s rattling sound is then reduced by adjusting the heat source underneath the canner.
The one-piece pressure regulator is practical for me since it integrates pressure monitoring and control capabilities in a single device and eliminates the need for separate components. With the help of this regulator, you can successfully manage and monitor the pressure during the canning process.
Dial-Gauge Regulator
A pressure canning component that displays the precise pressure within the canner is a dial-gauge regulator. On the canner’s lid is a gauge with a needle or a digital display. You may control the heat to maintain the desired pressure level in your recipe by keeping an eye on the dial gauge. It promotes accurate control and secure canning.
Weighted-Gauge Regulator
A metal disc-shaped tool called the weighted-gauge regulator is used in canning. During the canning process, it is positioned on the vent pipe to maintain pressure levels of 5, 10, or 15 pounds. It trembles and makes a distinctive sound to show that it is successfully regulating the proper pressure. Because of its adaptability, numerous pressure settings are possible, resulting in safe and high-quality canning.
Ideal foods for Canning Pressure
Regarding canning pressure, it is essential to use higher sterilization temperatures, particularly for low-acid foods such as vegetables, soups, and meats. Here are some examples of foods that can be safely pressure canned:
- Meats of All Kinds: Canning pressure guarantees that all types of meat, including beef, poultry, hog, and others, are adequately sterilized and preserved. Given that meats are regarded as low-acid meals, this technique is particularly crucial for them. We have recently discovered an interesting pressure canning corned beef recipe and works totally find, ready-to-cook all year around at any time, which may worth a consideration.
- Stocks and Broths: Stocks and broths made from meat and vegetables like canning chicken soup can be pressure canned without risk. You may successfully preserve the tastes and nutrients of these liquid bases using a pressure canner.
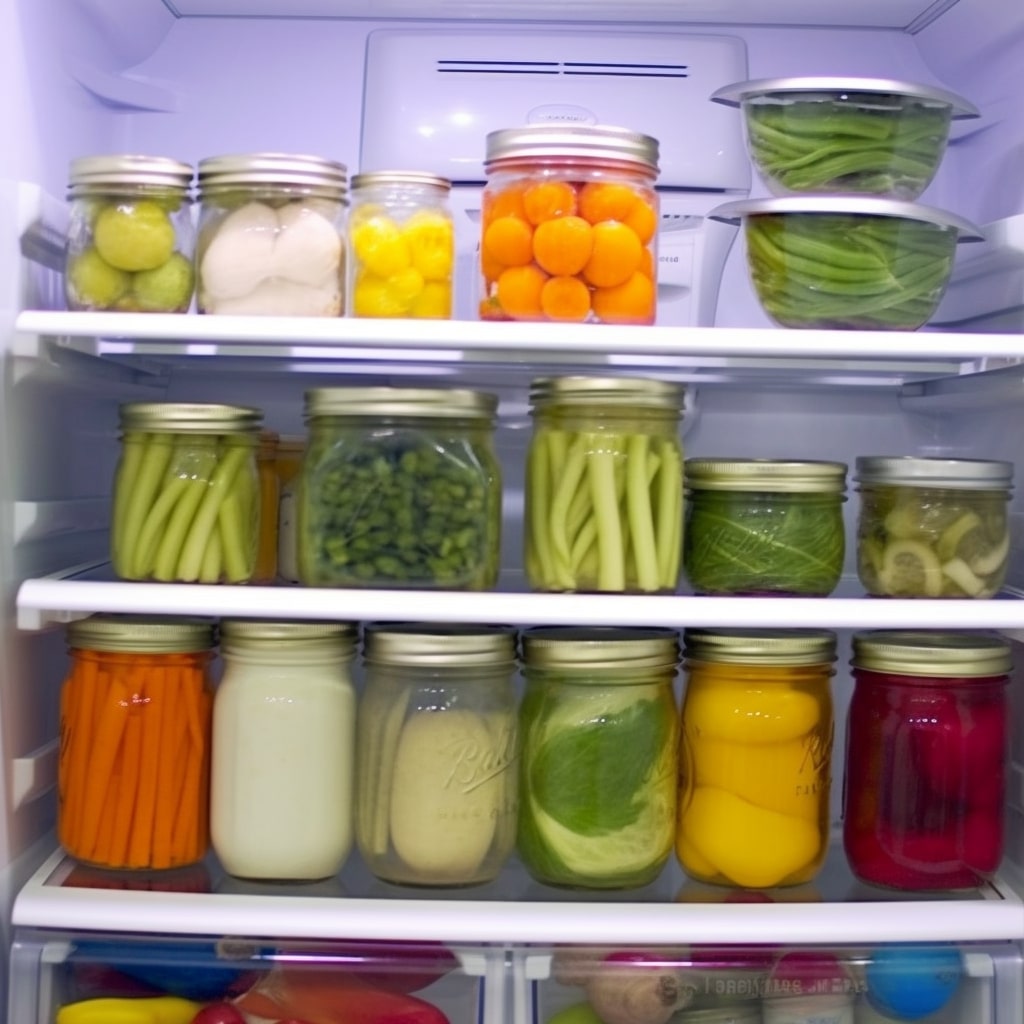
- Vegetables: Various vegetables like potatoes, pumpkin, green beans, and many others can be successfully pressure canned. This method helps retain their texture and flavor while ensuring they are safe for long-term storage.
- Dry Beans: Canning pressure is an excellent way to preserve dry beans such as black beans, pinto beans, navy beans, and more. It softens the beans during the canning process, making them ready to use in various recipes whenever you need them.
- Chili and Baked Beans: Both chili and baked beans may be pressure canned without risk. The components are properly cooked and disinfected when they are processed in a pressure canner, making them shelf-stable for future use.
- Soups and Stews: Canning pressure is very advantageous for soups and stews with low-acid components. This process guarantees they are stored at the proper temperatures for later, risk-free eating, whether it’s a substantial vegetable soup or a stew with meat as the main ingredient.
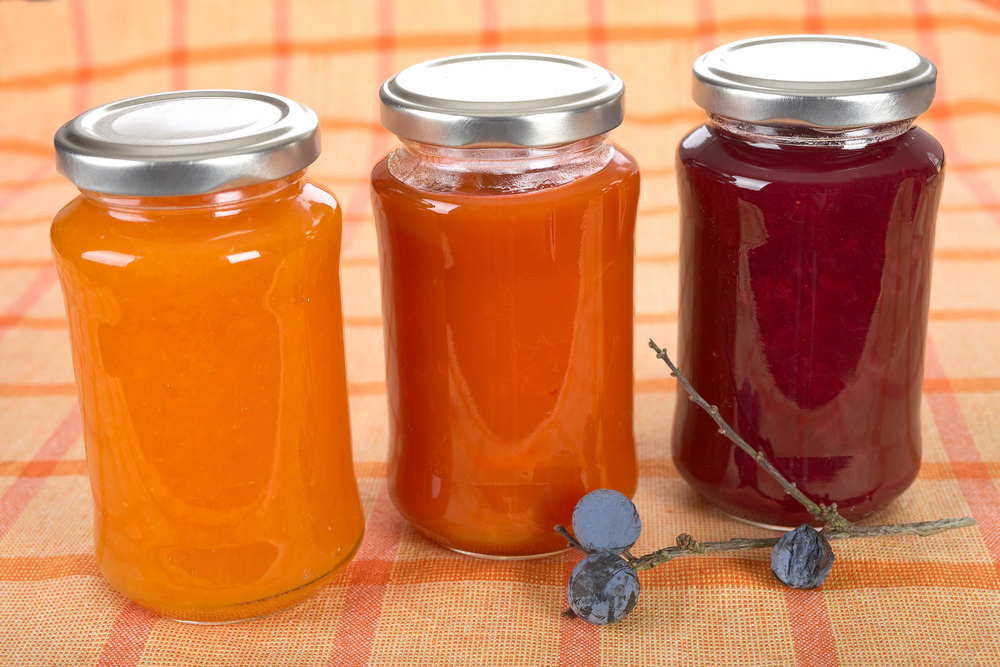
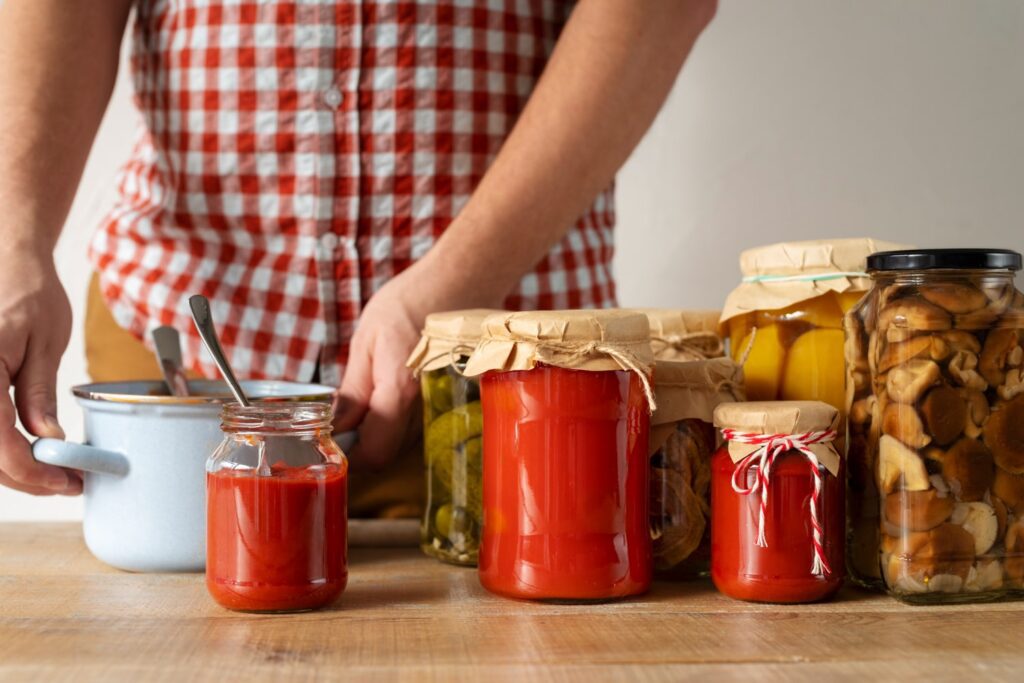
- Some Tomato Products: Certain tomato products, such as pasta sauce with low-acid ingredients like mushrooms, onions, and peppers, or corn salsa with cherry tomatoes sauce can be pressure canned. This method helps eliminate harmful bacteria and ensures the safety of the final product.
Bad Ideas for Canning Pressure
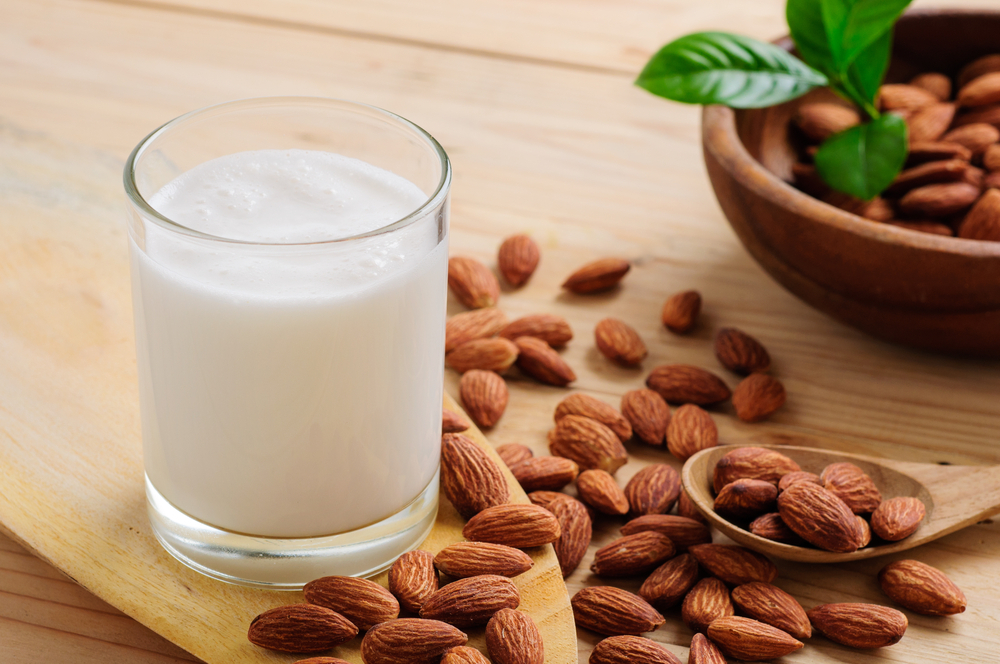
I want to immediately emphasize that I should never try to can dairy products, including milk, cream, butter, or any combination. These goods are inappropriate for pressure canning due to the high temperatures and lengthy processing periods. Even in a sealed canning jar, dairy products are prone to deterioration and can contain dangerous germs.
Similarly to this, coconut milk shouldn’t ever be pressure canned. Coconut milk is unsuited for this preservation procedure due to its composition and characteristics. When storing or preserving coconut milk, it is recommended to use alternate methods like freezing or refrigeration.
It’s also important to remember that pressure canning is not recommended for several substances frequently thickening foods, including flour, corn starch, and most thickeners. These materials don’t react well to the high pressure and temperatures used in canning. This rule does have one exception, though: Only Canning Clear Jel, a thickening designed exclusively for canning, can be used without risk.
Prepare for success canning pressure
Before starting the pressure canning process, it is essential to gather and prepare the necessary items and ingredients to ensure a smooth and safe canning experience. Here are useful things to do to prepare for pressure canning.
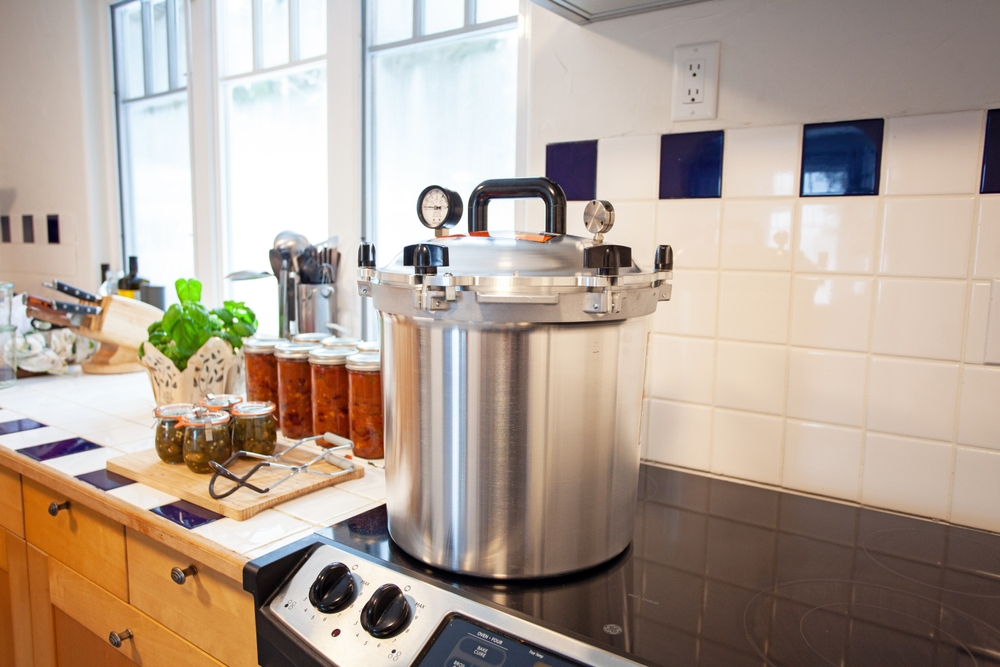
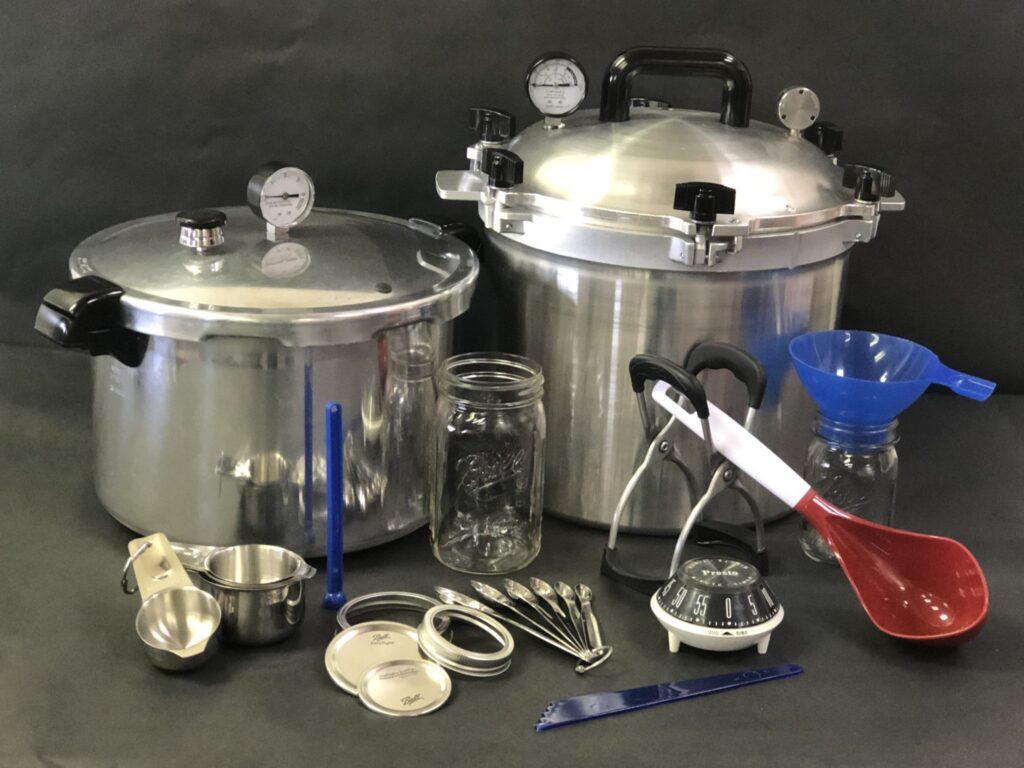
Pressure Canner
The pressure canner is appropriate and in excellent functioning order. To guarantee correct operation and safety, reading and comprehending the manufacturer’s instructions for the particular model is crucial.
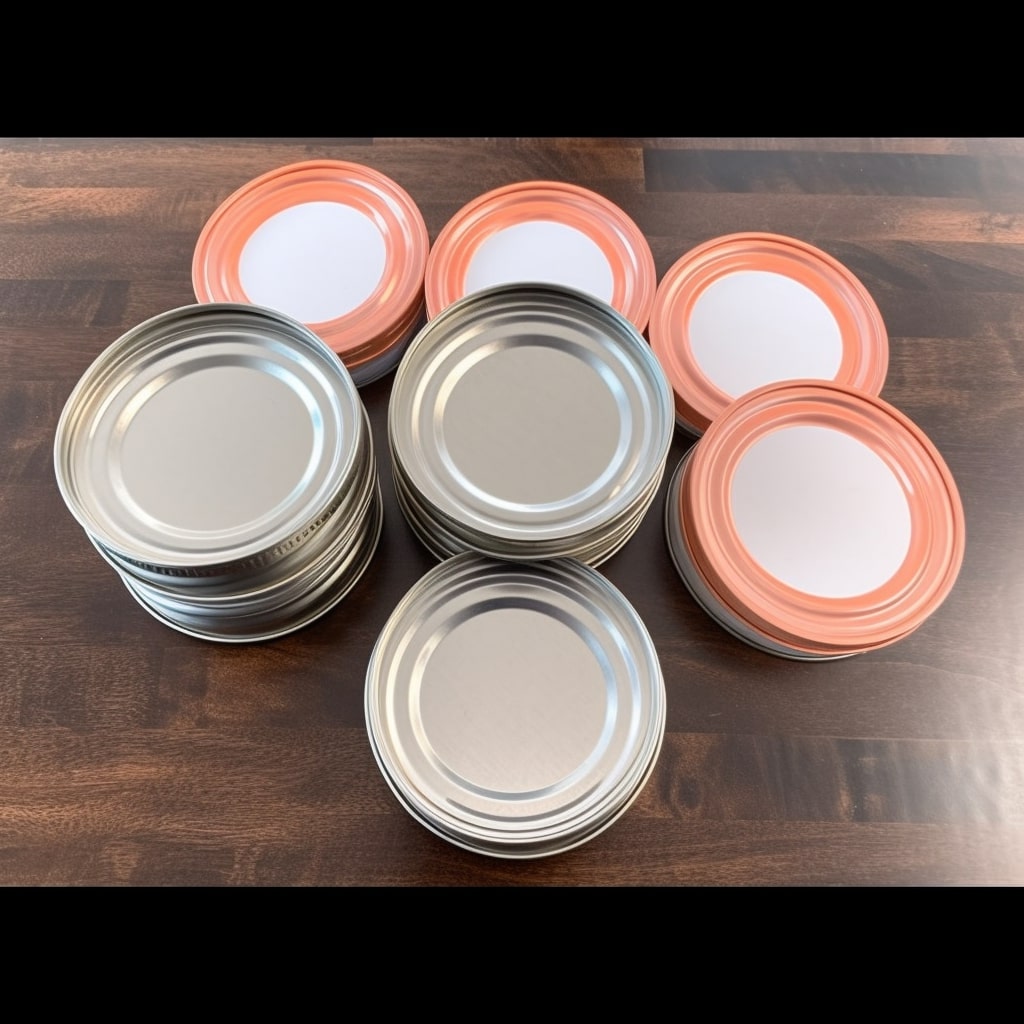
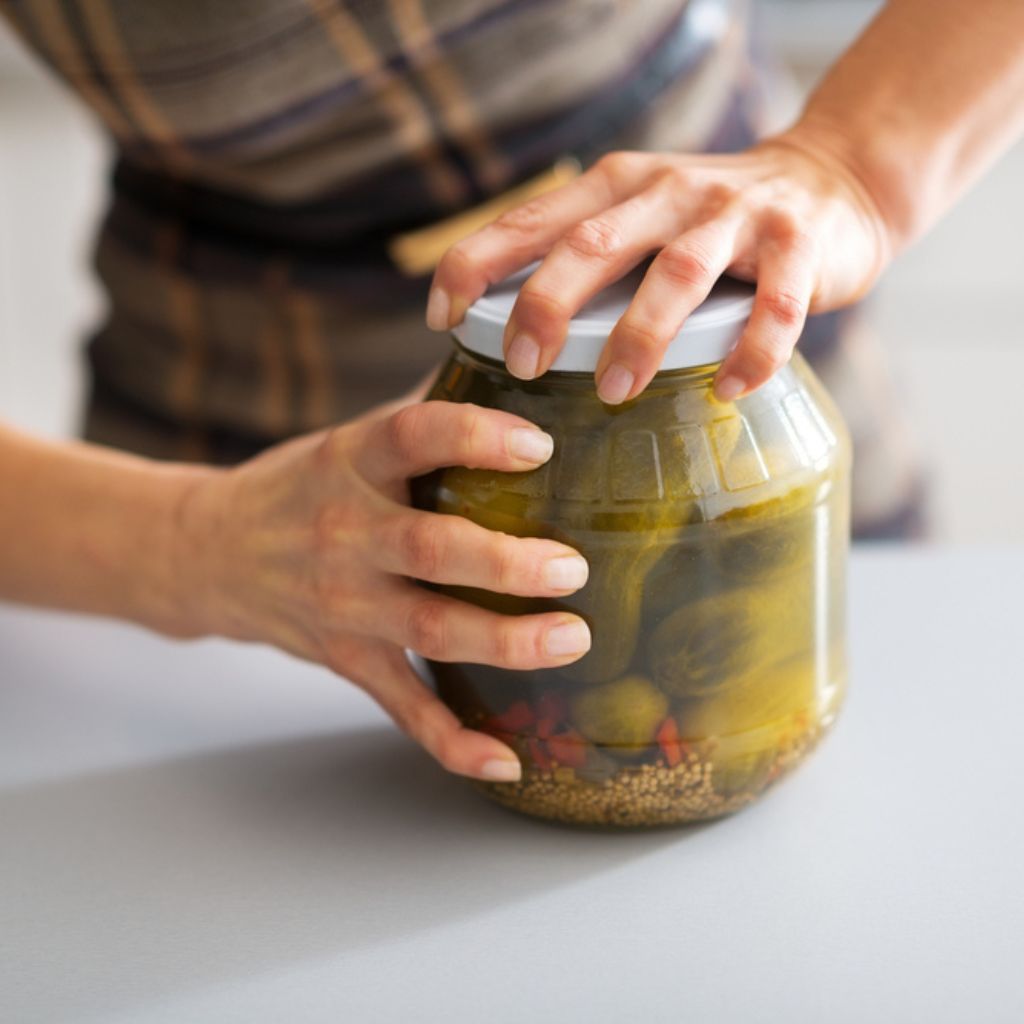
Canning Jars
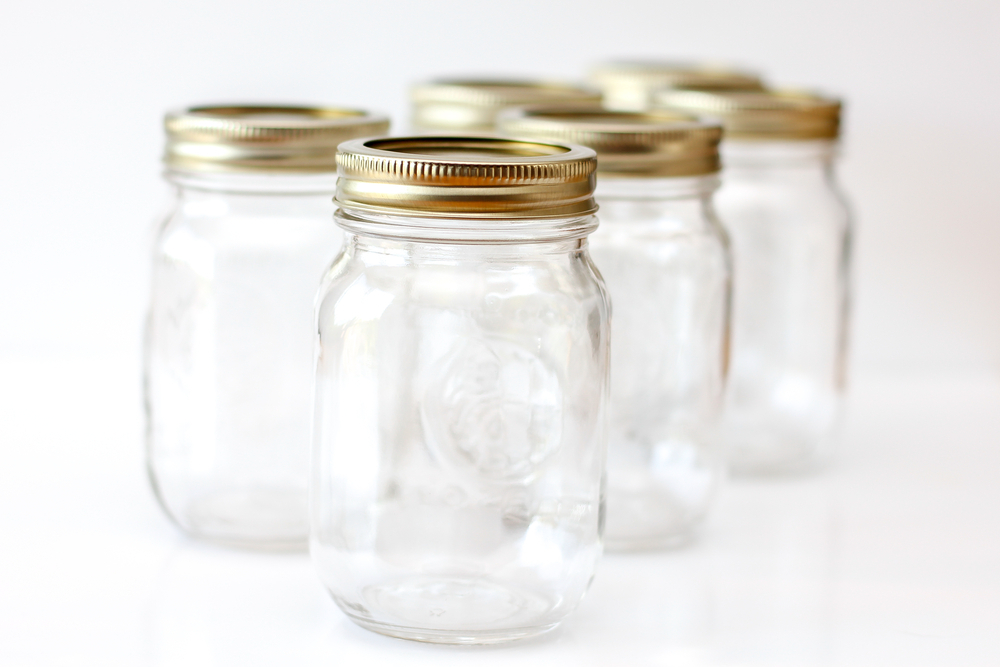
The right-sized canning jars for my recipe should be gathered. For a perfect seal, it is essential to check that the jars are clean, devoid of chips or fractures, and equipped with brand-new lids. The canned food’s quality and safety will be preserved as a result.
Canning Rack
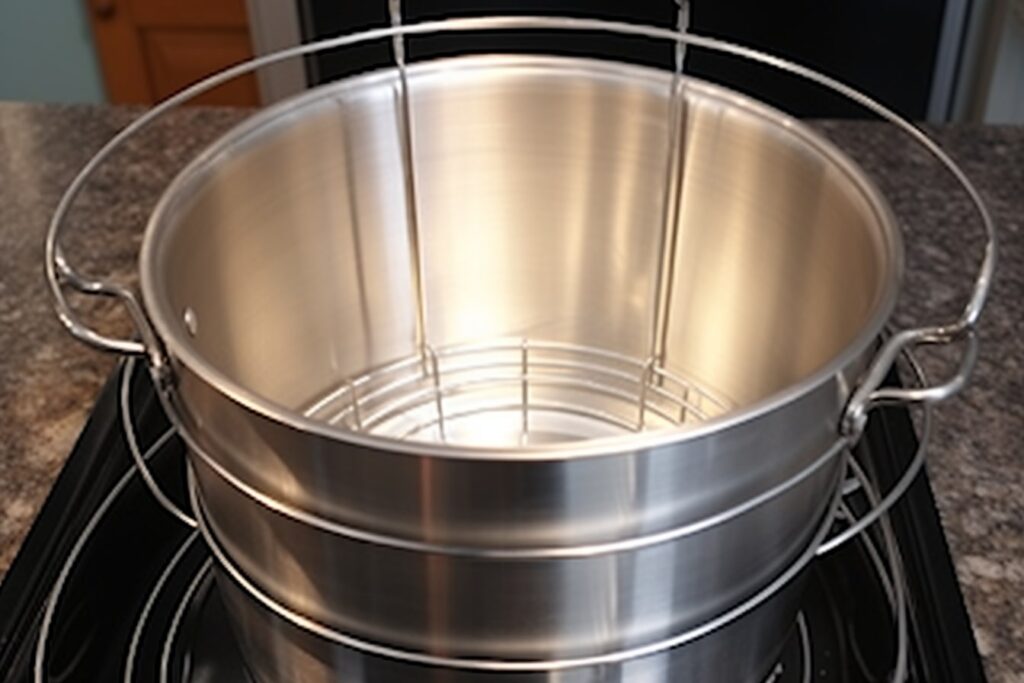
Ensure you have a separate canning rack if my pressure canner does not have a built-in rack. This rack will keep the jars raised off the canner’s bottom, shielding them from the heat source and facilitating equal heat dispersion during the canning process.
Canning Tool Kit
Get the equipment available to help with the safe handling, filling, and air bubble removal from the jars. These tools include headspace/bubble remover/jar lifters, a lid lifter, a canning funnel, and a magnetic lid wand. The canning procedure will be considerably simpler and safer if these instruments are easily accessible.
Ingredients

Get the ingredients ready for the dish I’m canning. Fruits, vegetables, sauces, soups, and other low-acid items ideal for canning pressure may fall under this category. To guarantee the safety and quality of canned food, it is essential to adhere to a reliable canning recipe or guide for the correct food preparation and cooking methods.
Canning Salt or Acid
To guarantee optimal preservation and taste improvement, you could need citric acid or canning salt, depending on the recipe. It’s crucial to adhere to the recipe’s instructions for how much to put in each jar. This will assist in preserving the ideal degree of acidity essential for secure canning.
Clean Workspace
Ensure that everything in my workspace – countertops, cutlery, and tools – is clean and sterile. For the safety of canned food and to avoid infection, good cleanliness standards are crucial, and obviously, for the best environment to make good stuff.
Clean Towels and Hot Water
You should keep towels or dishcloths on hand to clean spills, handle hot jars, and wipe off jar rims. A kettle of hot water must always be on the stove so that you may sterilize or preheat lids before using them. By doing so, you’ll be able to keep everything clean and avoid any contamination.
Recipes and Guidelines

You can consult reliable canning with a pressure canner or recipes from organizations like the National Center for Home Food Preservation or dependable publications. These resources offer secure, tried-and-true directions for certain items you are canning, ensuring you adhere to the right steps and regulations.
Safety Precautions
This involves using the pressure canner correctly, not filling jars to the brim, and making any necessary altitude changes. Following these safety guidelines will assist in guaranteeing a secure canning procedure and stopping any potential mishaps or problems.
How to use a canning pressure: Step-by-step
Canning pressure is a multi-step process that safely preserves low-acid foods in jars at high temperatures. Here is a step-by-step guide:
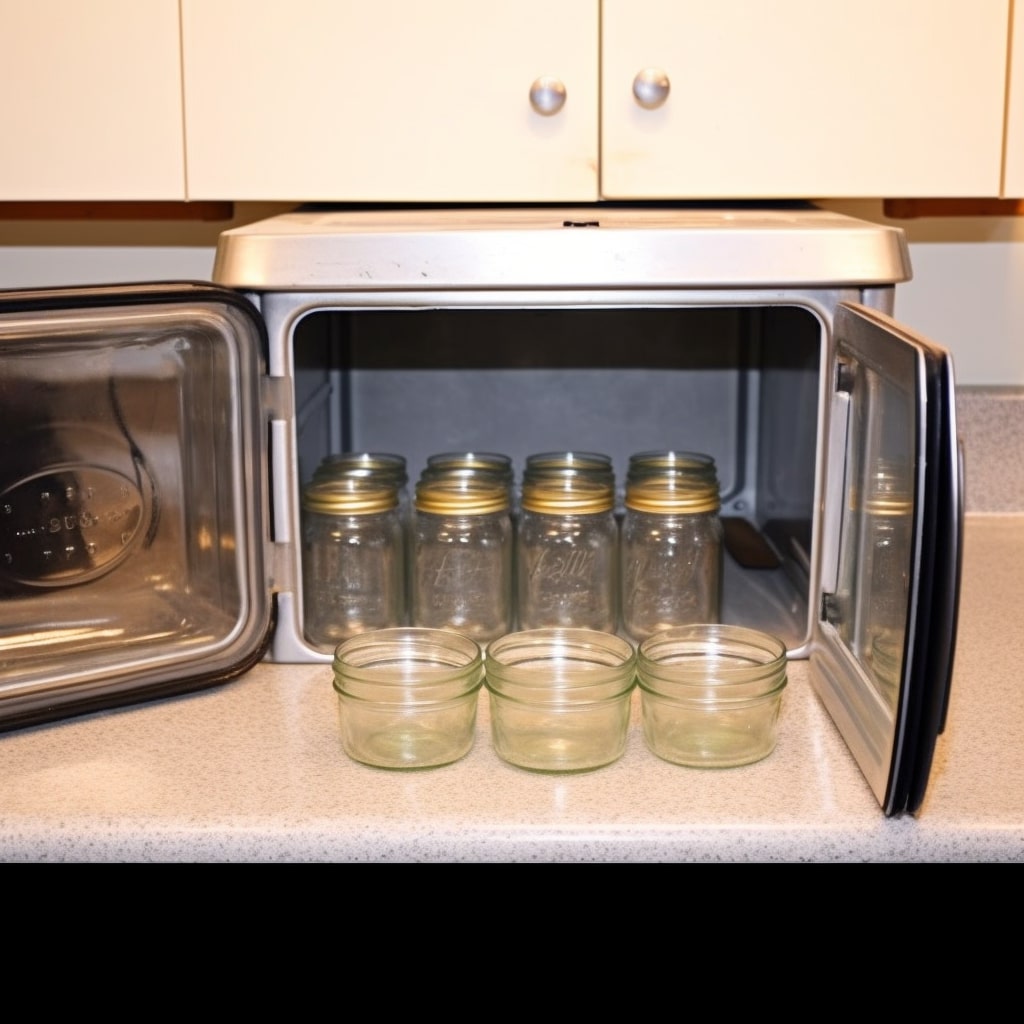
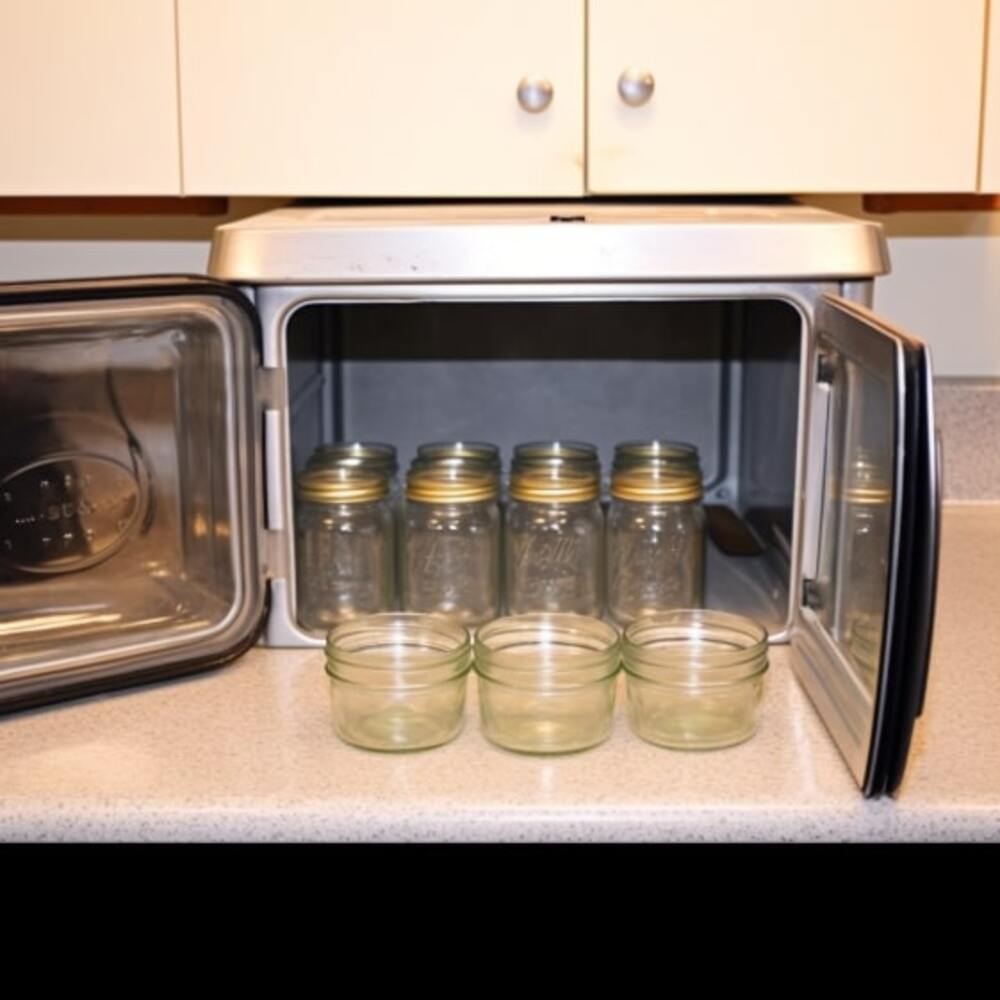
Step 1: Pre-heat jars
- Start by filling the canner with 2 to 3 inches of water.
- After that, you raise the water to a temperature of around 180°F while keeping the cover loosely on (it is not locked).
- You take the jars I’ll be using and put them in the pressure canner, adding just enough water to keep them from floating.
- Then, you put the cover back on loosely once the jars are in a position to let the canner fill with steam.
- When steaming hot, the jars are ready to be filled with food, which happens after a short while. You now take one jar at a time, fill it, then quickly put it in the rack using a jar lifter.
Step 2: Fill the jars
- You first provide a sturdy basis for the jars by placing a canning rack in the bottom of the pressure canner. Alternatively, you could utilize a unique rack made only for your canner.
- Second, remove a heated jar from the sterilization pot and set it on a fresh towel or other heat-resistant material.
- Then, you fill the jar with the prepared food using a canning funnel, being sure to leave the required headspace as specified in the recipe.
- you use a bubble remover/headspace tool to eliminate entrapped air bubbles and adjust the headspace if necessary.
- Finally, it’s crucial to maintain cleanliness, so you ensure no food residue on the jar rim by wiping it with a clean, wet cloth.
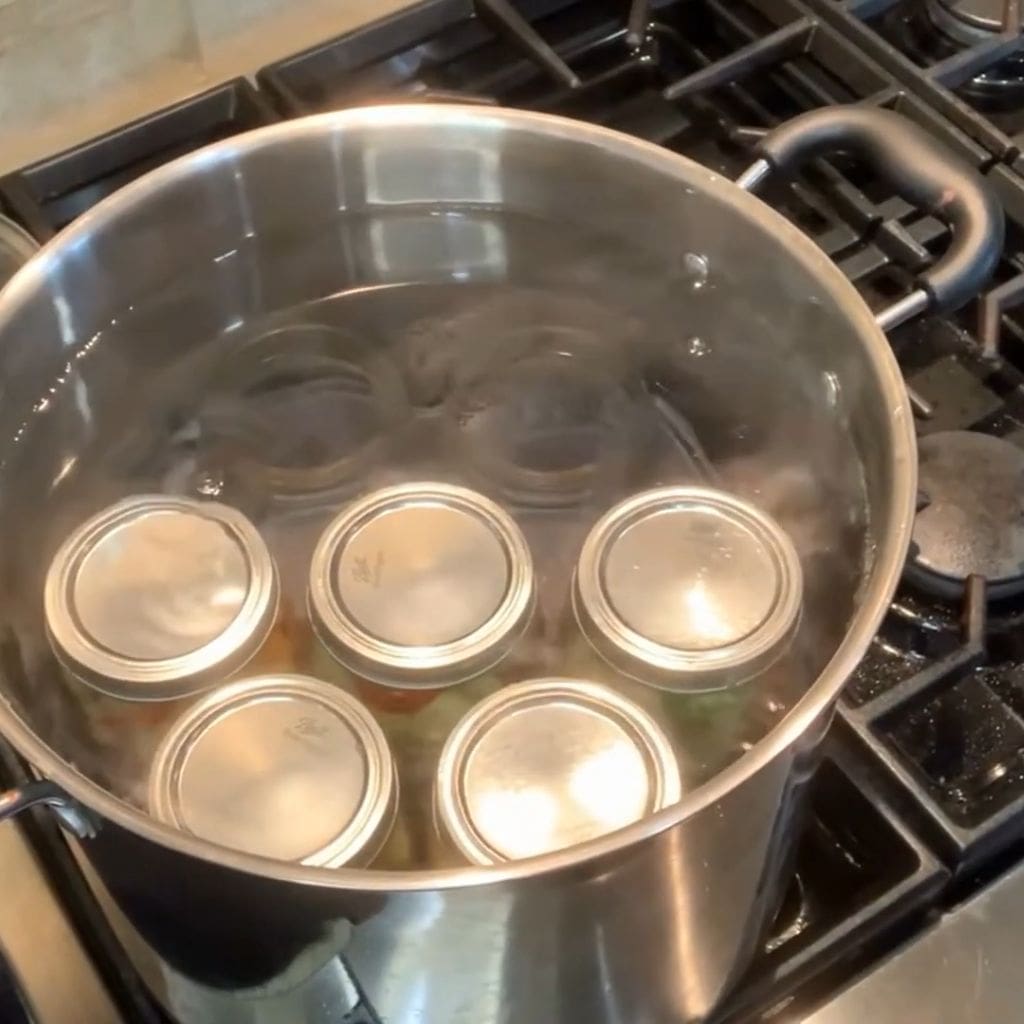
Step 3: Apply Lids and Bands
- You gently pick a lid out of the boiling water with a lid lifter and set it on top of the jar, ensuring it is centered and straight.
- Once the lid is in position, you fasten it by wrapping a band around it and pulling it tight with your fingers. It’s crucial to avoid overtightening.
- You carry out this procedure once more for each full jar to make sure they are all well sealed.
Note: Canning lids are designed for single use purpose, tempting to reuse canning lids many times could do more harm than good, not using them twice could be a smart option. For detail, you may read “Reusing canning jar lids“.
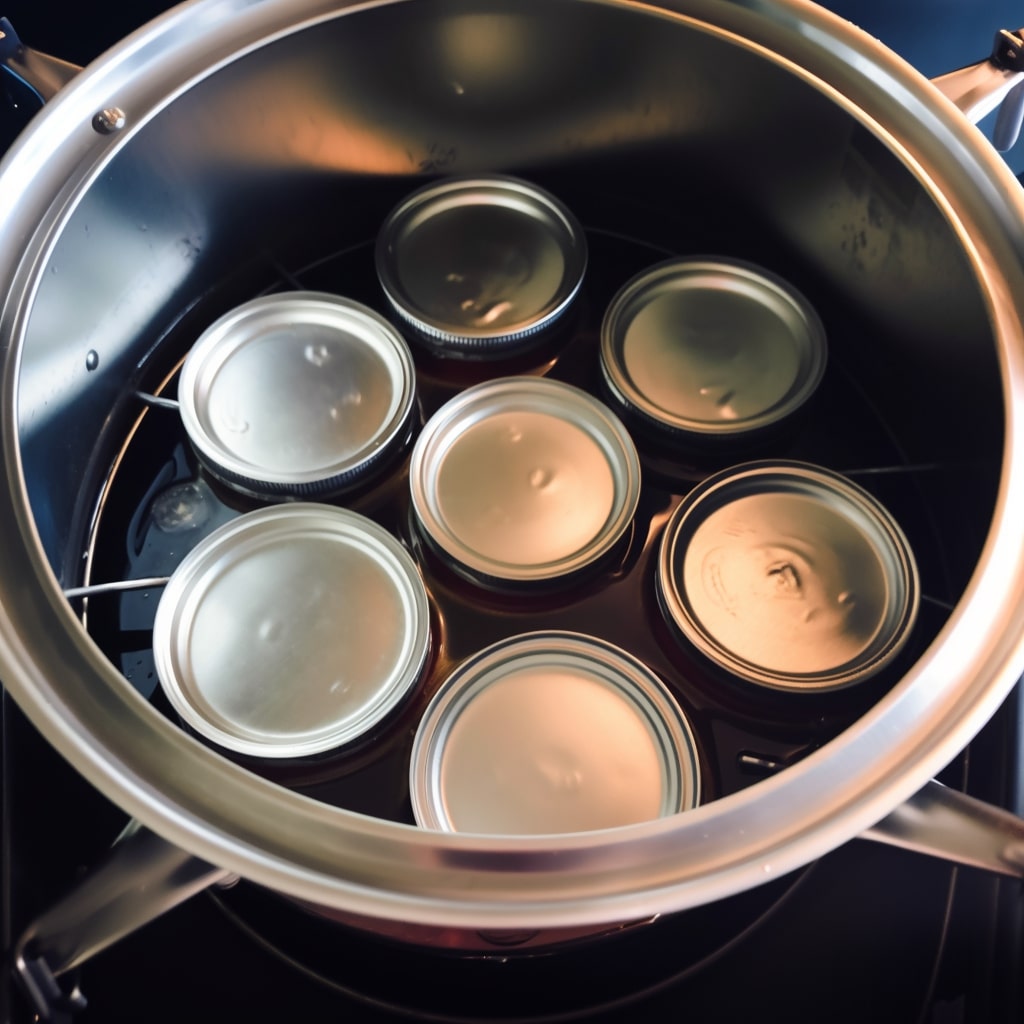
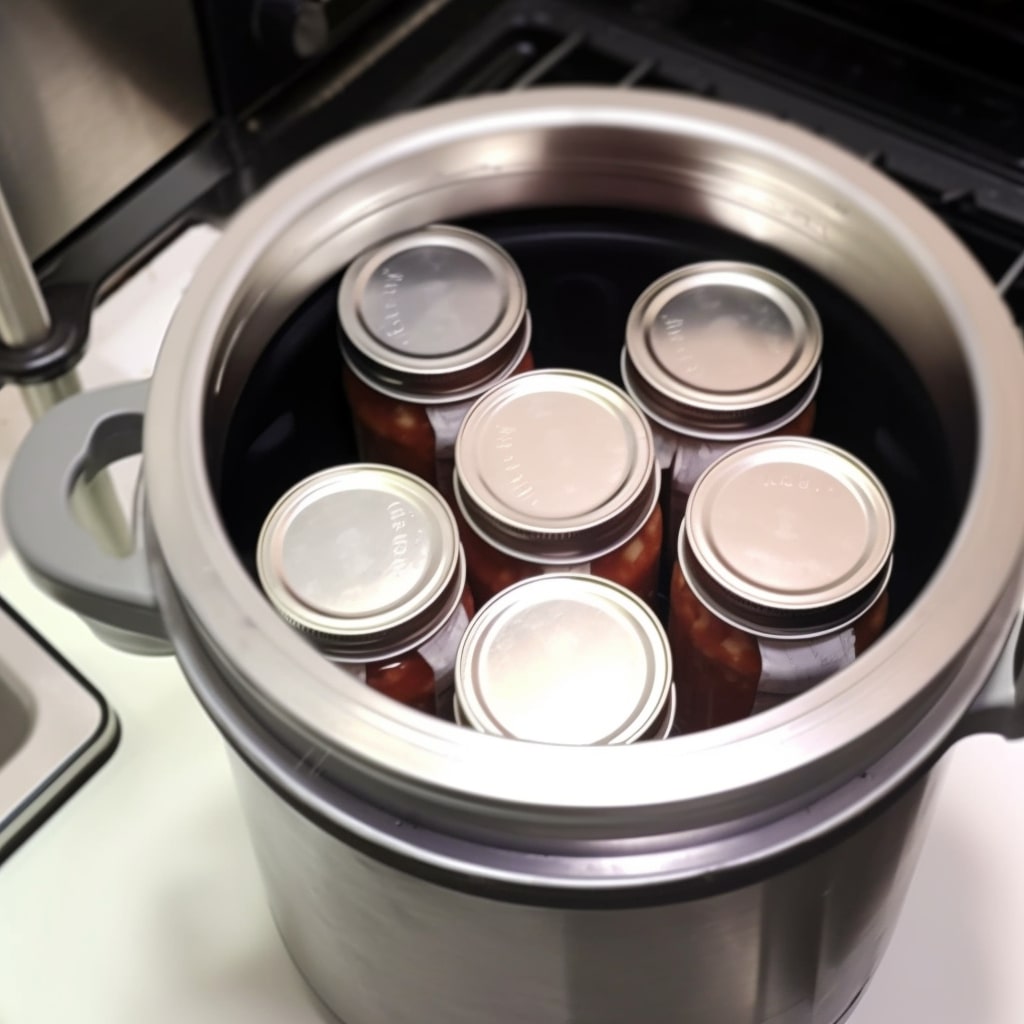
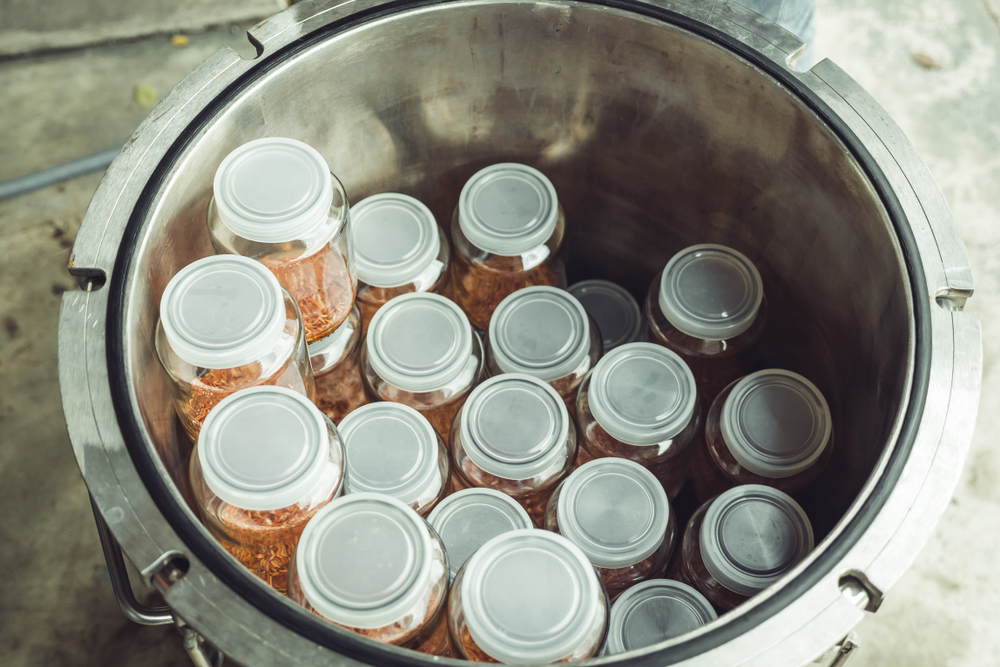
Step 4: Load the Jars into the Pressure Canner
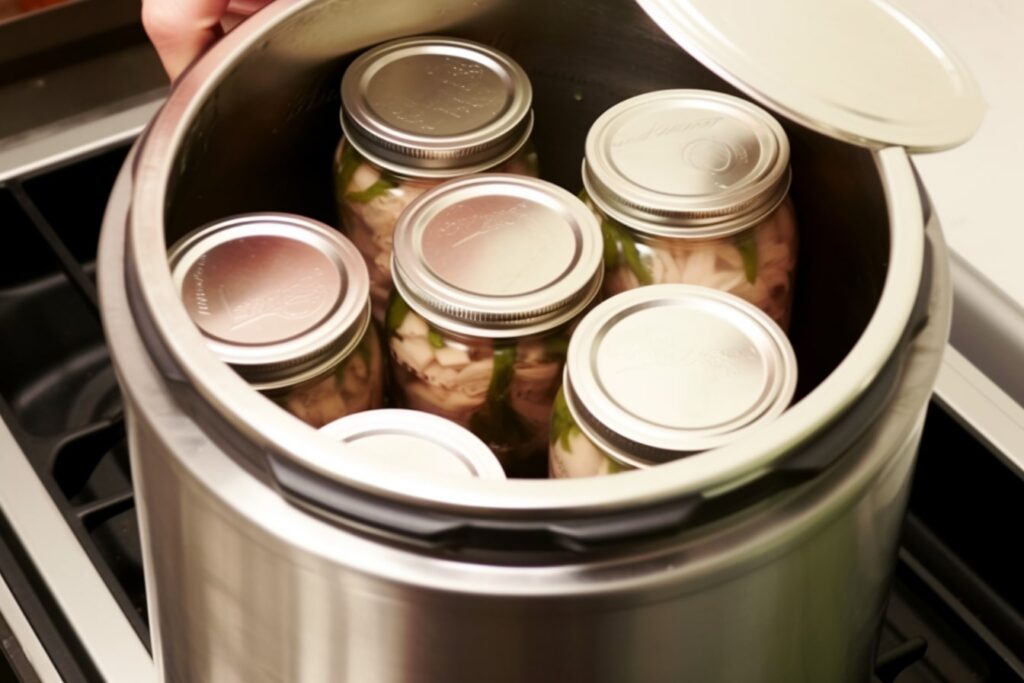
- Carefully position the filled and sealed jars on the canning rack inside the pressure canner so that there is adequate steam and heat circulation.
- Regarding the most jars that may be processed at once, you strictly adhere to the guidelines that came with your canner.
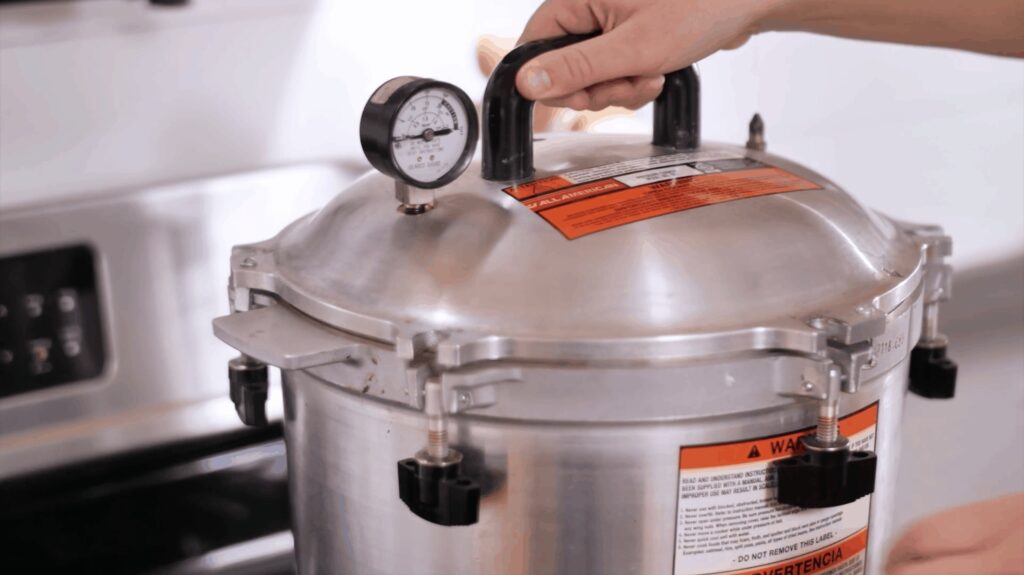
Step 5: Seal and Pressurize the Canner
- Now, you ensure that the vent pipe or steam vent is clear while you tightly seal and lock the pressure canner lid.
- Then, you put the necessary weight on the vent pipe if your canner has a weighted-gauge regulator.
- If the canner employs one, make sure the dial gauge is securely fastened to the canner lid.
- After that, you switch on the heat source and raise the temperature to high so the canner can warm up and produce steam.
Step 6: Venting and Exhausting
- Give steam a set period of time, usually about 10 minutes, to escape through the vent pipe or steam vent. This aids in deflating the canner.
- Attach the pressure regulator to the vent line to close the canner when the allotted venting period has passed.
Step 7: Reach and Maintain Processing Pressure
- To achieve and maintain the pressure level advised for your recipe and altitude, you increase the heat source.
- Keep a careful eye on the pressure gauge and adjust the heat source as required to maintain the proper pressure.
- Throughout the whole processing period, it’s crucial to maintain an acceptable pressure range.
Step 8: Process the Jars
- Once the necessary pressure has been reached and is being maintained, you set the timer for the designated processing time specified in the recipe.
- Throughout the processing period, you change the heat source as necessary to maintain the proper pressure.
- Switch off the heat source when the processing period is through, which stops the canner in its tracks.
Please note that these instructions are only basic suggestions; for precise and safe canning procedures, you must refer to the detailed instructions that came with your pressure canner and the recipes.
Conclusion
Now that you’ve finished the beginner’s guide to pressure canning, you have the information and recipe materials you need to successfully preserve your food at home. Always put safety first by using the right canning methods and following the instructions.
You may preserve fresh produce’s tastes for the entire year, reduce food waste, and save money by using pressure canning. So go ahead, get your supplies, and start making mouthwatering jars of goodies that you can store away for future use. Have fun canning!
Thanks for reading my post! And do not forget to share this with your friends or relatives if you find it useful.
Reference
- McGarry, J. (2015, March). ‘Pressure Canning Basic’. Journal of Food Preservation
- Powers-Hammond, L. (2022, July). ‘Use, Care and Operation of Your Pressure Canner‘. PNW 421, (16).

![Top 5 Best Jar Opener for Seniors Elderly [Updated 2023]](https://manzanillanyc.com/wp-content/uploads/2023/07/Top-5-Best-Jar-Opener-for-Seniors-Elderly-Updated-2023.jpg)