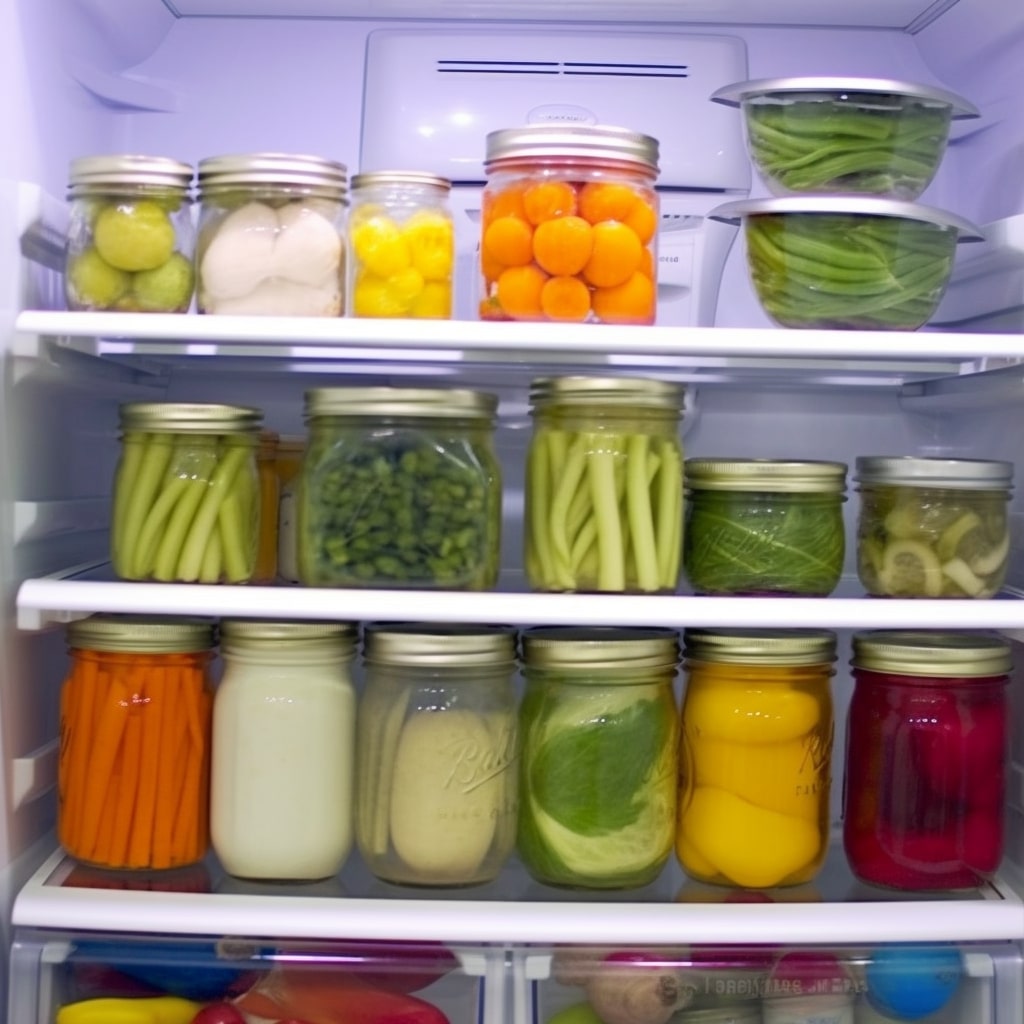
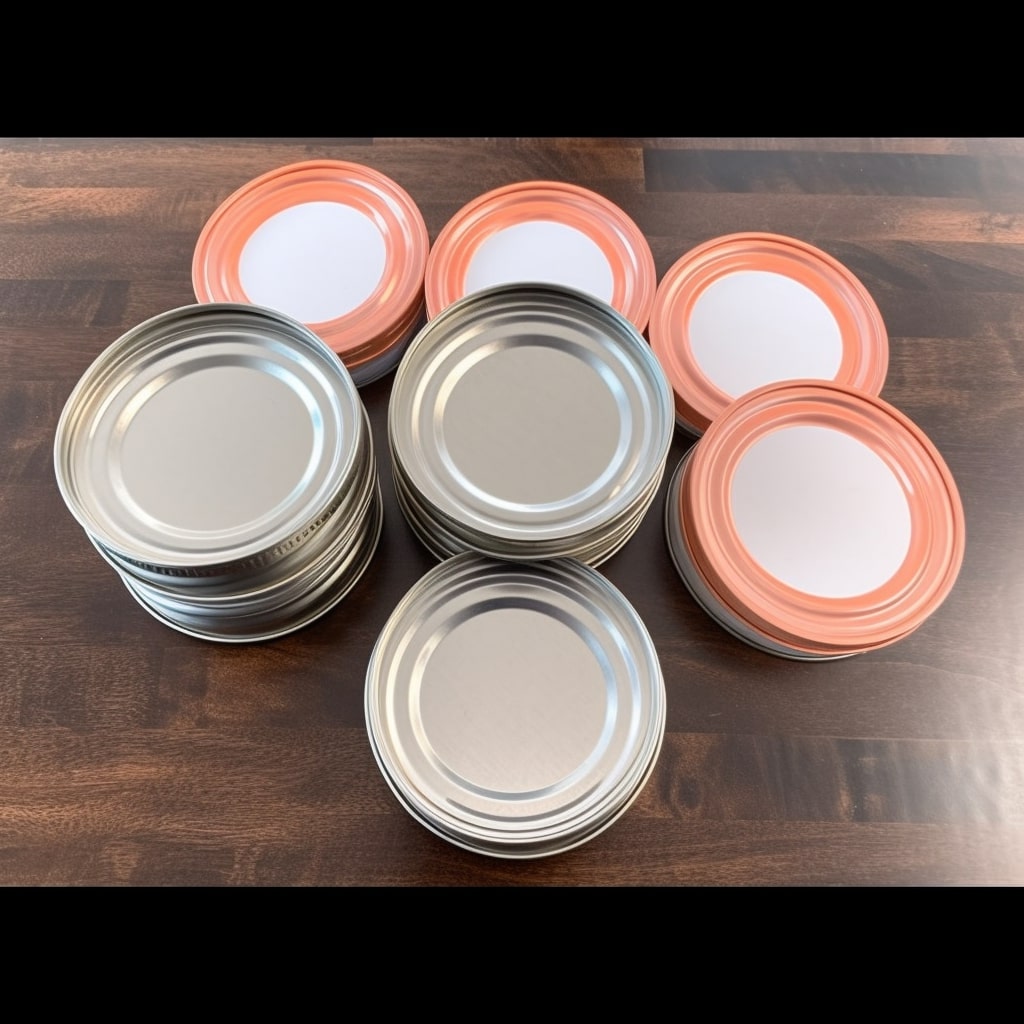
Canning is a classic food preservation method that has been used for millennia. One recurring issue among experienced and inexperienced canners is whether jars must be completely immersed for canning.
This process involves sealing food in jars and then immersing them in boiling water or a pressure canner to form a vacuum seal, preventing deterioration and bacterial development.
So, do jars have to be fully submerged when canning? This post will examine the importance of thoroughly immersing jars throughout the canning process and explain why this step is critical for effective and safe canning.
The Importance of Submersion in Canning
Water bath canning requires that our treasured jars be immersed in hot water during processing. Are you curious as to why? So, let me inform you!
First and foremost, we want to ensure our canned treats are safe to eat in the long run. By submerging the jars in boiling water, we provide the ideal habitat for any hidden hazardous bacteria, such as E. coli, salmonella, and Listeria. Say goodbye to those unwanted visitors!
But wait, the enchantment of submersion doesn’t stop there! Another important advantage of this technology is creating a vacuum inside the jars. We not only improve the preservation process by eliminating the air, but we also maintain our items taste as fresh as the day we canned them. No more worries about enzymes ruining the party and making our food taste bad!
Let’s move on to the show’s main attraction: acid. When it comes to water bath canning, our dependable buddy is acid. Proper acid distribution inside the food guarantees a safe and stable canned product. But here’s some good news: if you’re working with foods with a pH greater than 4.6, don’t worry!
Minding your canning methods
Did you know there are two main methods for canning food? Let’s dive into them together!
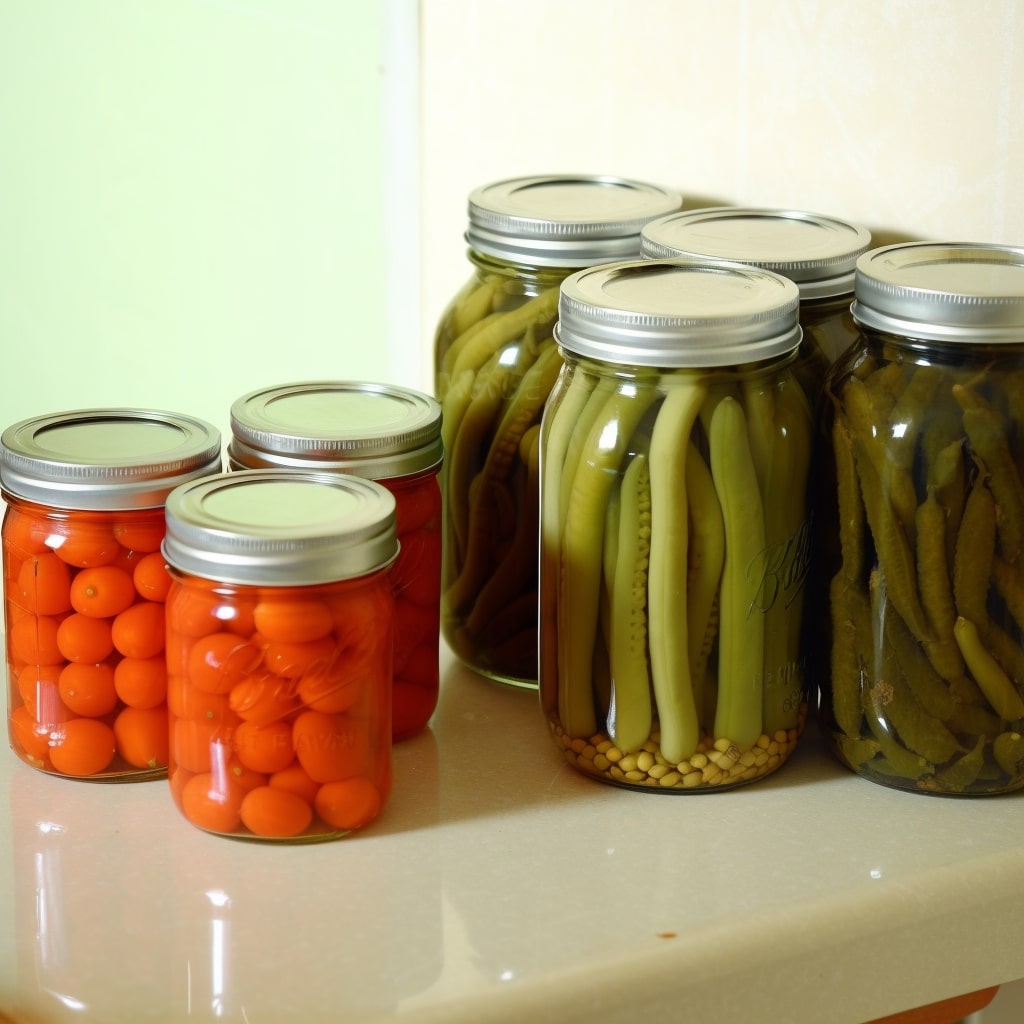
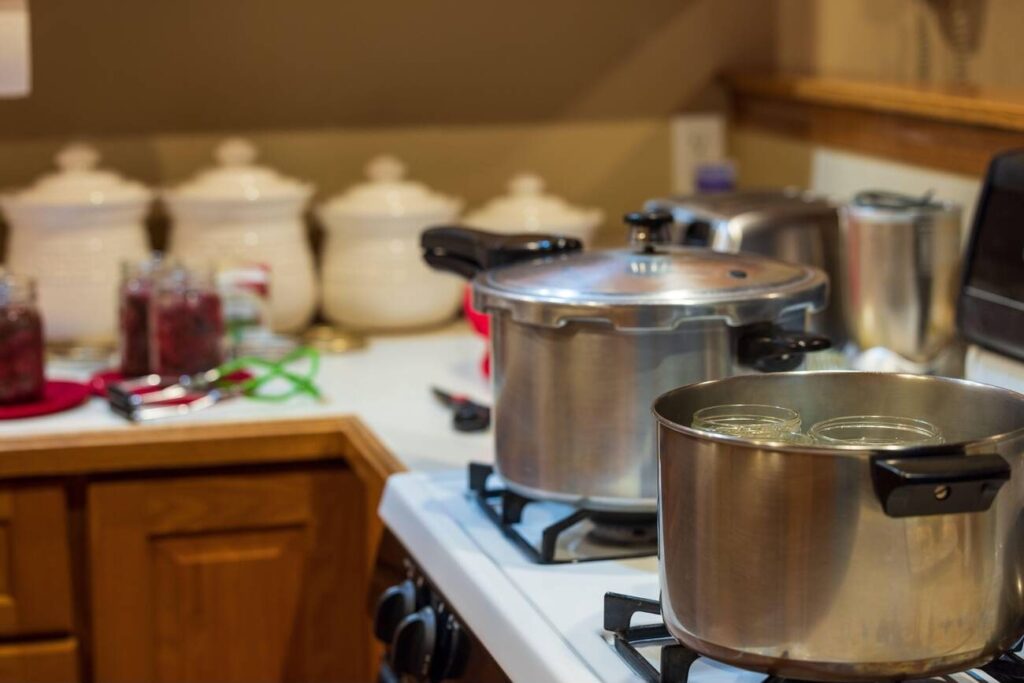
First up is water bath canning. This method works by using boiling water and the natural acidity of the food to achieve safe canning. It’s perfect for preserving high-acid foods.
On the other hand, we have canning with pressure canner. This technique harnesses the power of steam to get the job done. The great thing about pressure canning is its versatility – you can use it to preserve just about anything you desire! Plus, it’s the safest way to can low-acid foods.
So, whether you’re canning fruits with a water bath or experimenting with various veggies using pressure canning, the possibilities are endless.
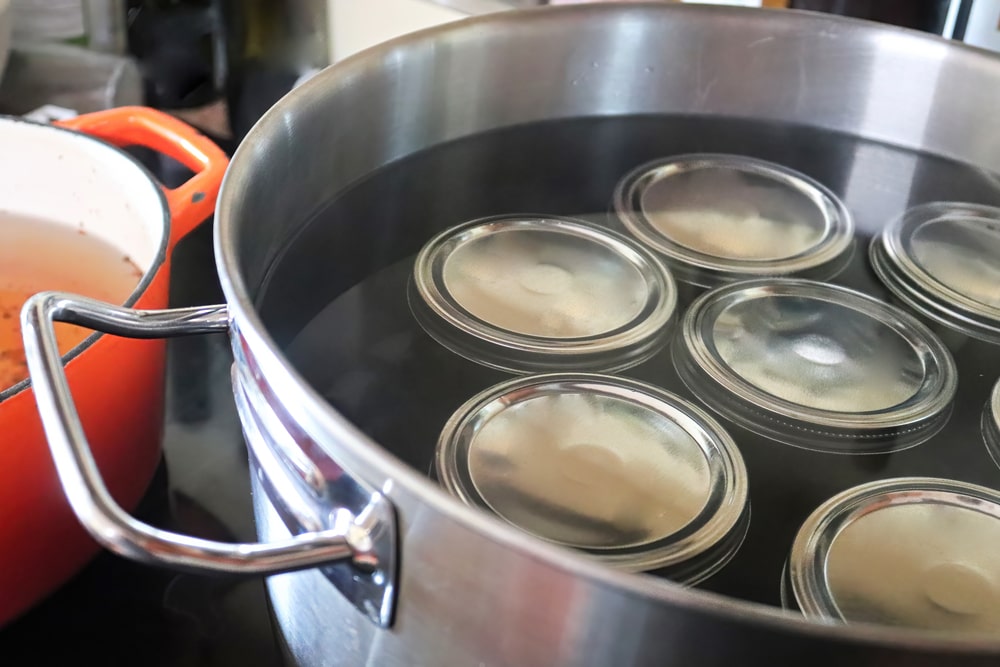
Proper Water Levels for Water Bath Canning
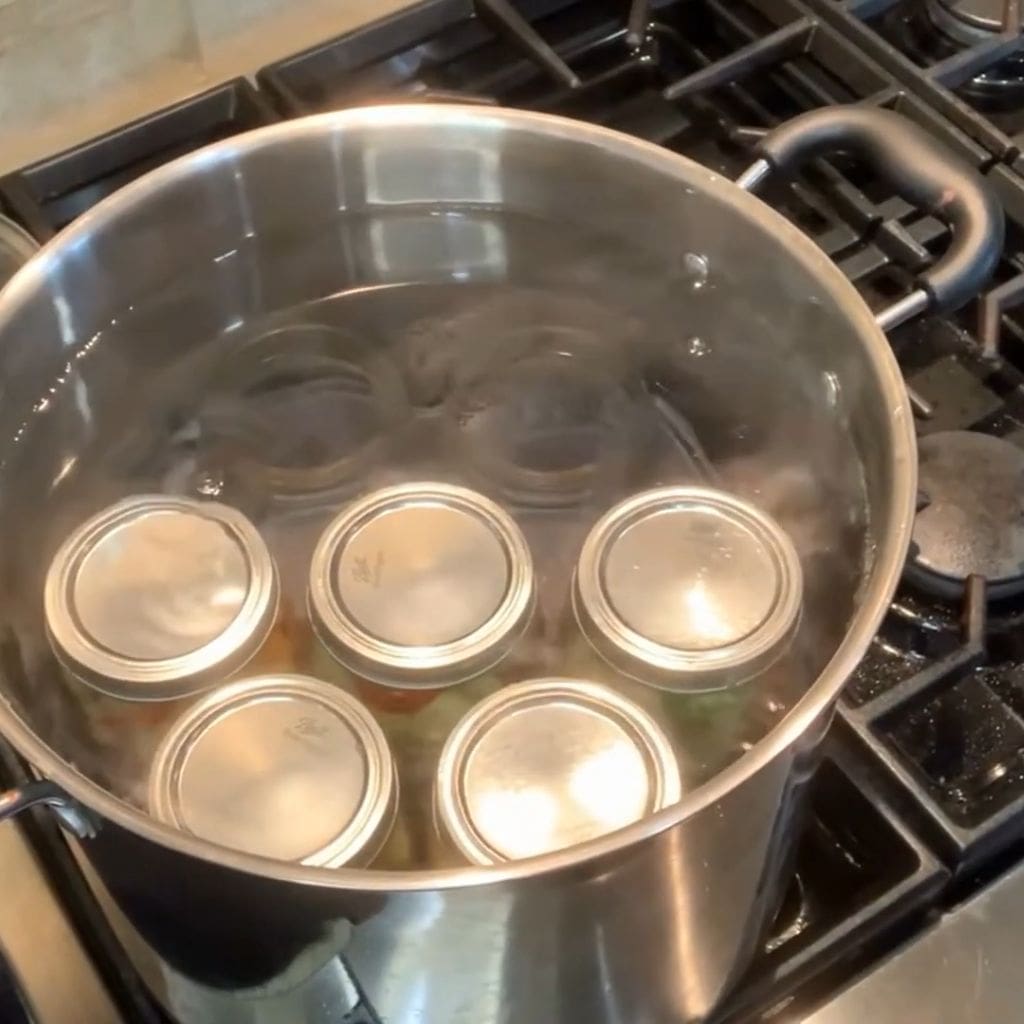
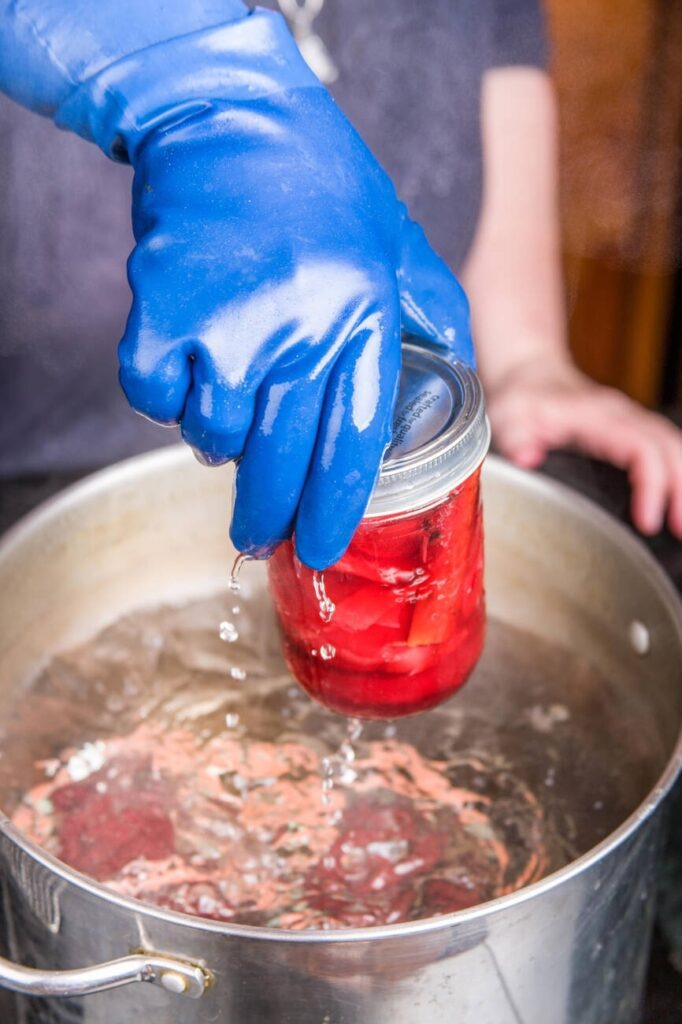
Maintaining proper water levels is critical to remember during water bath canning. Ensure the jars are immersed in at least 2 inches of water throughout the canning process. This precaution is crucial because it ensures that the jars are never exposed to temperatures below boiling, even if some evaporation loss occurs during canning, and this also applied to water bath canning without a canner alternative method.
Remember that this advice is much more important when dealing with longer processing durations, as evaporation can be a big issue. Proper water levels may ensure that your canned items are fully preserved and safe to eat afterward.
So, as you embark on your water bath canning adventures, always keep an eye on the water levels, and rest assured that your efforts will be rewarded with delicious and long-lasting results.
Proper Water Levels for Canning Pressue
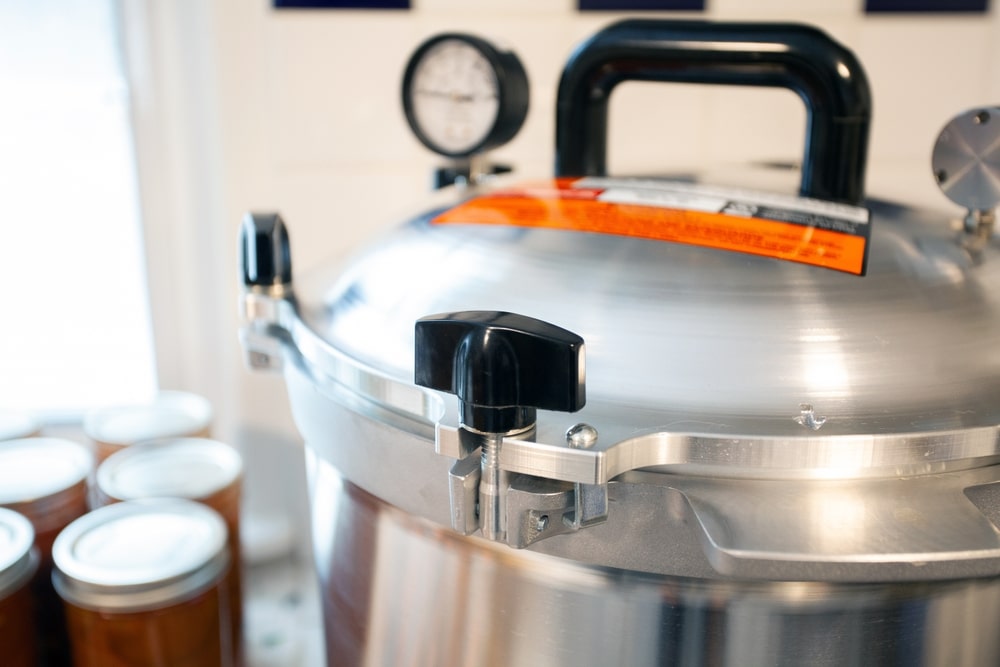
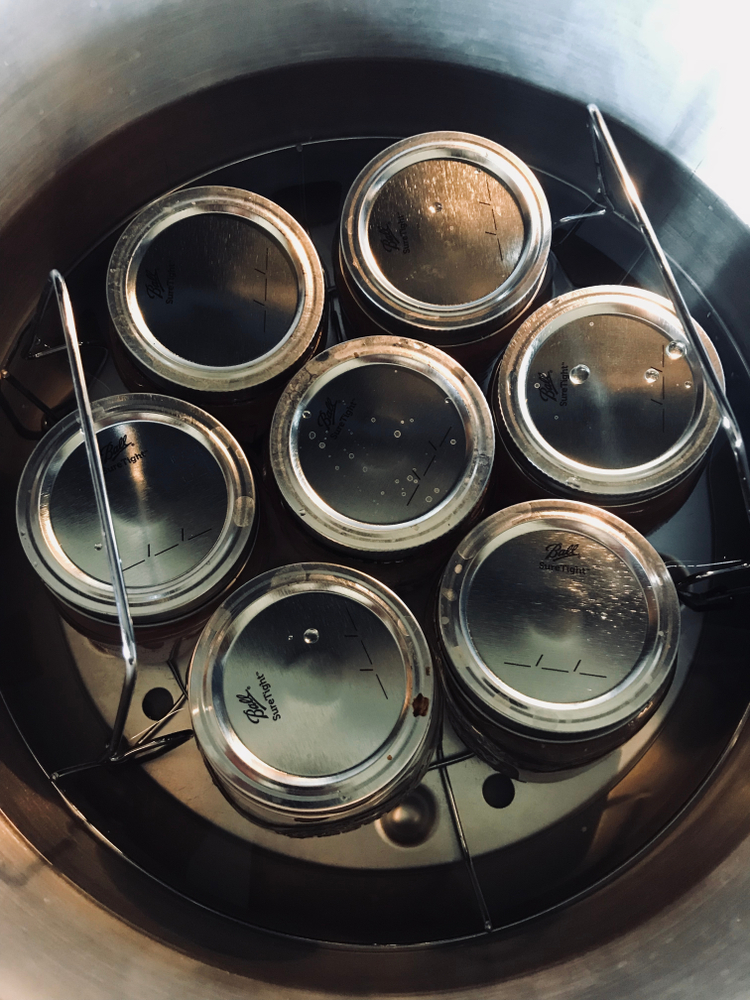
When it comes to pressure canning, you’ll be relieved to discover that your jars don’t have to be completely submerged in water. That’s because pressure canning works using the power of steam rather than liquid. The best part is that steam surrounds your treasured jars, so you can stop worrying about the water level.
Covering the jars is optional during pressure canning as long as you use enough water to produce steam throughout the operation. It saves time and makes the canning process easier than before!
Let’s double-check if you got it properly. Your trusty pressure canner will give instructions on how much water to use. There is no room for speculation! For extra convenience, some canners have a fill-level line.
Don’t worry if you need help finding specific instructions! You may always rely on USDA (United States Department of Agriculture) rules. They’ve got your back and will make your canning experience the best.
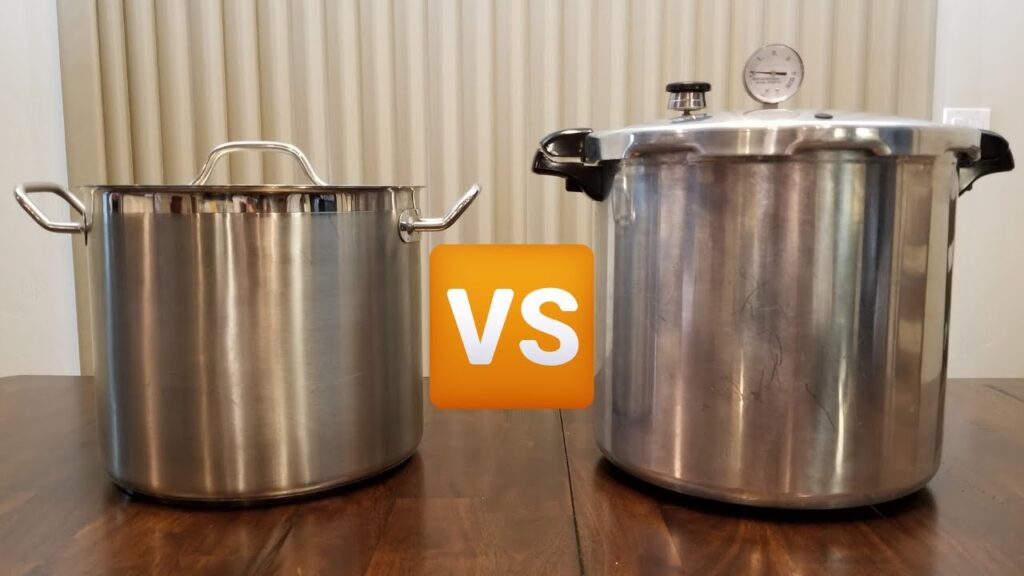
Double check for any canning recipes you are about to carry out, whether it use water bath or pressure canning, this will directly answer the whole topic:”Do jars have to be fully submerged when canning”. Beside water level used for each method, these canning practices still have many distinguished differences, for best successful canning process, make sure you get those differences at: pressure canning vs water bath
Valuable Advice for Immersing Jars in Canning
Whether you’re a beginner or looking to refine your canning skills, I’ve got some fantastic tips and tricks to share to ensure your canning adventures are a resounding success.
The Advantages of a Durable Jar Rack
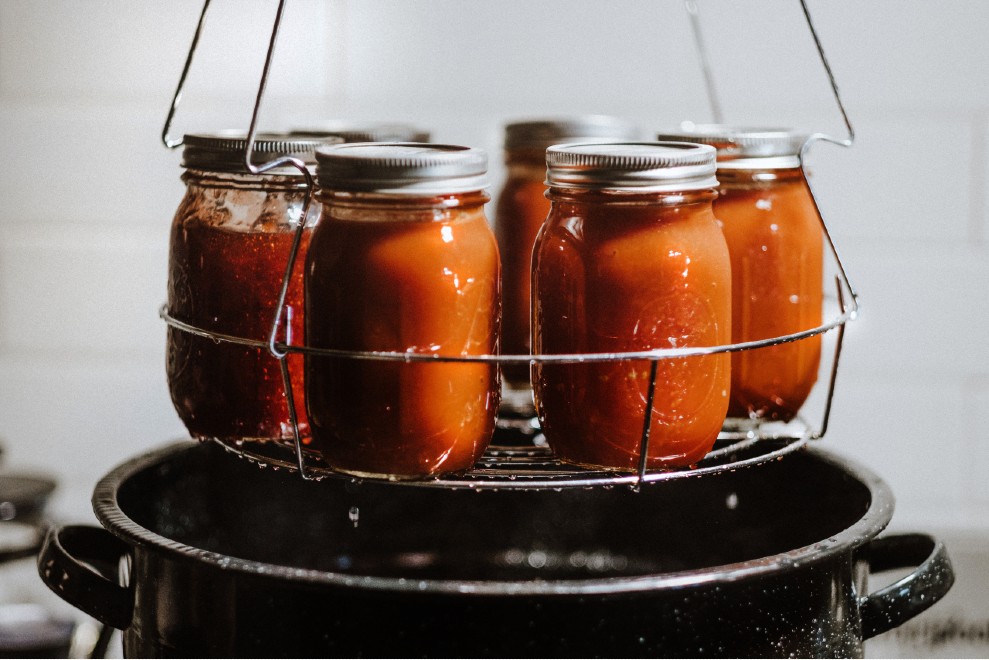
Investing in a heavy-duty jar rack is wise if you’re just getting started with water bath canning. This necessary equipment functions as a barrier, protecting your precious jars from coming into direct touch with the pot’s bottom during the canning process. This decreases the possibility of your jars collecting too much heat, which might impair their longevity.
Furthermore, the jar rack is handy when preserving numerous jars in a big pot. It keeps everything nicely arranged, ensures equal heat dispersion, and simplifies the canning process.
Headspace during canning
Maintaining adequate headroom is key to a successful water bath canning project. Allow adequate space between the tops of your food-filled jars and the boiling water. A good rule of thumb is to allow for roughly two inches of headroom.
Why is this significant, you may ask? Adding water to a raging boil, on the other hand, might have unintended repercussions. It can change the temperature of the water bath, perhaps causing jar breakage or endangering the canning process. So, keep your hardscape in mind, and things will flow well.
Gradual Growth: Starting Small in Canning
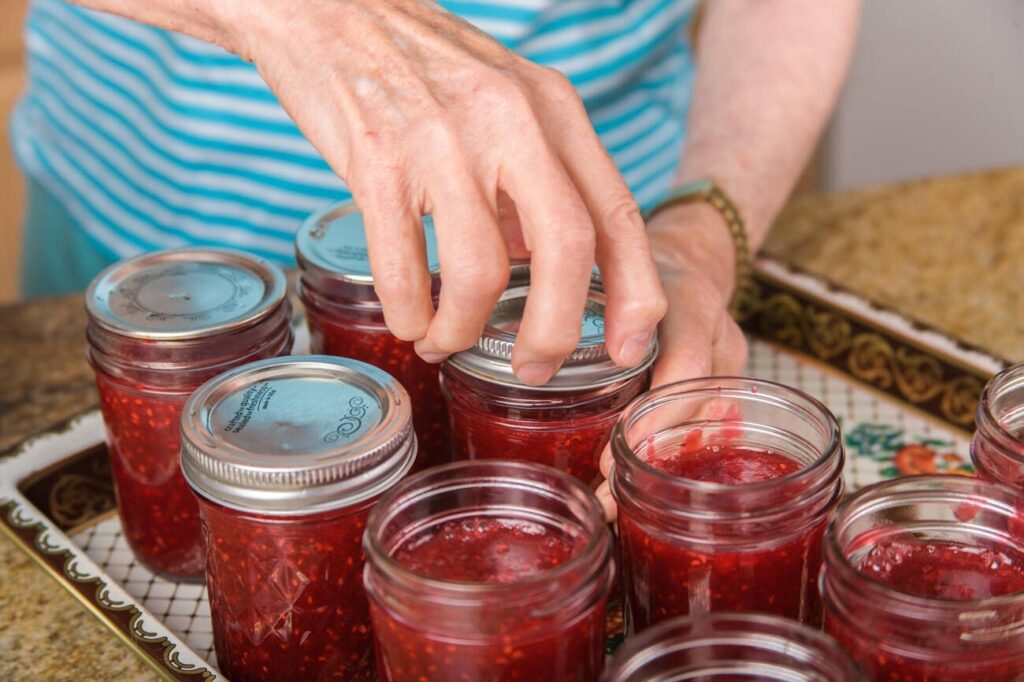
Home canning is a talent that improves with time, practice, and a desire to learn. If you’re new to the game, I recommend starting with small amounts and smaller jars, such as one or two at first. This method helps you to become more familiar with the canning process and better comprehend the processing durations.
Consider it your canning training wheels! You may easily upgrade to a larger pot or even try your hand at pressure canning using dependable mason jars as you develop confidence and perfect the art of water bath canning.
Can Fully Submerged Jars Break During Canning?
While canning is an excellent way to preserve your favorite foods, treating the process cautiously is critical to avoid unintended consequences. Let’s look at some of the most frequent reasons why jars break when canning and how to prevent these problems to make your canning experience successful.
First and foremost, the type of jars you use is important. Always use canning jars or glass jars made exclusively for canning. These jars are designed to resist the high temperatures required in the canning process, preventing them from cracking or shattering when exposed to heat.
Another crucial factor is how the jars are placed in the hot water. Placing them directly on the pot’s bottom might result in uneven heat distribution and an increased risk of breaking. To avoid this, place a jar stand or a cloth at the bottom of the pot to act as a buffer between the jars and the direct heat.
Thermal shock is a common cause of jar breaking. Thus avoiding abrupt temperature fluctuations is critical. Never, for example, add cold water to a saucepan of boiling water while your jars are within. Furthermore, do not immerse hot jars in cold water or soak cold jars in hot bathwater.
If you have some old canning jars sitting around, avoid using them during the canning process. The structural integrity of older jars may have eroded over time, rendering them vulnerable to shattering under the force of boiling water.
Remember that canning is rewarding and pleasurable to preserve your produce or make delectable handmade delights. You may confidently go on your canning adventures without fear of broken jars by using the proper jars, setting them appropriately in the pot, and being cautious of temperature variations.
Nowaday, with invention of new sealing canning jars without boiling methods mainly based on the fear of jar breakage during boiling canning. However, not all of these method are suggested or confirmed by Dakota State University, so make up your mind and be certain for what you method you are going to take.
Troubleshooting Floating Jars in Canning
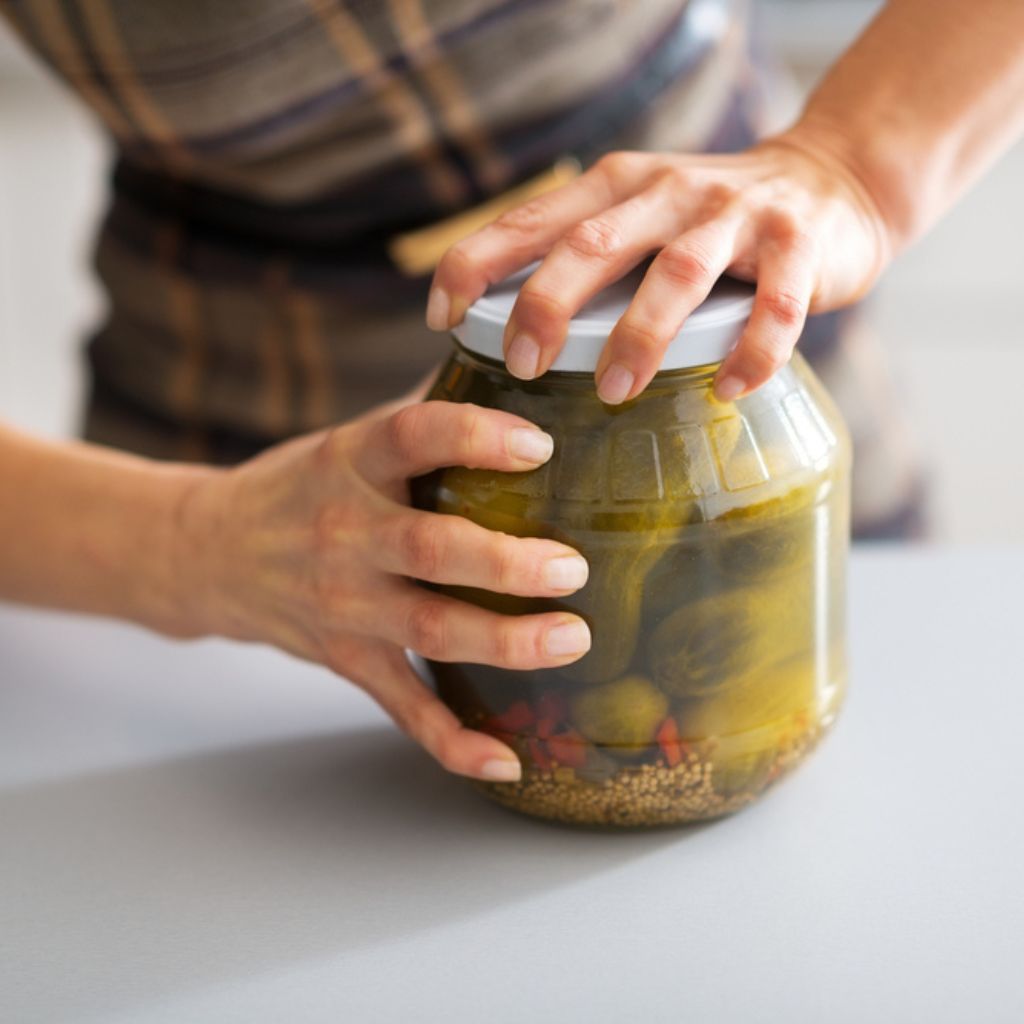
First, let us address the causes of those bothersome floating jars. Using lightweight or low-acid meals in your mason jars is one of the primary reasons. To avoid this, choose acidic foods while canning. This prevents your jars from doing the water waltz in the canner!
Too much headspace is another aspect leading to this floating frenzy. Always follow the recipe’s instructions and leave an adequate amount of room. You’ll preserve the optimum water level in your canner, keeping the jars grounded.
But hold on; there’s more! Jars immersed in hot water can sometimes develop a taste for floating. Why, you could ask? It’s all about the surplus boiling water. When canning, monitor your water levels and follow the recommended processing time. These easy procedures will help you keep your jars where they belong.
The golden nugget of wisdom is to use a modest hot water bath level in a furiously boiling canner. What is the significance of this? When the water is boiling rapidly, it is simpler for your jars to creep up and float around. Keep an eye on the boiling water and maintain the right water level to say goodbye to floating jars.
Oh, and did you know that certain recipes just require a brief period of boiling water? That’s correct! So, study your recipe carefully and alter your canning procedure properly.
With these easy tips and tactics at your disposal, you’ll have those jars snugly nestled in the canner, ready to be carefully preserved and enjoyed anytime you like!
Conclusion
To summarize, it is critical to thoroughly immerse goods in a boiling water bath or pressure canner before preserving them in jars to guarantee safe and successful preservation. This technique eliminates possible air pockets, avoids spoiling, and forms a perfect seal, ensuring the canned items’ life.
Failure to completely immerse the jars may result in incorrect sealing, increased bacterial growth risk, and impaired food safety. You may confidently enjoy excellent, home-preserved goods for an extended time if you follow the prescribed canning processes.
FAQs
Can I lay down jars when pressure canning
No, it’s not recommended to lay jars in the pressure canner during canning.
Placing jars upside down during water bathing ensures that boiling water flows adequately around all jars, preventing potential seal weakening due to rising water temperature from the bottom.
How long should jars be boiled when canning?
Depending on the contents of the jars, the method you are using, the processing time for canning jars is usually between twenty and twenty-five minutes.
However, keeping an eye on the canning process is critical to avoid overboiling, which can cause jars to float.
Can you reuse canning water?
Yes, you can reuse the canning water bath if it’s not dirty or oily. Ensure that all canning materials are thoroughly washed and sterilized before reuse.
Can plastic jars be used for canning?
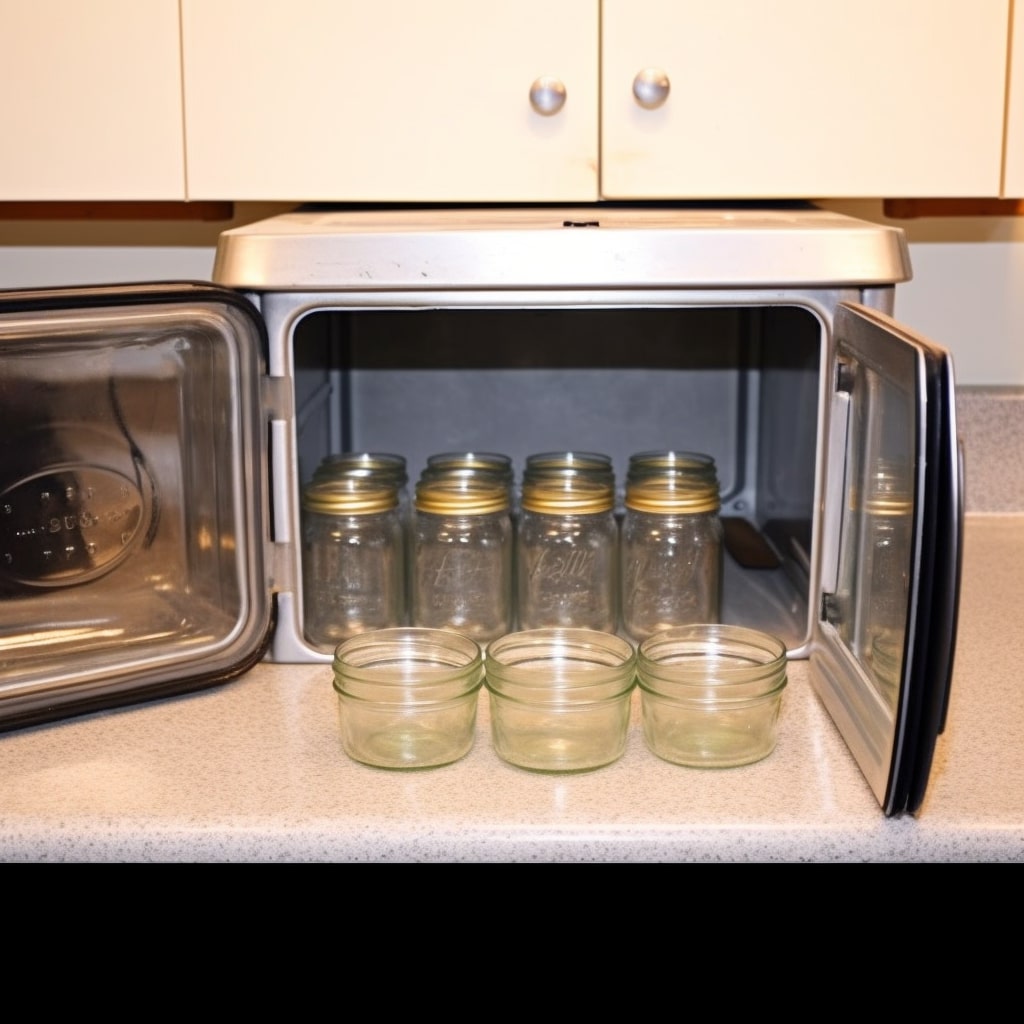
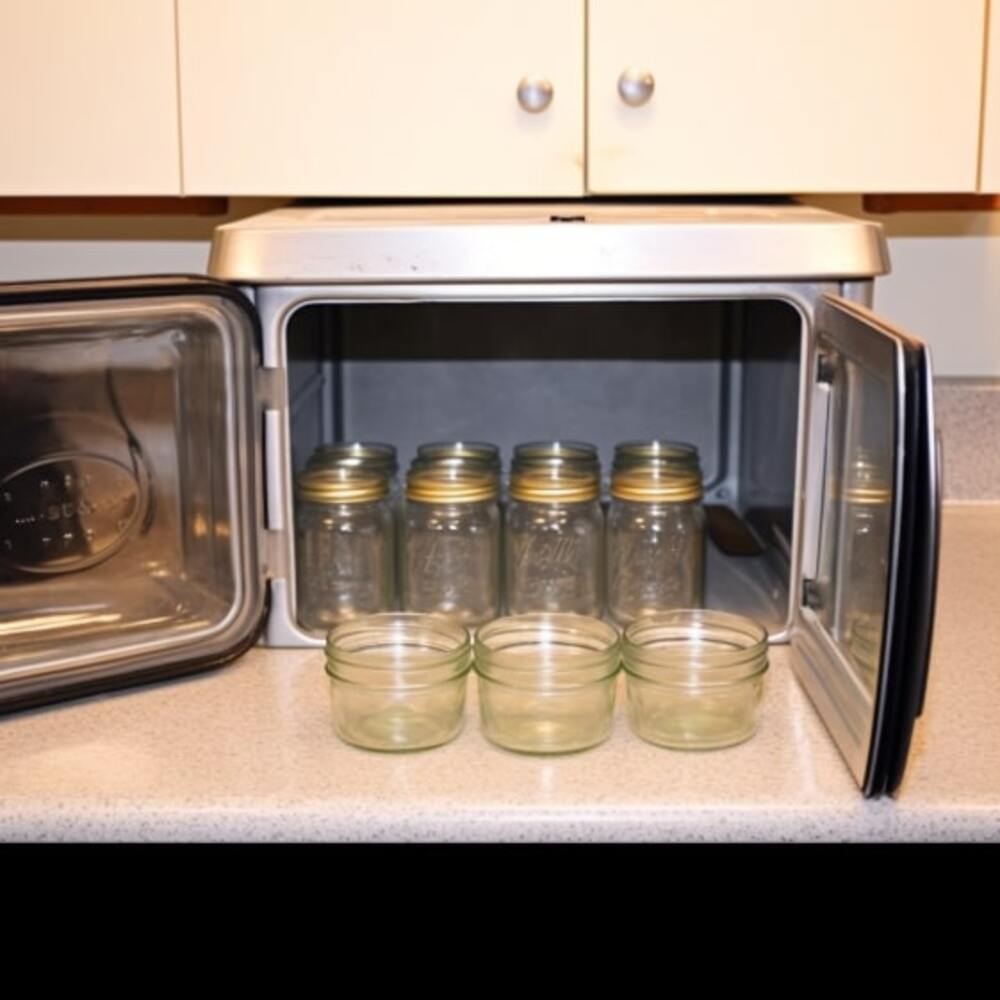
Yes, plastic jars can be used for water bathing if properly intended for canning and made of food-grade plastic.
These microwaved jars can resist extreme temperatures, even boiling in a water bath. However, glass jars are preferred for water-bathing solid meals.
Can unsuccessful jars be re-canned?
No, once a jar has failed to seal, it is better to consume its contents within 2-3 days rather than attempting to re-can it.
The re-canning process would require starting over, and subjecting the jar to boiling temperatures again could negatively impact the flavor and appearance of the food.

![Top 5 Best Jar Opener for Seniors Elderly [Updated 2023]](https://manzanillanyc.com/wp-content/uploads/2023/07/Top-5-Best-Jar-Opener-for-Seniors-Elderly-Updated-2023.jpg)