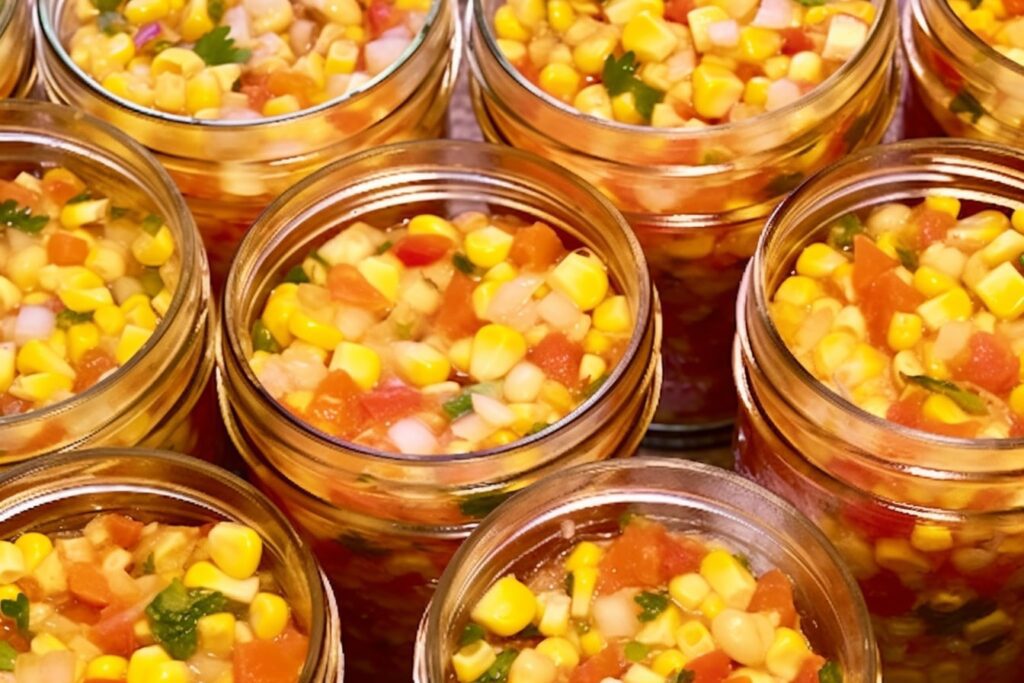
With a traditional Mexican staple – Corn Salsa – treat your taste senses to a blast of wonderful tastes! This vivid and zesty meal, combining the natural sweetness of cherry tomatoes with the earthy richness of corn, celebrates summer’s wealth.
But here’s the best part: we’ll teach you how to can this delectable delicacy for year-round enjoyment. This dish is ideal for every occasion, at any time, whether you’re a culinary adventurer or a home cook. So, let’s discover how to make a delightful corn salsa canning recipe that you can enjoy, share, and savor all year. Prepare for a flavor-filled voyage that will stimulate your taste senses like never before!
Preparing ingredients for a tasty sweet and spicy corn salsa recipe

- Approximately 3 pounds of tomatoes, roughly diced (peeling and seeding can be done optionally).
- Around 2 cups of corn kernels (extracted from approximately 2 ears of fresh).
- 1 cup of finely chopped onion.
- 2 jalapeno peppers, chopped and with or without seeds.
- About 1/ 2 cup of freshly squeezed lime juice.
- Around 1/ 2 cup of chopped fresh cilantro.
- 1 teaspoon of salt.
Today, I’m happy to share my story of making a delectable sweet and spicy corn salsa with you. You will be addicted once you try this dish! Let’s get started and go over the components one by one.
First and foremost, tomatoes! You may peel, remove those skins and seed them if you want a smoother texture, but don’t worry if you want to keep it simple and omit this step – the choice is entirely yours. Just make sure you have around 3 pounds of chopped tomatoes on hand. If, like me, you dislike tomato seeds, substitute ordinary tomatoes for cherry tomatoes.
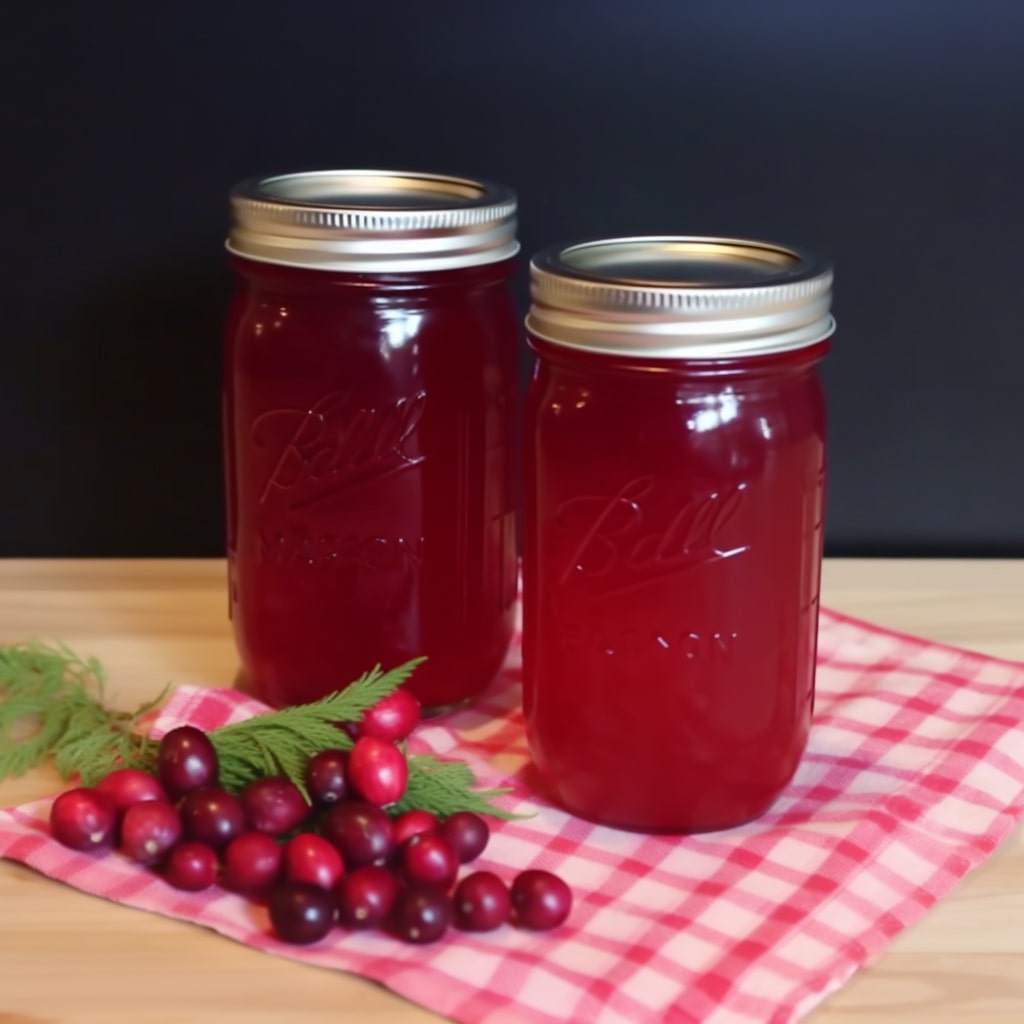
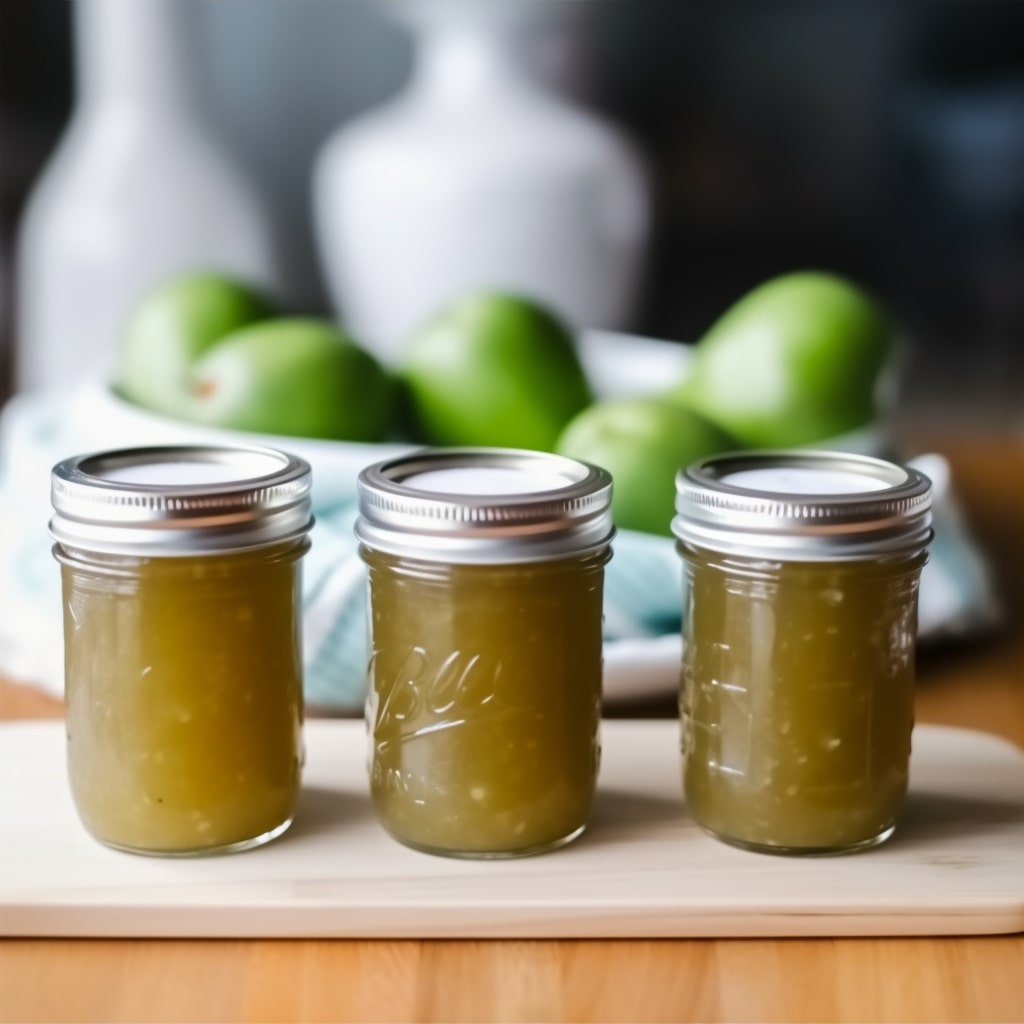
I love the function of tomatoes in every recipes, they seem to maintain a suitable acid level for canning while blow up your mind with their flavor. In this case, I really want to share with you one of my favorite: Green tomato jam recipe for canning
I highly recommend using corn extracted from roughly 2 ears of fresh one to obtain that true farm-fresh flavor. It offers an enticing sweetness that completely transforms the dish. Fresh corn is also fun to work with, and you’ll enjoy the gratifying pop when the kernels fall off the cob!
Following that are onions and jalapeño peppers. These give a lovely spice and depth of flavor. Chop them finely, and add or eliminate the jalapeño seeds depending on your spicy choice. I always have some seeds for that additional kick, but it is personal choice only.
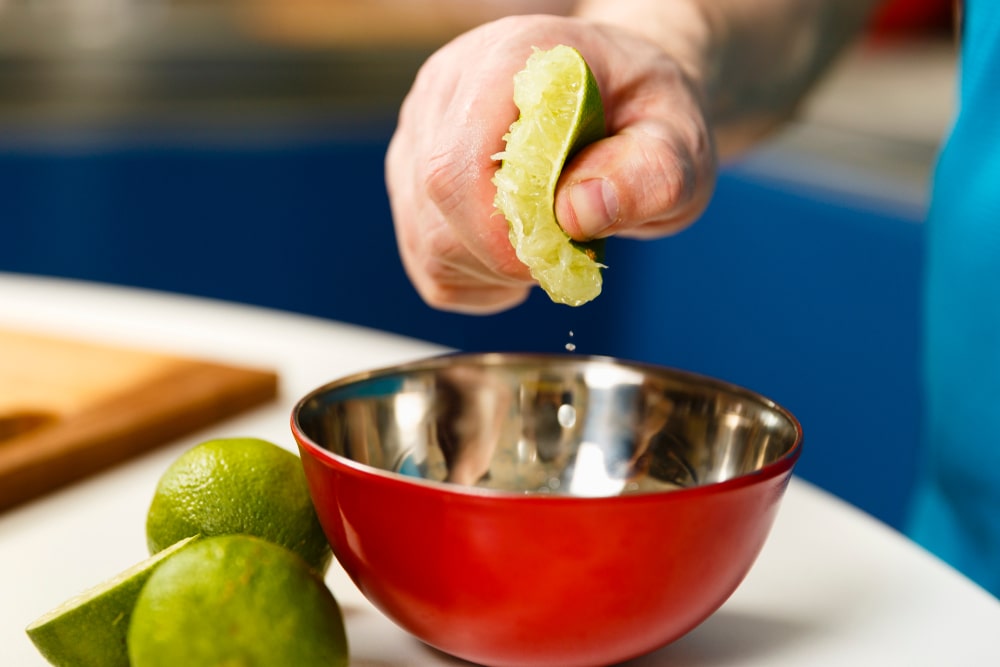
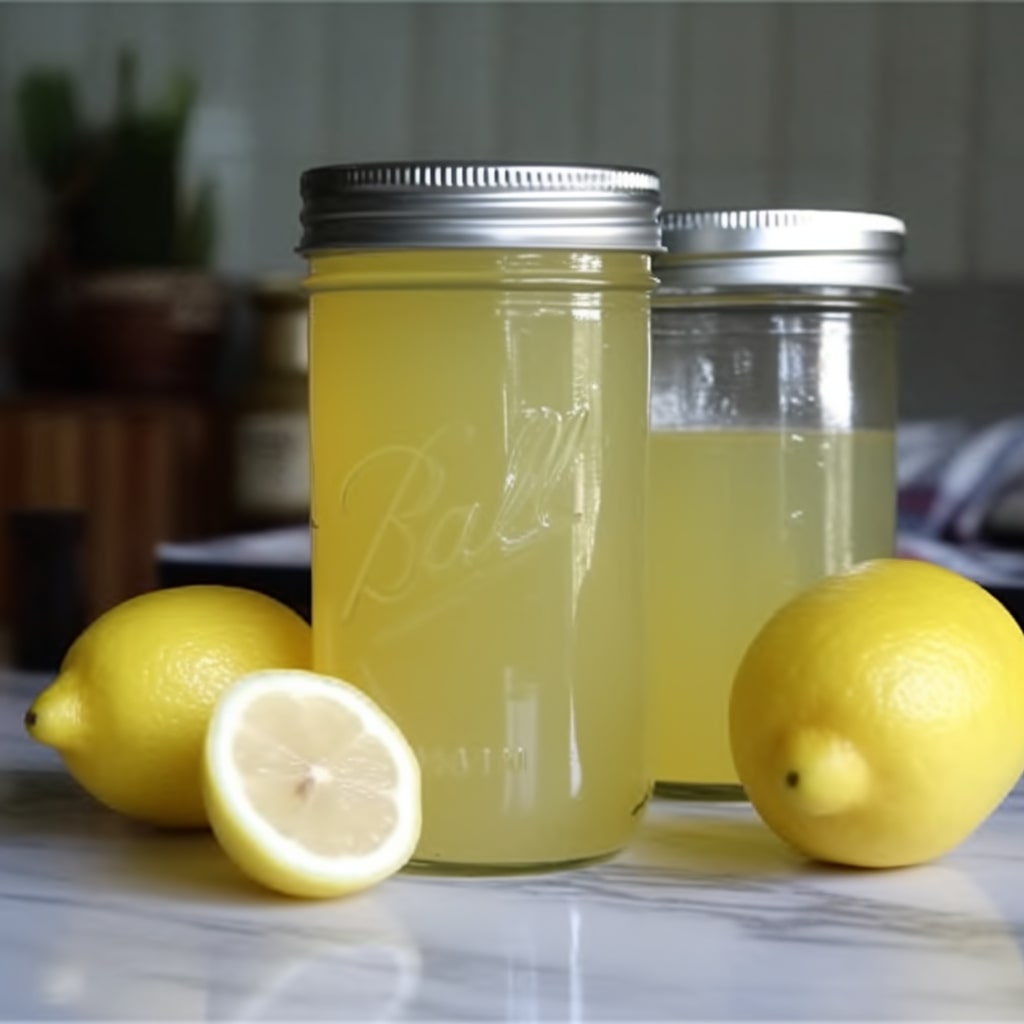
Let’s get back to that sour zing. The best option is to use fresh lime juice! Bottled juice is commonly used in canning recipes, but adding fresh lime juice and vinegar (optional, personally i don’t want the flavor of vinegar that much) elevates the food to a new level and also maintains a consistent, standard acidity level along with cherry tomatoes safe for water bath canning. The brilliant citric undertones complement the taste and give it a delightful, zesty flavor.
We’re still going; add a splash of freshness with chopped cilantro, yet I enjoy its vivid scent.
Not to mention the seasoning! A teaspoon of salt is required to accentuate and bring out the taste. But remember to taste as you go and adjust the salt to taste.
Now that all our components are ready let’s review a few crucial points. This recipe makes a small amount (approximately 3 quarts), ideal for fresh farmer’s market discoveries. However, if you want to serve all year, double, treble, or even quadruple the quantity.
And not to argue, the food tastes best when eaten immediately, but if you want to save it for later, you’ll need to follow proper our canning requirements. Remember that this recipe was tried with fresh lime juice, which added a blast of flavor. However, if you prefer bottled juice, feel free to use it. It all depends on your personal preferences!
So there you have it: a delicious sweet and spicy corn salsa that goes great with chips, tacos, burritos, or just spooned into your mouth. The fun of cooking is in experimenting and personalizing it.
Step-by-step instruction on corn salsa canning recipe
Step 1: Chopping corn
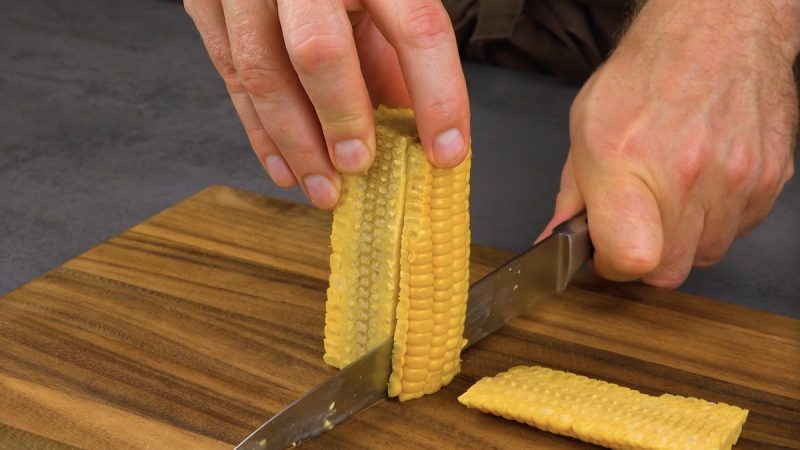
When it comes to prepping sweet corn, a bundt pan comes in handy. We start with the corn cob in the center and slide a sharp knife down each side, capturing the luscious kernels as they fall. This approach guarantees we get the most out of our corn, and the bundt pan keeps everything clean.
If fresh corn isn’t available, don’t worry! Frozen corn kernels also work well. Simply defrost them before going to the next step.
Step 2: Chopping and Preparing the Veggies
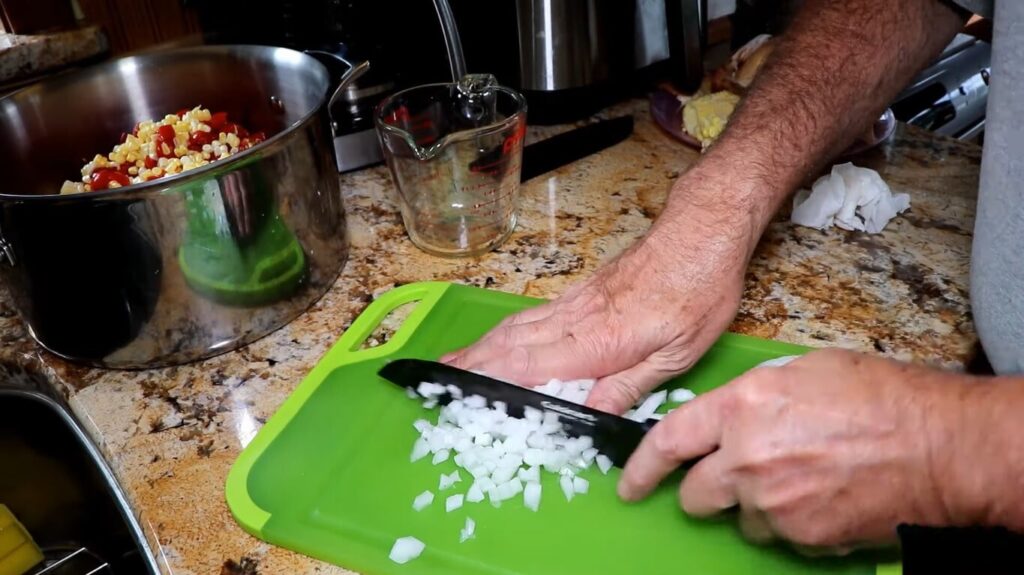
Let’s now concentrate on the vegetables that will taste and color the dish. Chopping onions, peppers, tomatoes, and cilantro is recommended by our staff. Remember, the more vibrant the colors, the better!
Peeling and seeding full-sized garden tomatoes before using them gives a smoother texture. If you prefer cherry tomatoes, simply quarter them to save time while retaining their delicious flavor.
Step 3: Sterilize canning equipments

As we continue on our journey, it’s time to get ready for the canning procedure. Our staff suggests having a water bath canner on hand and sterilize your jars and lids. This preparation will help the canning process go much more smoothly, and you’ll be able to enjoy all year around.
Step 4: Let’s Cook!
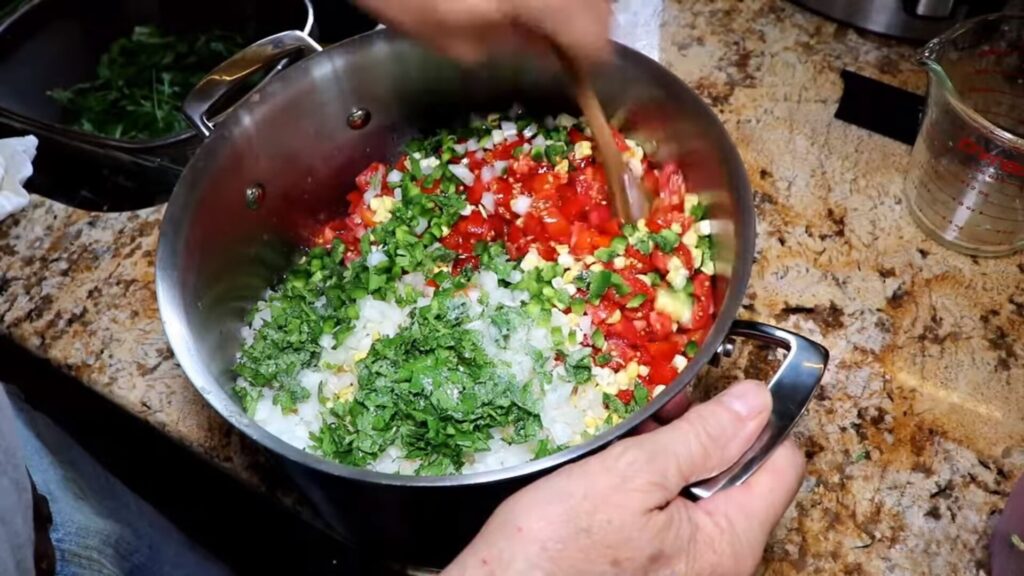
Now that we’ve gathered our fresh ingredients, it’s time to put them all together for some delight. For this phase, I considered using a stockpot or Dutch oven.
Allow the corn, chopped vegetables, and cilantro to stir together and combine over a slow boil, just reduce heat and simmer. Remember to mix occasionally to ensure that the flavor is equally distributed.
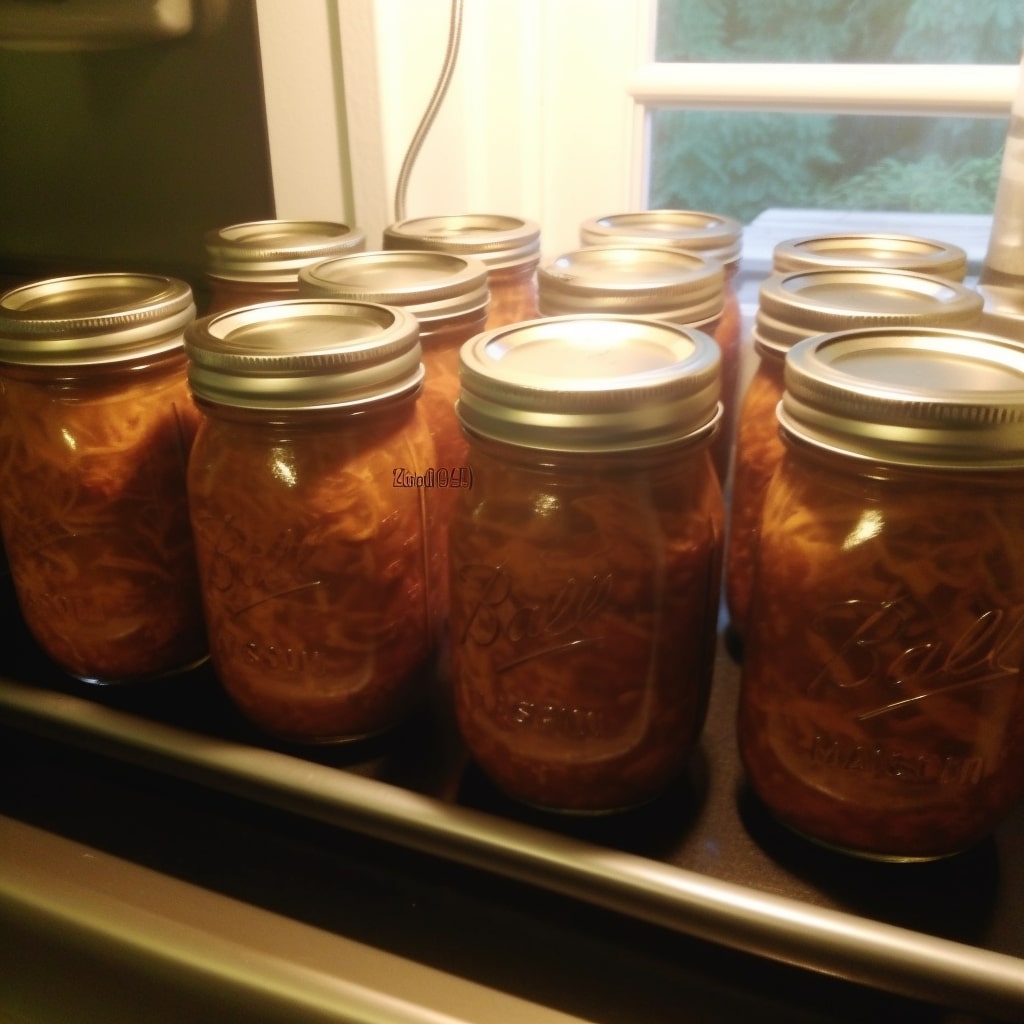
Step 5: Canning magic
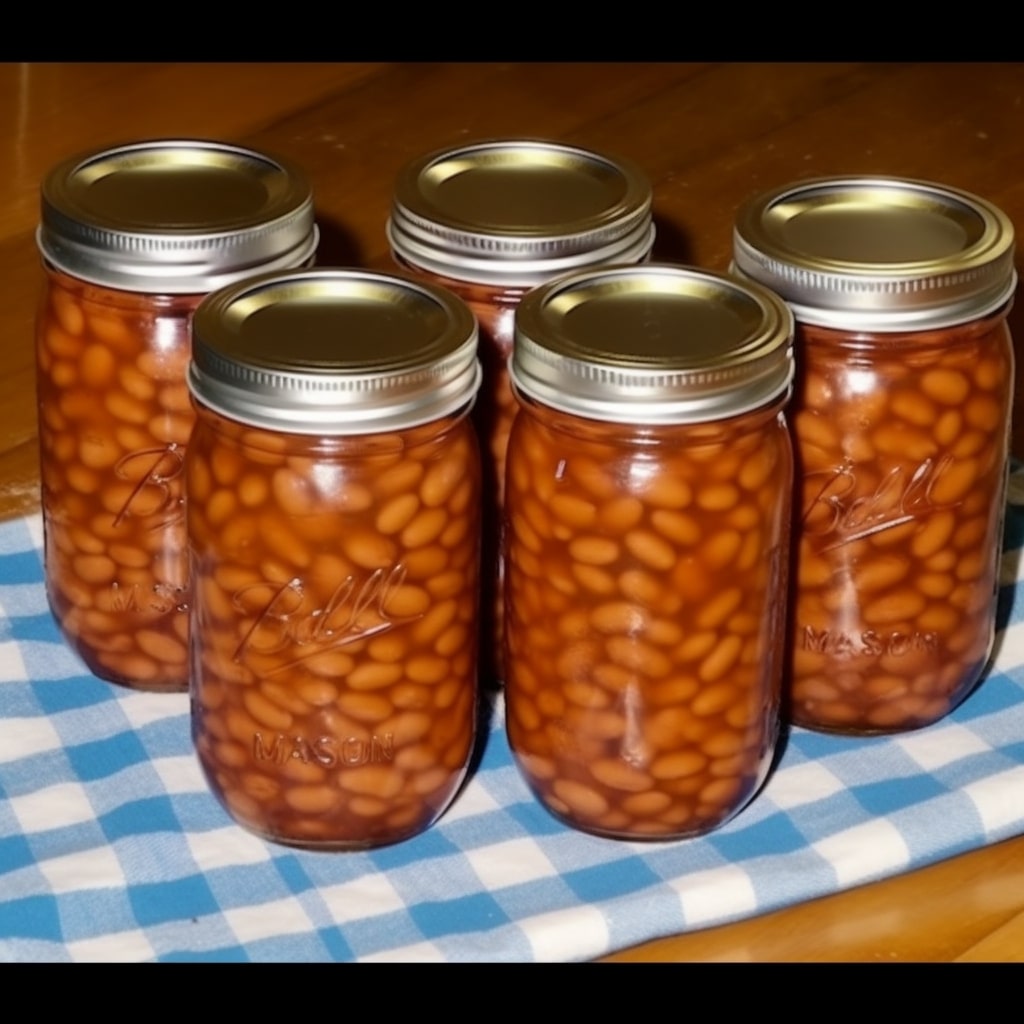
Congratulations, you’re almost there! After my testing, I can proudly say that your salsa is ready to be canned and enjoyed anytime. Carefully ladle into your prepared ball jars, making sure to leave some headspace. Seal them with the lids and follow your canning guidelines.
Canning is not only practical but also rewarding. Sharing your homemade creation with loved ones or giving them thoughtful gifts is heartwarming.
From my exploration, this corn salsa has the potential to elevate any dish and add that extra touch of flavor. So, don’t be afraid to experiment with different ingredients! Add some jalapeños for a spicy kick, or mix in other types of tomatoes for a unique twist.
Process canning
I like the vivid taste, and I can’t wait to show you how it’s canned. Don’t worry if you’re new tothis method; I’ll walk you through each step so you can confidently preserve this delectable one to enjoy throughout the year.
First and foremost, we’re ready to begin the canning journey after prepping all the ingredients and bring to a boil for 5 minutes. Assemble your water bath canner to a temperature of roughly 180 degrees F or slightly simmering.
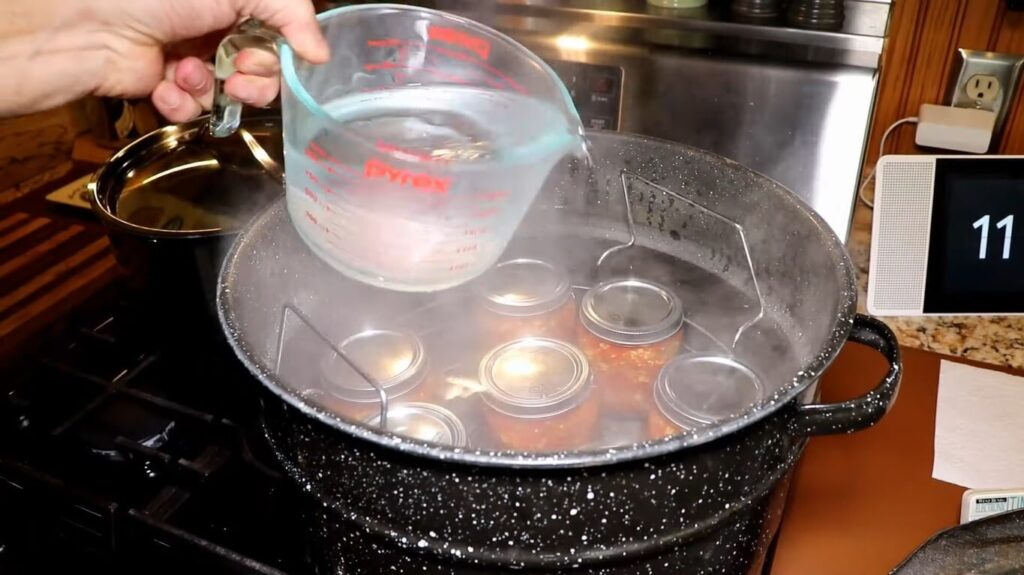
After the mixture has finished simmering, spoon it into canning jars, allowing 1/2-inch headspace. This headspace is required for expansion during the corn canning process. Then, using 2-part canning lids, close them and tighten the rings to just finger tight. This maintains a good seal while letting air escape throughout the canning process.
Now it’s time to process those filled jars in the water bath canner. If you’re beneath 1,000 feet in elevation, we’ll process pints and half pints in canner for 15 minutes. However, modify the processing time accordingly if you’re at a higher altitude (altitude adjustment instructions may be found online).
From my experience, after 15 minutes, turn off the heat and leave them in the canner for an extra 5 minutes. This ensures that the food is evenly heated, extending its shelf life.
Carefully remove the jars from the canner using a jar lifter and lay them on a cloth on the counter to cool. This chilling phase is critical because it helps the jar’s contents settle correctly, resulting in a superior texture and flavor.
Now comes the most difficult part: waiting! Leave them alone for 12-24 hours or until thoroughly cool. After that, it’s time to inspect the seals. If the lids are correctly sealed, you’ll notice they’re slightly concave in the middle and don’t bend when squeezed. Any unopened ones can still be utilized but should be refrigerated and used as soon as possible.
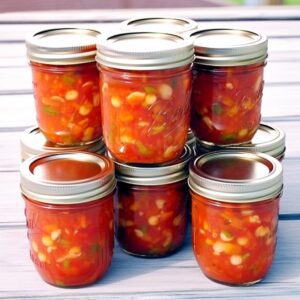
And there you have it! Your demand is now lovingly preserved and ready to grace the shelves of your pantry. Jars that have been properly sealed and canned will keep their quality for 12-18 months.
I urge you to experiment with different recipes and tastes while canning. Once you’ve mastered the technique, you’ll find satisfaction in preserving the bounty of each season, producing handcrafted sweets for you and your loved ones to enjoy throughout the year.
Altitute chart for canning time
Flexibly adjust your total canning time suit your altitute where you are living. These time are suggested by trusted source applied for half-pint and pint jars.
| Feet Above Sea Level | Increase in Processing Time |
| 1,001-3,000 | 5 minutes |
| 3,001-6,000 | 10 minutes |
| 6,001-8,000 | 15 minutes |
| 8,001-10,000 | 20 minutes |
Beside sweet and little bit spicy homemade canned corn salsa, we also got a couple of interesting vegetable canning recipes for you to discover and gather around with family on a canning day:
Corn Salsa Recipe for Canning
Equipment
- 1 Water Bath Canner
- 8 Mason Jars
- Stockpot
- Basic Kitchen Stuffs
Ingredients
- 3 pounds of tomatoes roughly diced peeling and seeding can be done optionally.
- 2 cups of corn kernels extracted from approximately 2 ears of fresh.
- 1 cup of finely chopped onion.
- 2 jalapeno peppers chopped and with or without seeds.
- ½ cup freshly squeezed lime juice.
- ½ cup chopped fresh cilantro.
- 1 teaspoon of salt.
Instructions
Making corn salsa
- Use a bundt pan to cut the corn kernels off the cob cleanly.
- If fresh corn isn’t available, defrost frozen corn kernels.
- For vibrant colors and flavors, chop onions, peppers, tomatoes, and cilantro.
- For a smoother texture, peel and seed full-sized garden tomatoes or quarter cherry tomatoes.
- Combine vegetable mixture in a stockpot or Dutch oven and simmer gently.
- Ladle the salsa into prepared jars, leaving some headspace.
- Get creative with ingredients! Add jalapeños for spice or different tomato types for variety.
- Prep ingredients and let them simmer for 5 minutes.
Water Bath Canning
- Gather equipments the canning process.
- Set up the water bath canner at around 180 degrees F.
- Spoon salsa into canning jars, leaving 1/2-inch headspace for expansion.
- Close jars with 2-part canning lids, tightening just finger tight.
- Process for 15 minutes (adjust for high altitude).
- Let jars sit in the canner for an additional 5 minutes after turning off the heat.
- Carefully remove jars and let them cool on a cloth on the counter.
- Allow jars to cool undisturbed for 12-24 hours.
- Check seals – lids should be slightly concave and not bend when squeezed.
- Unopened, properly sealed jars can be stored in the pantry for 12-18 months.
- Experiment with different canning recipes and enjoy your preserved goodies all year round!
Notes
- Use suitable canning jars: Make sure you use those free of chips and cracks.
- Follow the following canning safety guidelines: To ensure the salsa is securely preserved, follow standard canning processes. For this recipe, use the water bath canning technique.
- Allow for expansion during the canning process by leaving about 1/2 inch of headroom at the top of the jars when filling them with salsa.
- Once the jars have been filled, use a non-metallic spatula or bubble removal tool to remove any trapped air bubbles.
- Wipe the jar rims with a clean, moist cloth before fitting the lids on the jars to ensure a proper seal.
- After filling and sealing them with lids and bands, immerse them in boiling water for the duration indicated for your altitude and jar size. This will aid in the creation of a suitable seal.
- After the jars have been cooked and cooled, inspect them for appropriate seals. Area the jars in a cold, dark area and label them with the date.
- Lime is essential for this corn salsa recipe for canning not only for a suitable acid level for a safe canning progress but also for a dynamic taste you may never taste before.