The art of preserving mouthwatering meals while enhancing their tastes has given rise to creative culinary techniques, pressure canning being one such approach. The Pressure Canning Pulled Pork Recipe stands out among the delicious products that profit from this method.
With this technique, the flavor of the soft, delicious pulled pork is preserved, as well as its long-term preservation. In this article, we’ll go into the process of making this amazing dish and learn how to make a recipe for flawlessly pressure-canned pulled pork.
Making your tasteful pulled pork before for canning
The wonderful world of pulled pork, ah! An American barbecue staple that tantalizes the palate and evokes thoughts of sociable get-togethers and delectable feasts. Today, we set out on a savory trip into the heart of pulled pork, discovering its intricacies and learning how to craft a mouthwatering masterpiece that can be enjoyed now and in the future. As we delve into the art of creating your very own pulled pork for canning, join around, fellow foodies.
Selecting the Perfect Cut
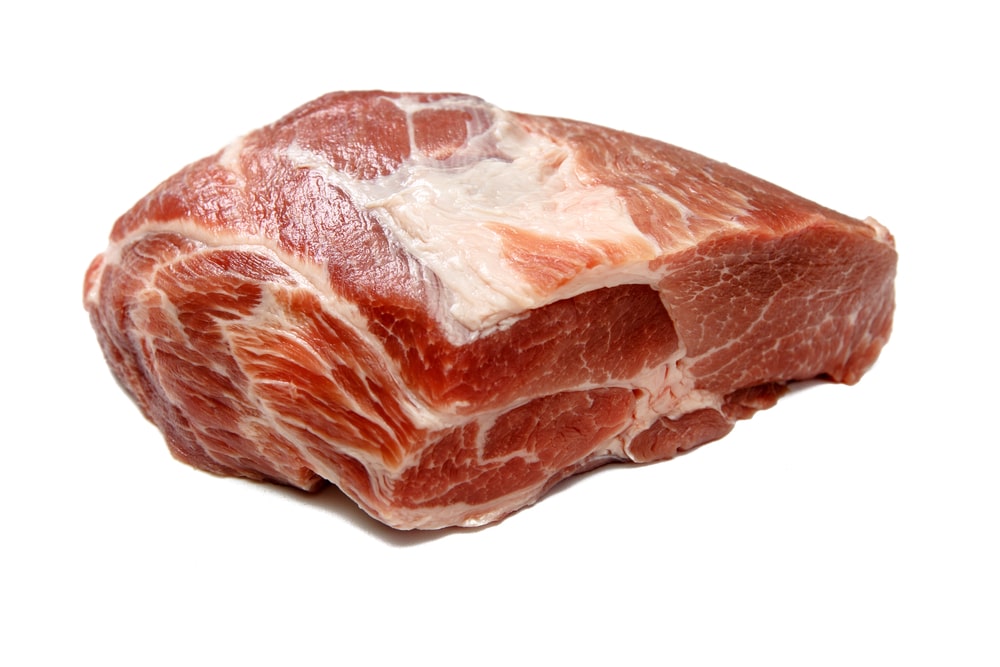
Before getting into the details, let’s first discuss the main attraction, the pork. My friends, you have choices here, and both deserve consideration. Whether you like the juicy softness of pork shoulder or the exquisite marbling of Boston butt, you’re in for a treat. The Boston butt is the champ of choice for me because it has the perfect combination of chewy satisfaction and melt-in-your-mouth delicacy.
The Enchanting Dance of Flavors
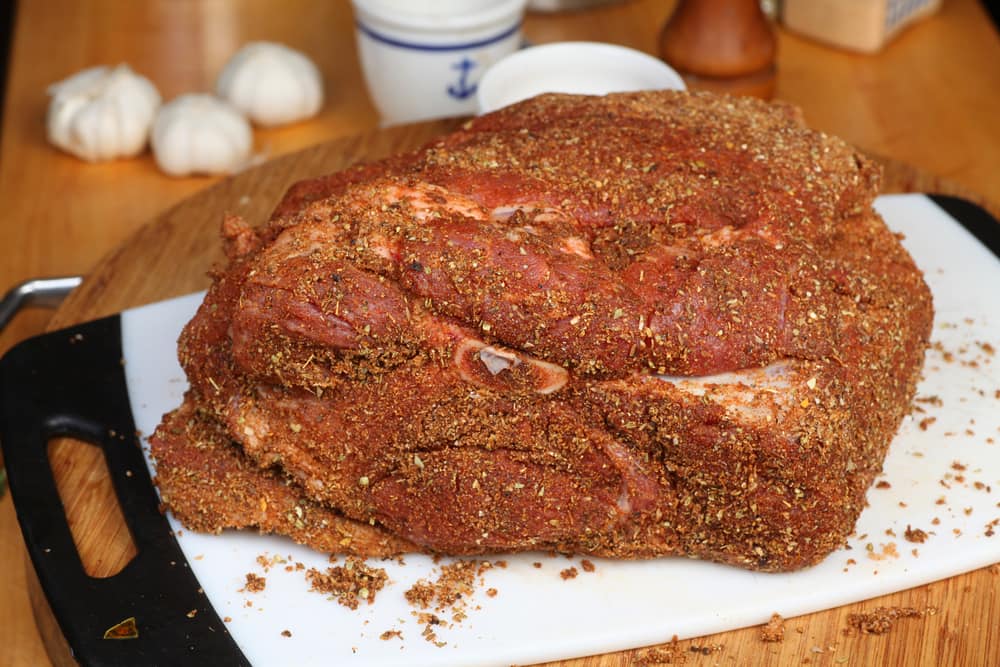
First, let’s set the stage with a dance of flavors – the dry rub. Picture this: your preferred blend of aromatic spices mingling together, creating a symphony of taste that’s uniquely yours. Now, take a moment to pat your chosen pork cut dry with paper towels. This little step is your secret weapon, ensuring the rub clings to the meat like a culinary embrace.
Gently yet assertively, massage that flavorful rub into every nook and cranny of your pork cut. It’s like giving your meat a spa day to soak in all those marvelous flavors. For those who relish anticipation, marinating in the fridge for a few hours or even a day elevates the taste to a new level.
Cooking to Perfection
The stage is set, the rub is infused, and it’s time for the grand performance – cooking. You have choices here: the oven, the smoker, or the slow cooker. I’ve taken this journey many times, and let me tell you, there’s something magical about low and slow cooking.
For that irresistible tenderness, I set my oven to a cozy 225-250°F (107-121°C) and let the flavors unfurl over time. Patience is a virtue, and I prefer the longer end of the spectrum – around 26 hours if I seek that tender, sweet, and effortlessly shredded perfection.
Of course, if you’re more drawn to a delectable balance between juiciness and chew, 18 hours might be your sweet spot. Whether you opt for the oven, smoker, or slow cooker, remember to set the stage with soaked wood chips for an extra layer of flavor complexity. It’s like adding a dash of magic to the experience.
The Grand Finale – Shredding and Serving

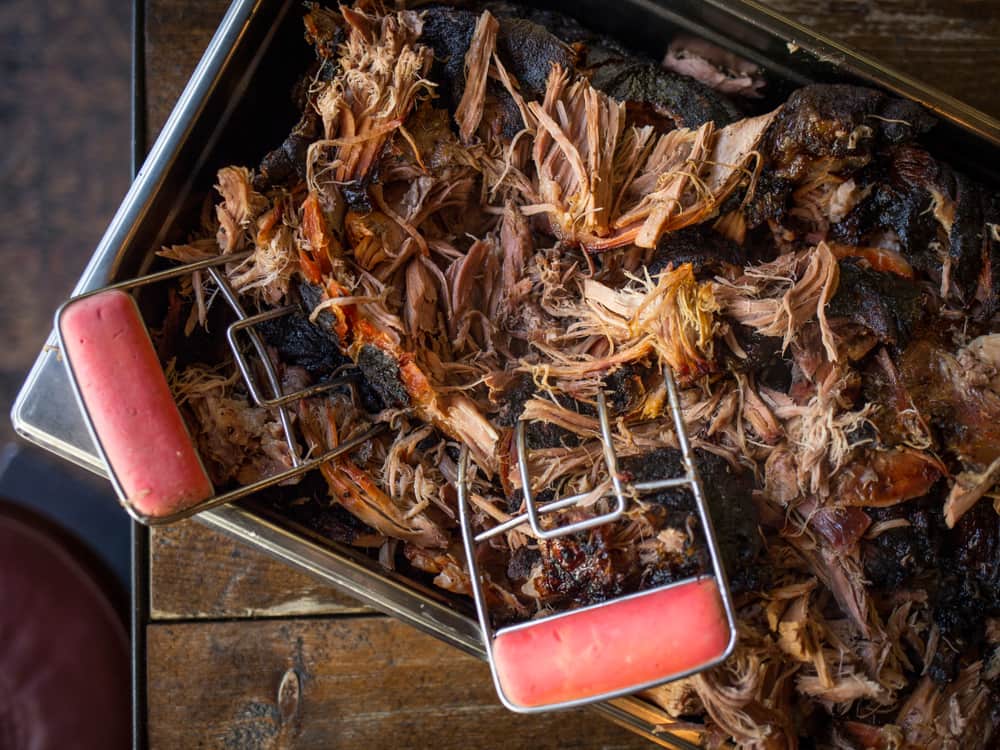
As the aroma of slow-cooked wonder fills the air, it’s time for the grand finale. A little patience goes a long way here – let your pork rest for about 30 minutes. This is where the magic happens, my friends. Those precious juices redistribute, infusing every bite with a symphony of succulence.
Now, armed with tongs and forks, it’s time to embark on the shredding journey. Gently pull apart the meat into bite-sized strands, creating a texture that’s not just a sensation but an experience. And here’s where your culinary imagination comes to play – serve your masterpiece as is, nestled between buns, tucked into tacos, or wherever your taste buds lead.
A Nectar of Moisture and Flavor
Oh, but we’re not done yet. With a final touch, a little drizzle of those precious cooking juices, you’ve elevated your creation to the realm of culinary dreams. The perfect union of moisture and flavor, sealing the experience with a triumphant flourish.
Signature BBQ Sauce for pulled pork
Folks, a well made barbecue sauce has a truly magical quality to it; it dances a symphony of flavors on your taste senses. Let me now reveal the secrets of how we created a sauce that has gained widespread acclaim. Should I mention spices?
Okay, here’s the lowdown: Imagine yourself in your kitchen and having a yearning for some incredible pulled pork. the sort with a sauce that is the stuff of legends, literally melting in your lips. At that point, our Signature BBQ Sauce takes center stage.
Let’s now analyze it item by ingredient. Your favorite ketchup serves as the opening act, serving as the sauce’s warm basis and providing a welcoming atmosphere. But hey, I’ll let you in on a little secret. Choose pure, plain ketchup instead of one that contains high-fructose corn syrup. Your taste buds will appreciate it afterwards, I assure you.
Then there is the apple cider vinegar, I see. Have you ever noticed how a little taste may instantly awaken your senses? This vinegar achieves the desired harmonic balance by acting as the conductor of the taste symphony.
Let’s now discuss brown sugar. Oh yeah, only a quarter cup of this fantastic thing enriches the overall experience by adding a touch of sweetness and a hint of molasses. It’s similar to adding a pinch of mystery to your sauce. And speaking of delicious, turn on the Honey. Add a few teaspoons of your favorite honey, and the dish is elevated. If you have access to local honey, take advantage of it since it’s like a love letter from your hometown to your taste buds.
However, there’s still more! The unsung hero of savory delight is Worcestershire sauce. The sour and sweet tones are connected by this taste, producing a culinary masterpiece that will make your pulled pork sing.
Let me now introduce you to my culinary companion, Stone House Seasoning. Seriously, this mixture is like giving your meal a high five. When you sprinkle it on, your taste receptors instantly start dancing in delight. Because we sprinkle it on almost everything that doesn’t entail a sugar rush, it is known as Stone House Seasoning.
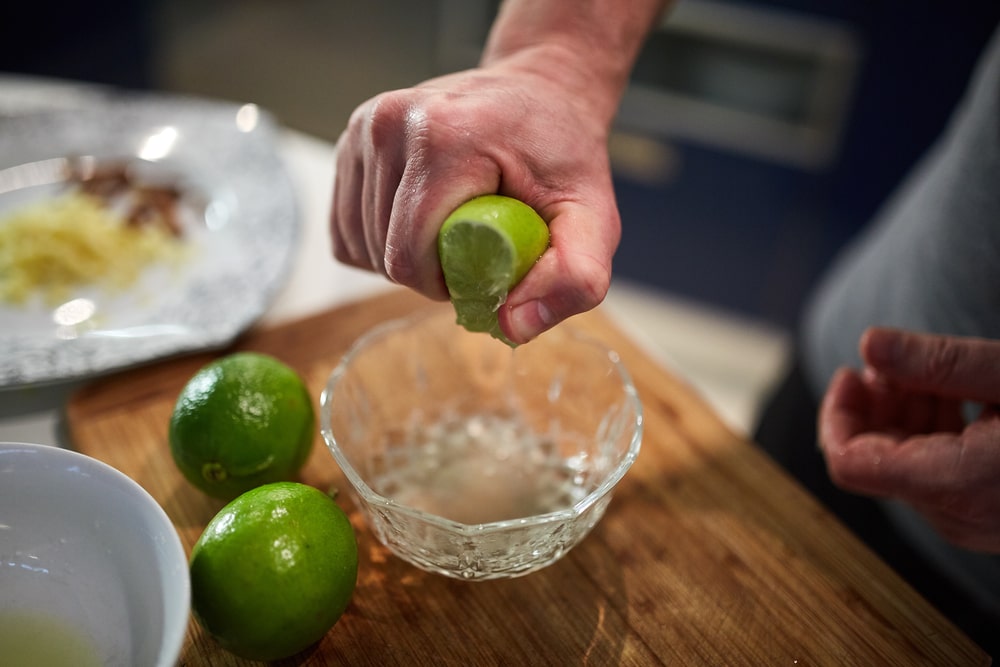
A tablespoon of lemon juice is about to be the zinger, so hold on to your aprons. It orchestrates the flavors and adds that dash of brightness that makes your sauce sparkle, much like the conductor’s baton. A dash of hot sauce is like a dash of adventure for people who want a little heat; it’s completely optional but strongly suggested if you like that spicy flair.
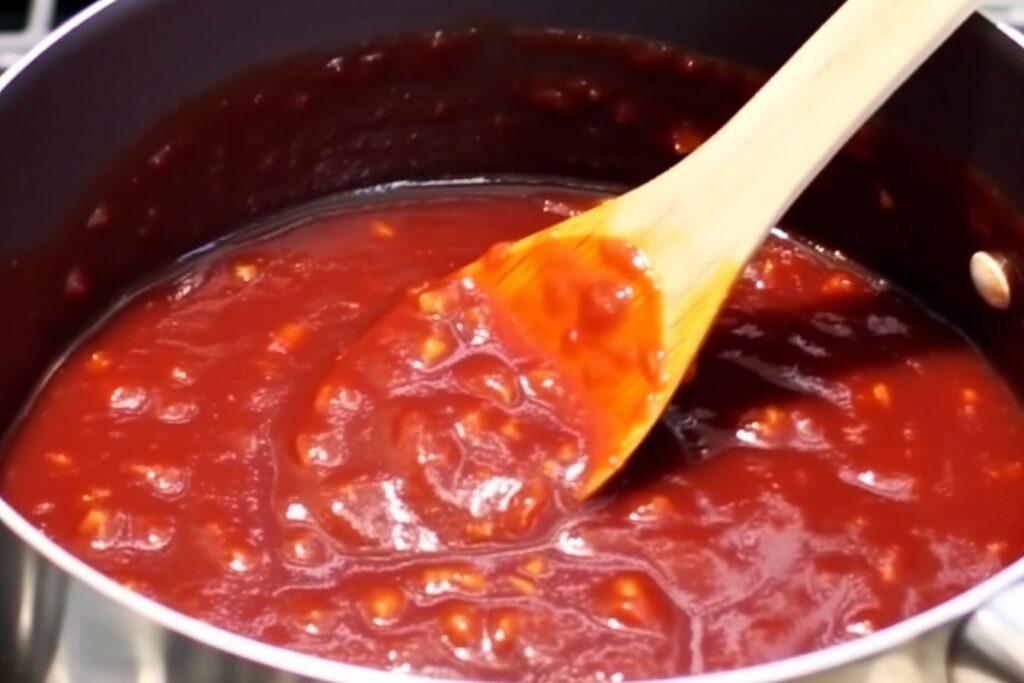
The magic now takes place on the burner. Stir everything together, allow it to sear and boil for a while, then simmer. Oh, that 10-minute simmer – it’s like a leisurely dance of flavors coming together, becoming comfy, and thickening into the most beautiful sauce.
When the sauce is finished, add the prepared pulled pork and toss for a few minutes to let the meat absorb the soup.
Processing canning BBQ pulled pork
As we journey through the art of processing canning BBQ pulled pork, I want to share some personal insights and experiences that have made this adventure special.
Step 1: Setting the Stage for Success
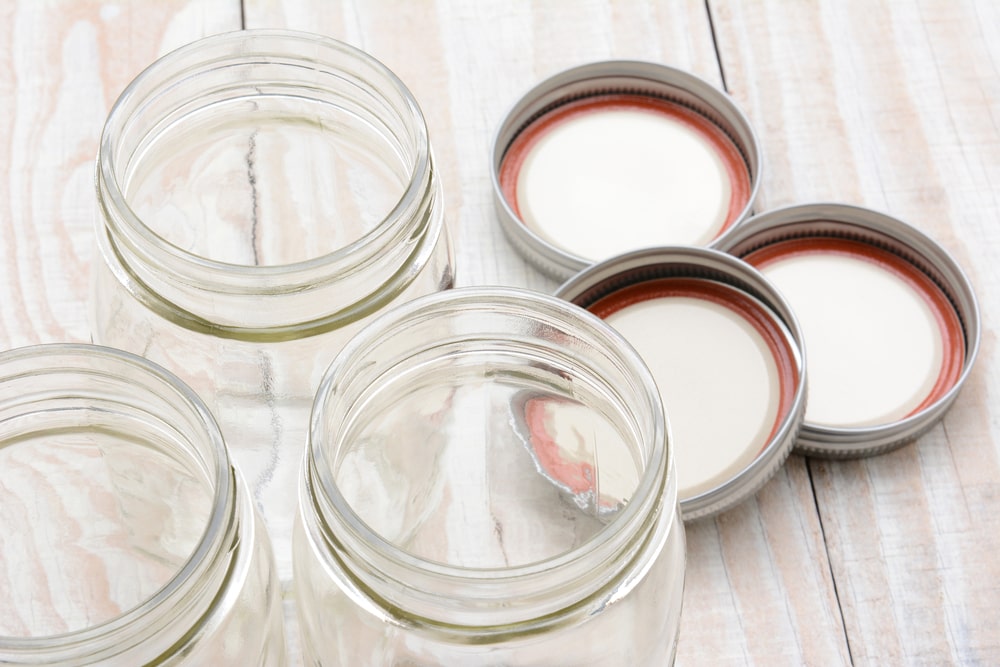
When I first delved into canning, I was amazed at how a little attention to detail, like thoroughly washing the canning jars, could make such a significant impact. It’s like laying down the foundation for a beautiful painting – everything afterward shines brighter when you start with a clean canvas.
Step 2: Layering Flavors Like a Maestro
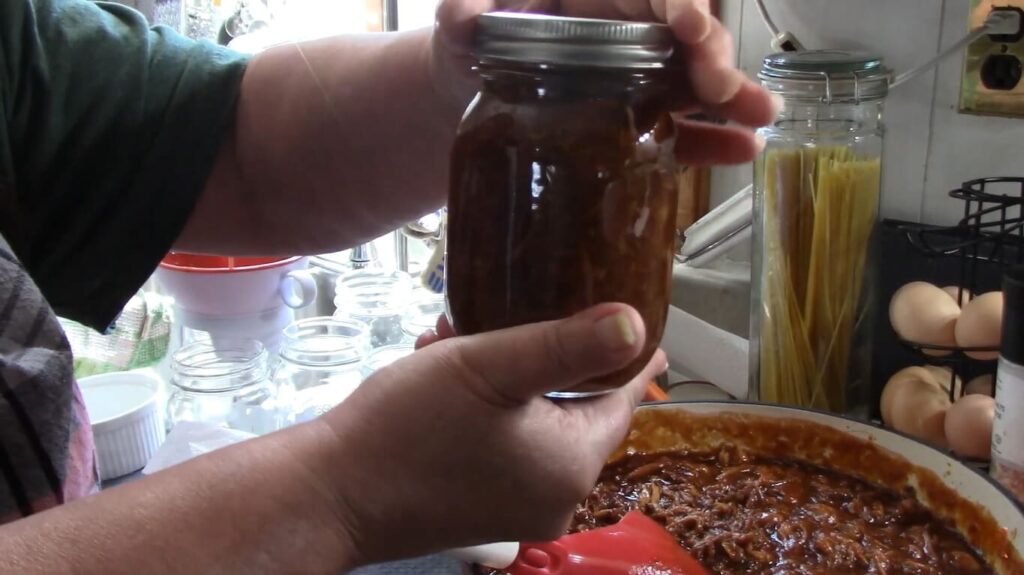
I can’t help but think of canning as a form of culinary artistry. The process of ladling that rich, smoky pulled pork into jars is akin to adding vibrant brushstrokes to a canvas. What I’ve found is that the choice of what to add – whether it’s boiling water, hearty beef stock, or that tangy BBQ sauce – is like choosing the perfect color palette to make the flavors pop.
Step 3: Sealing in the Goodness
It’s interesting how that moment when you twist on the rings and tighten them just right feels like sealing a promise. It’s like sealing in the memories of a fantastic BBQ feast and preserving them for future enjoyment.
Step 4: The Dance of Flavors and Heat
As those jars enter the pressure canner, it’s like watching a choreographed dance between the flavors and the heat. The steam swirling around, the anticipation building – it’s almost poetic. And the moment you remove that pressure regulator, it’s like letting the dance build to a crescendo before the final act.
Step 5: Altitude and Flavor Elevation
From my explorations, I’ve discovered that altitude isn’t just about geography but elevating your culinary creations. Whether you’re savoring your pulled pork on a mountain or by the sea, adjusting the pressure based on altitude adds a touch of precision to your cooking symphony.
Step 6: The Culinary Grand Finale
Picture this: the pressure canner’s lid slowly lifts after turning off the stove. It’s like a curtain rising at the theater, revealing a grand culinary finale. That visual of the gauge dropping to zero is the perfect conclusion to a captivating story.
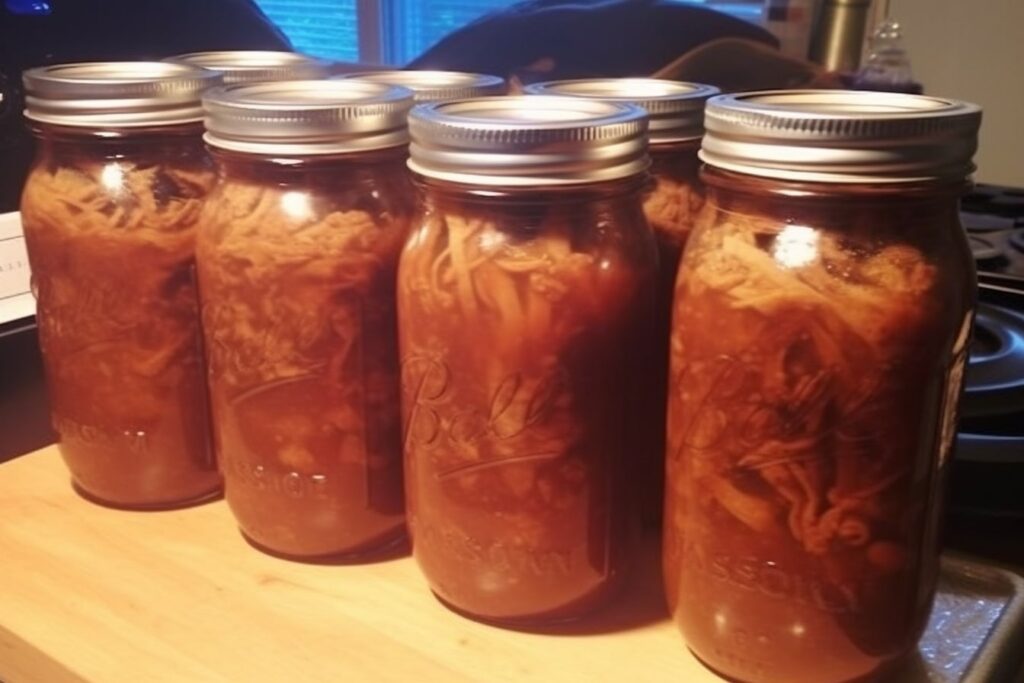
Step 7: The Unveiling of Culinary Art
Now, I’m a bit sentimental about this part. Delicately lifting those jars from the canner is like revealing a masterpiece to an appreciative audience. The towel-lined countertop becomes your gallery, showcasing your dedication and skill.
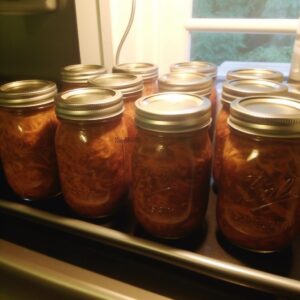
Step 8: The Waiting Game and Anticipation
The waiting period, I must admit, tests my patience every time. It’s like waiting for a surprise gift – you know something wonderful is about to be revealed, but you must give it time to materialize fully. This step is the bridge between the creation and the moment of enjoyment.
Step 9: The Confirmation of Success
When I press the center of each lid and feel that satisfying lack of flex, it’s a personal triumph. It’s like saying, “I did it! My masterpiece is sealed and ready to be enjoyed.”
Step 10: The Last Touches
Lastly, let’s talk about the importance of the little things, like removing those pesky bubbles. It’s like tidying up your creation, ensuring that every bite of your pulled pork creation is perfect.
Tips for home canning pulled pork
I’ve delved into this art and learned a thing or two that I’m eager to share. So, let’s roll up our sleeves and embark on this flavorful journey together!
The Safety Dance: Sterilization and Quality Assurance

Ah, the eternal question: boiling rings or lids? From my experience, it’s less about the method and the outcome. Sterilization is the game’s name, ensuring both your safety and the integrity of your culinary creation. But fear not! With a good scrub of hands, utensils, and equipment, you’re already on the right track. I’ve learned that cleanliness here is non-negotiable – a small price to pay for the confidence that comes with knowing your pulled pork is both safe and delicious.
Labels: A Time Capsule of Flavor
Imagine cracking open a jar of your meticulously canned pulled pork and being greeted by flavors that transport you back to the day you bottled them. That’s the magic of labeling and storage. My little secret? I adore jotting down the processing date and a cheeky note about the contents especially when you preserve treated meat or related ones like sausage, beef. It’s like penning a love letter to my future self. And as for storage, it’s all about creating the ideal environment for flavor preservation – cool, clean, and dry. A little care now means a lot of satisfaction later!
BBQ Sauce: An Invitation to Flavor Fusion
Here’s where things get interesting – the optional but oh-so-rewarding BBQ sauce addition. Now, this is my jam! From my exploration, I’m convinced that allowing the pulled pork to mingle with BBQ sauce before canning is a game-changer. It’s like hosting a flavor party in each jar. The pork soaks up the sauce, creating a harmonious balance that dances on your taste buds. Trust me, this step elevates your pulled pork from great to extraordinary.
Bubbles Begone: Ensuring Culinary Harmony
Imagine your pulled pork jar as a symphony orchestra, each piece playing its part in perfect harmony. Removing bubbles is your conductor’s baton, ensuring that every morsel is evenly distributed. Why? Because even heat distribution is the name of the game during pressure canning. It’s a small act that ensures every bite is cooked to perfection, transforming your creation into a masterpiece of flavors.
Pressure: The Maestro’s Touch
Here’s where your culinary intuition shines. After my fair share of testing, I’ve found that adjusting the pressure is like conducting a culinary symphony. Your unique touch brings out the nuances of your pulled pork. The right pressure ensures that the pork’s texture remains melt-in-your-mouth tender while capturing the essence of your carefully curated flavors. It’s your mark on this delicious canvas.
(Processing time for hot-pack pulled pork in dial-gauge pressure canners)
| Altitude (ft) | 0 – 2,000 | 2,001 – 4,000 | 4,001 – 6,000 | 6001 – 8000 |
| Pints (75 mins) | 11 lbs | 12 lbs | 13 lbs | 14 lbs |
| Quarts (90 mins) | 11 lbs | 12 lbs | 13 lbs | 14 lbs |
(Processing time for hot-pack pulled pork in weighted-gauge pressure canners)
| Altitude (ft) | 0 – 1,000 | 1,001 + |
| Pints (75 mins) | 10 lbs | 15 lbs |
| Quarts (90 mins) | 10 lbs | 15 lbs |
Canning Pulled Pork Recipe
Equipment
- Pressure Canner
- Canning Jars
- Canning Kits Jar Lifter, Racks,…
Ingredients
Pulled Pork:
- Pork shoulder or Boston butt chosen based on preference
- Aromatic spices for dry rub
- Wood chips for smoking if using a smoker
- Cooking juices for drizzling
Signature BBQ Sauce
- Plain ketchup avoid high-fructose corn syrup
- Apple cider vinegar
- Brown sugar about a quarter cup
- Honey a few teaspoons, preferably local honey
- Worcestershire sauce
- Stone House Seasoning mixture of spices
- Lemon juice about a tablespoon
- Hot sauce optional, for heat
- Other optional ingredients for the BBQ sauce not explicitly mentioned, but you can add them if desired
Instructions
Making Pulled Pork
- Select your preferred cut: Pork shoulder or Boston butt.
- Pat the chosen pork cut dry with paper towels.
- Apply a flavorful dry rub to the pork, massaging it into every nook and cranny.
- Marinate in the fridge for a few hours or longer for enhanced flavor.
- Choose your cooking method: oven, smoker, or slow cooker.
- Set the oven temperature to 225-250°F (107-121°C).
- Cook the pork low and slow for about 18-26 hours, depending on desired tenderness.
- Use soaked wood chips for added flavor complexity.
- Allow the cooked pork to rest for about 30 minutes.
- Gently shred the meat into bite-sized strands.
- Serve the pulled pork as desired – on buns, tacos, or your preferred style.
Making BBQ Sauce
- Combine ingredients for the BBQ sauce: ketchup, apple cider vinegar, brown sugar, honey, Worcestershire sauce, Stone House Seasoning, lemon juice, and optional hot sauce.
- Simmer the sauce for about 10 minutes until thickened.
Pressure Canning
- Thoroughly wash canning jars.
- Ladle the pulled pork into jars, layering with beef stock or BBQ sauce.
- Seal the jars with lids and rings, ensuring they are tightly closed.
- Place the jars in a pressure canner.
- Adjust pressure based on altitude for precise cooking.
- Follow the canner’s instructions for sealing and processing.
- After processing, carefully remove the jars from the canner.
- Allow the jars to cool on a towel-lined countertop.
- Wait for the jars to cool and lids to seal.
- Press the center of each lid to confirm a secure seal.
- Remove any bubbles or imperfections in the canned pork.
Notes
- Make sure you have a reliable pressure canner that’s in good condition and has an accurate pressure gauge.
- Use appropriate canning jars, lids, and rings that are in excellent shape.
- Use fresh, high-quality pork for the best flavor and texture.
- Season the pulled pork with your preferred spices and flavors before cooking.
- Fully cook the pulled pork before canning to ensure safety. It should be cooked to a safe internal temperature (at least 145°F or 63°C).
- Cook the pork until it’s tender and easily shredded. Overcooked pork can become mushy during canning.
- It’s best to avoid using thick sauces or gravies in your pulled pork recipe. These can hinder heat penetration during canning, potentially leading to unsafe results.
- Follow the recommended headspace (usually 1 to 1.5 inches) when filling the canning jars. This allows for expansion during processing.
- Stick to tested and approved canning recipes from reliable sources, such as the National Center for Home Food Preservation or reputable canning books.
- Do not modify canning recipes, as changes can affect the safety of the final product.
- Thoroughly clean and sterilize your canning jars and lids before use. This helps prevent contamination and ensures a proper seal.
- After filling the jars, run a non-metallic utensil or a bubble remover tool along the inside of the jar to release any trapped air bubbles.
- Apply lids and rings according to the manufacturer’s instructions. Avoid over-tightening the rings, as this can prevent proper venting during processing.