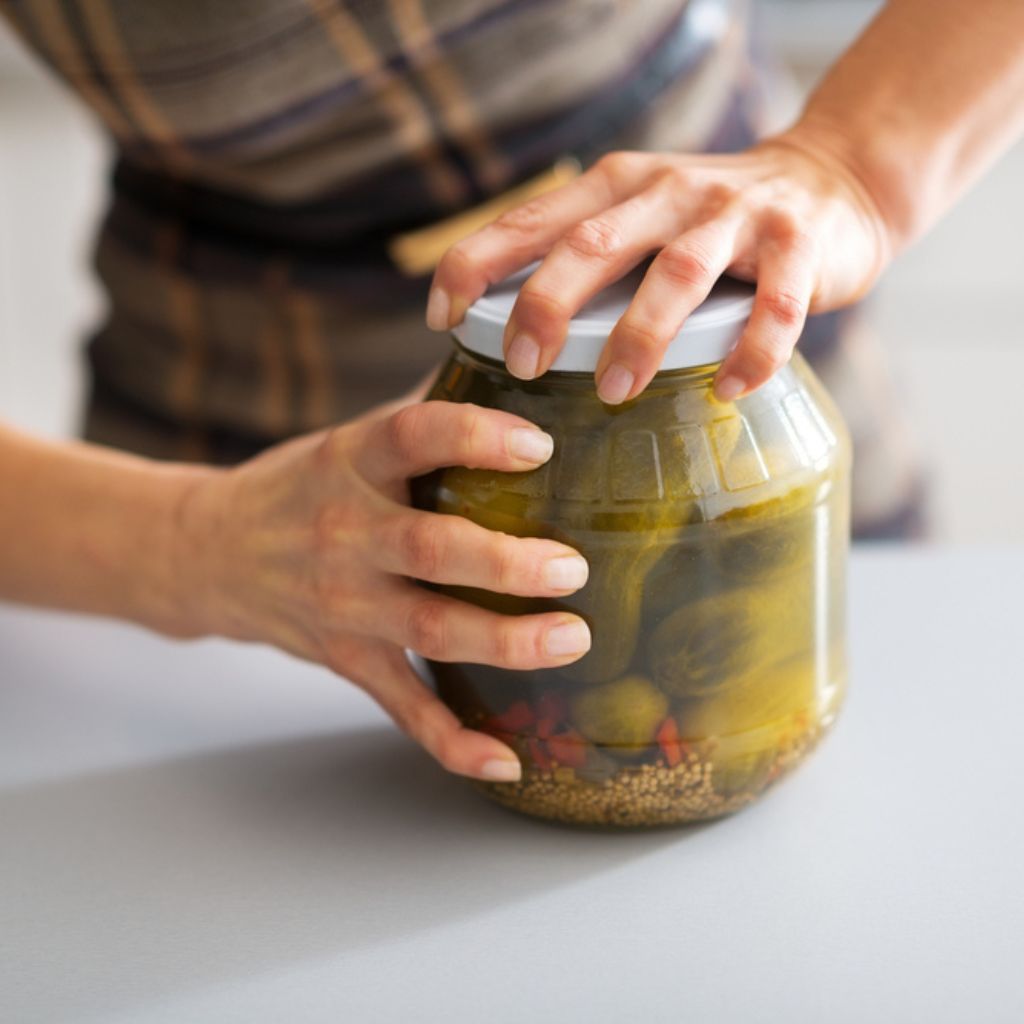
Thank you for visiting the step-by-step pickling tutorial, which was created to assist novices in learning the craft of pickling vegetables and other delectable foods. The time-tested preservation method of pickling not only increases the flavor and texture of perishable items while extending their shelf life.
This post will give you the knowledge and confidence of how to pickle and quickly pickle a range of items, whether you’re a culinary connoisseur eager to experiment with new flavors or a novice looking for a fun and gratifying kitchen activity. Prepare yourself for a voyage filled with sour, crunchy, and delicious pickled goodies!
What is Pickling
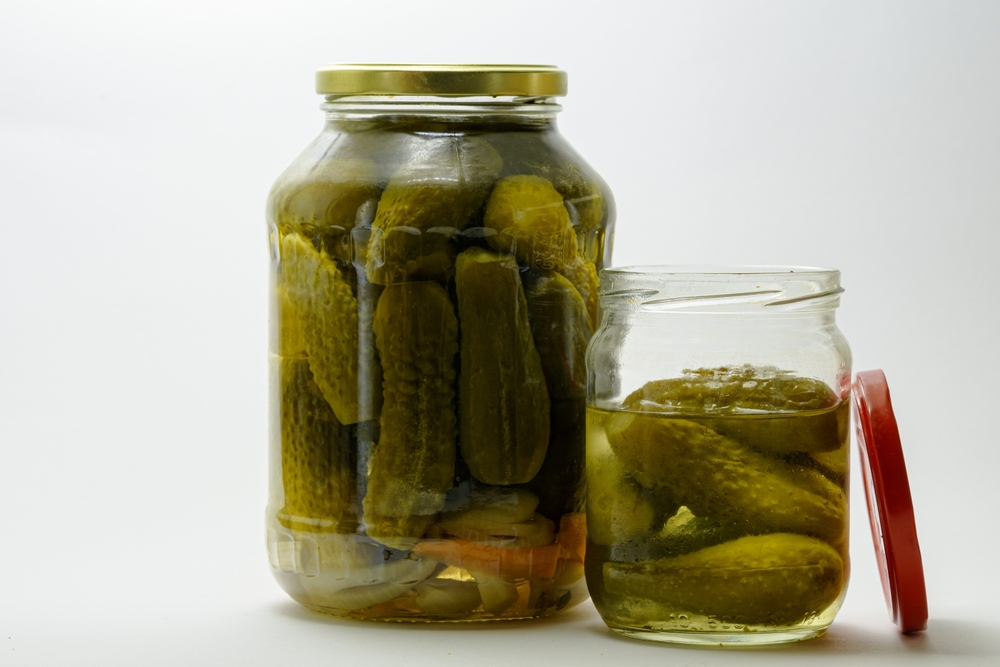
Pickling is a food preservation method that includes allowing vegetables to fester or submerging them in a vinegar or brine solution. While stimulating the growth of helpful bacteria, such as Lactobacillus, and halting the growth of bad bacteria, such as Clostridium botulinum, which causes botulism, the procedure affects the flavor and texture of the veggies.
Fresh veggies should be used for pickling in order to achieve the best results. But, how do you pickle vegetables?
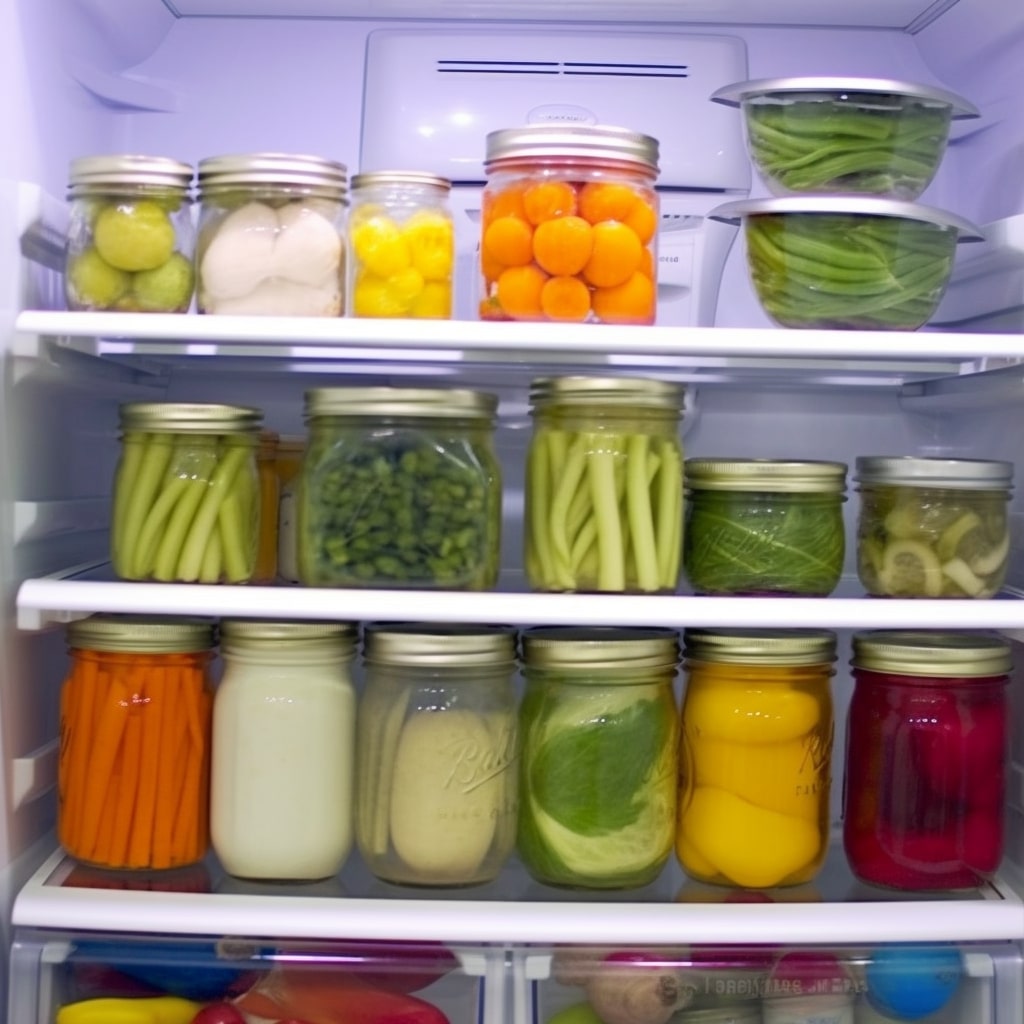
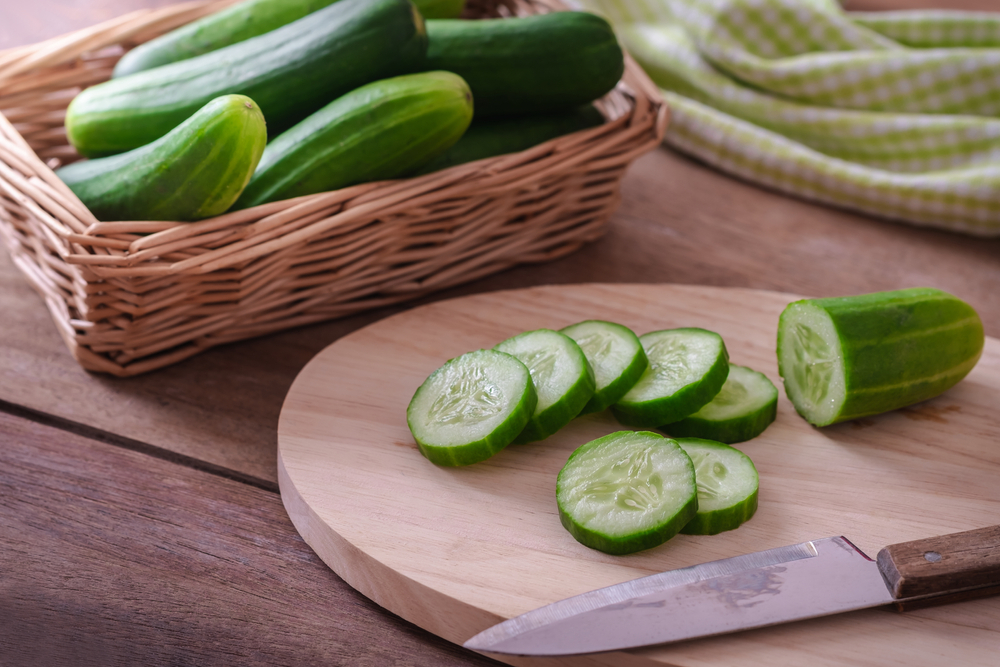
Almost any vegetable may be pickled, and the form is completely personal preference. For instance, cherry tomatoes are best stored intact, although carrots can be peeled and cut into matchsticks or coins.
Green veggies like green beans or zucchini can optionally be blanched in boiling water for two to three minutes before being shocked in an ice bath to maintain their color.
There are two primary ways to pickle vegetables, which are as follows:
Quick brine pickles
Fast and simple, quick pickling is another name for refrigerator pickling, which is a way to preserve vegetables. The process entails putting the veggies in a pickling solution and letting them rest for a short while. When kept in the refrigerator, the pickles made using this method can survive for many weeks to several months.
In rapid pickling, vinegar, water, salt, and other spices or flavorings make up the pickling solution. The strong acidity of the vinegar serves as a preservative and helps the pickles stay fresher for longer. The veggies receive a sour flavour from it as well.
A simple brine is made by mixing vinegar and water in equal amounts to produce rapid pickles. Nevertheless, you may change the vinegar to water ratio to suit your tastes.
You may use a variety of vinegars, including rice, white, apple cider, and white wine vinegar. These vinegars can be combined or used separately. For pickling, it is advisable to stay away from old or concentrated vinegars like malt or balsamic.
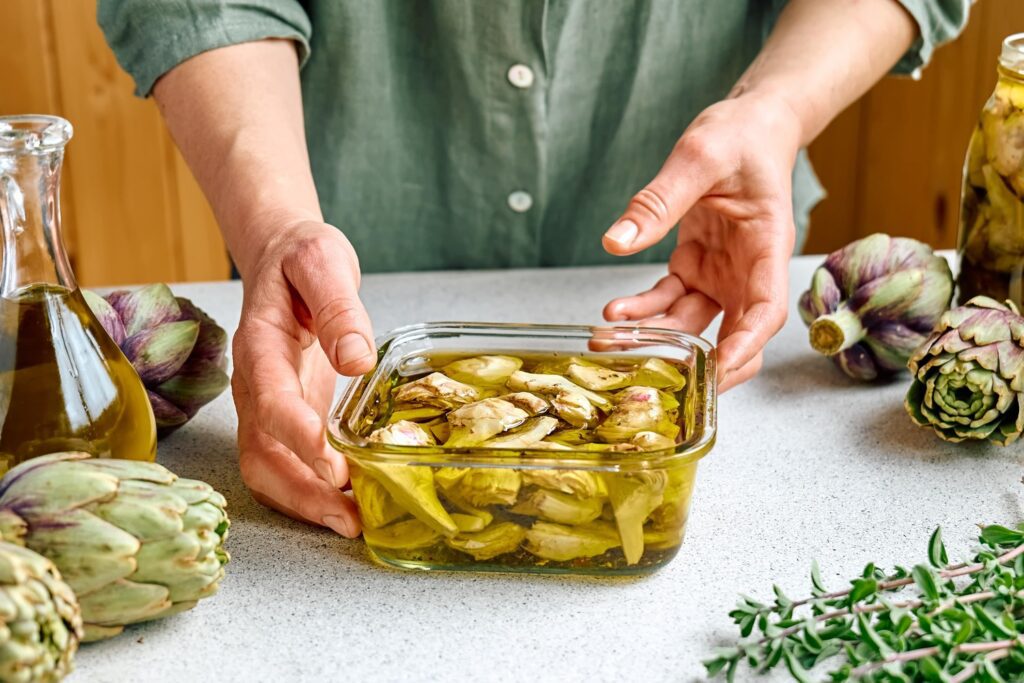
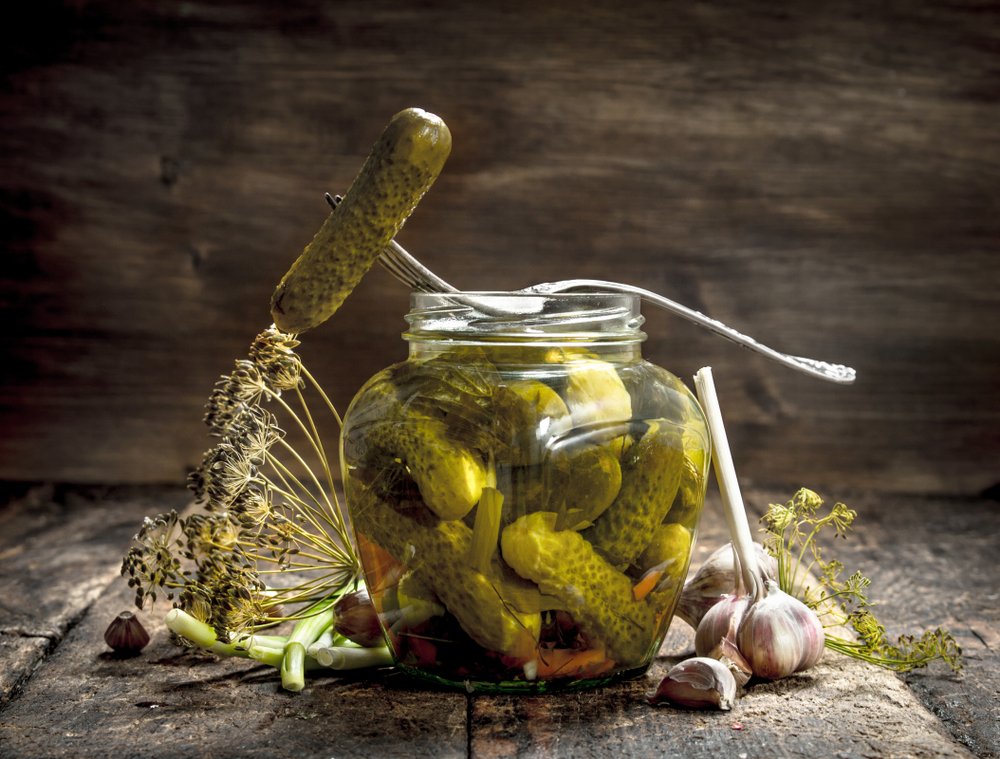
Fermented Pickling
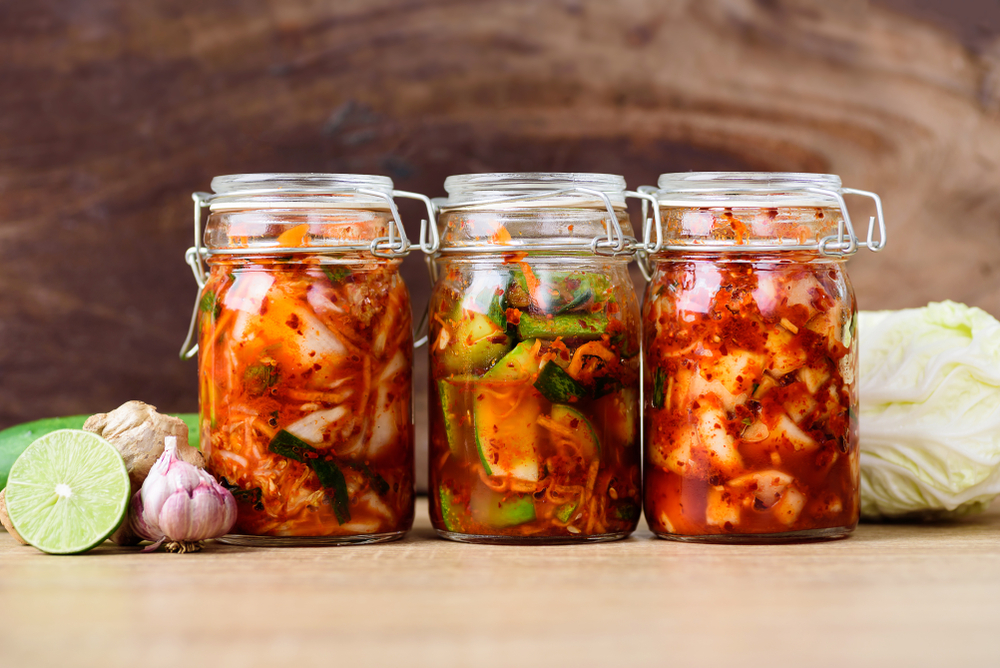
Lacto-fermentation is the method used to make fermented pickles. With this technique, the veggies are immersed in a salty water solution called a brine. The environment that the brine fosters encourages the development of good bacteria, especially lactic acid bacteria.
The natural sugars in the food are converted into lactic acid by bacteria during the fermentation process. In addition to preserving the veggies, this acidity creates a tart and nuanced taste profile. Pickle lovers frequently admire the distinct flavor of fermented pickles.
Preparation before Pickling
Before pickling, it’s essential to properly prepare the ingredients and equipment to ensure a successful and safe pickling mixture process. Here are some steps to follow:
Choose your home pickling recipes
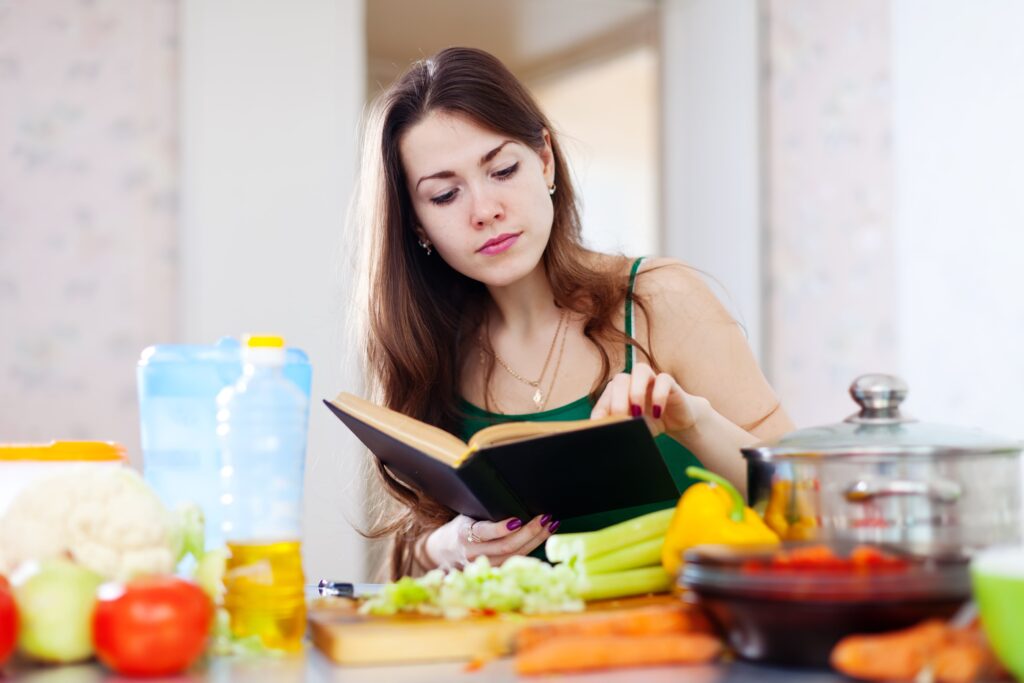
It is essential to find a dry pickling recipe that has been tried and confirmed safe, with the right ratios of components. It’s crucial to avoid changing the proportions of any element, including the water vinegar ratio for pickling, or the product being pickled. For the safety of food, these ratios have been meticulously determined, precisely to stop the development of the dangerous botulinum bacterium.
Select fresh and high-quality ingredients
Choose fresh produce that is at its peak for the finest flavor and texture in your pickles. Look for ripe, firm food that isn’t bruised or spoiled. Picking top-notch components guarantees that your pickles will taste great.

Pickling salt, commonly referred to as canning salt, is advised for using salt in pickling brines. Pure, granulated, or rock salt without iodine is what is used for pickling. The iodine in table salt can make pickles darker. Although you may use regular, non-iodized table salt, it frequently contains anti-caking chemicals that might obscure the brine.
Vinegar’s acidity must be 5% or higher for pickling. The strength of the vinegar is often stated on the label. To ensure the quality and flavor of the pickles, it is essential to use the precise amount of vinegar called for in your basic pickling recipe. It is not advised to reduce the amount of vinegar if the brine or pickling syrup tastes excessively acidic. Instead, until the flavor is perfect, add additional sweetness.
It is advised to use purified water for pickling if you are unsure of the quality of your water. Hard water may potentially impede the pickling procedure and result in the veggies eventually becoming brown.
Wash and trim the product
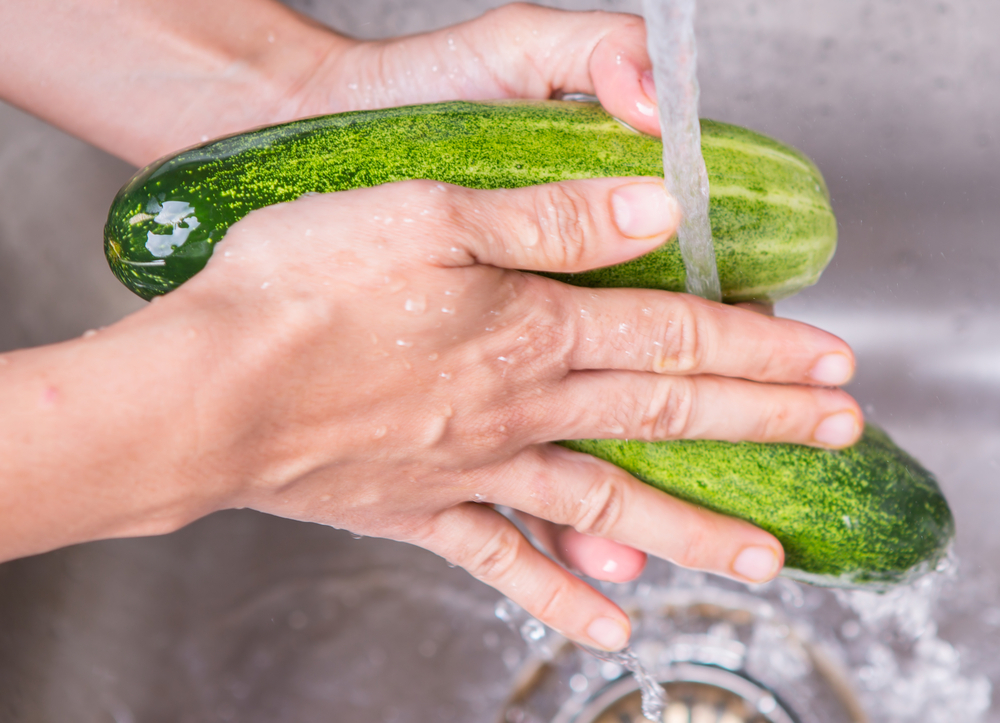
The fruits or vegetables must be carefully washed to eliminate any dirt or pollutants before pickling. If necessary, remove any stems, leaves, or ends. You might want to cut off the blossom end of some vegetables, like cucumbers, because it contains enzymes that can make the pickle softer.
You can also do an additional step if you want crisper pickles. Put the veggies, whole or cut into slices, into a large non-metallic dish. Sprinkle pickling ratio salt over the top. The bowl should be covered and refrigerated overnight, veggies should be rinsed thoroughly with cool water the next day, dried, and then put through the pickling or canning process.
Discard the liquid that has come from the veggies at this point. By drawing out moisture during this process using pickling salt, the veggies become crispier and maintain their crispness for a longer period of time.
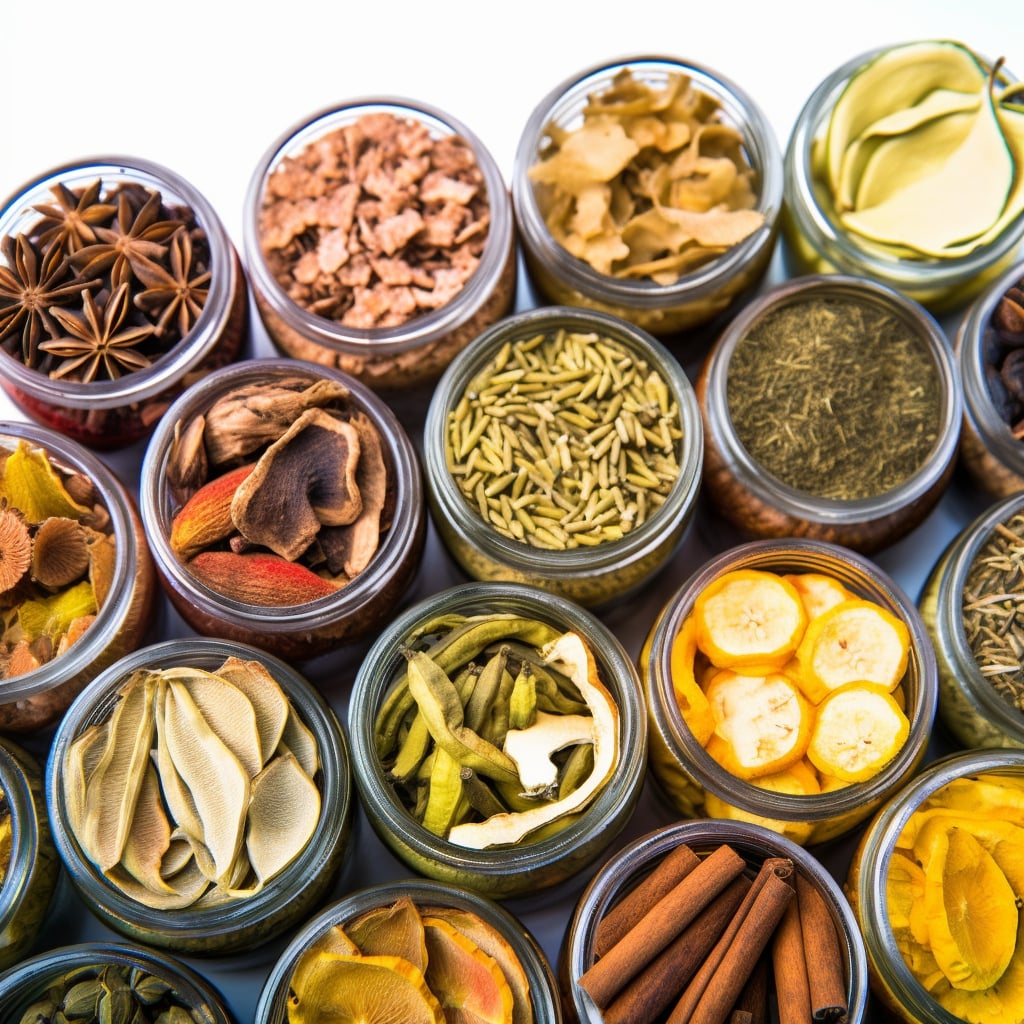
Gather the necessary equipment
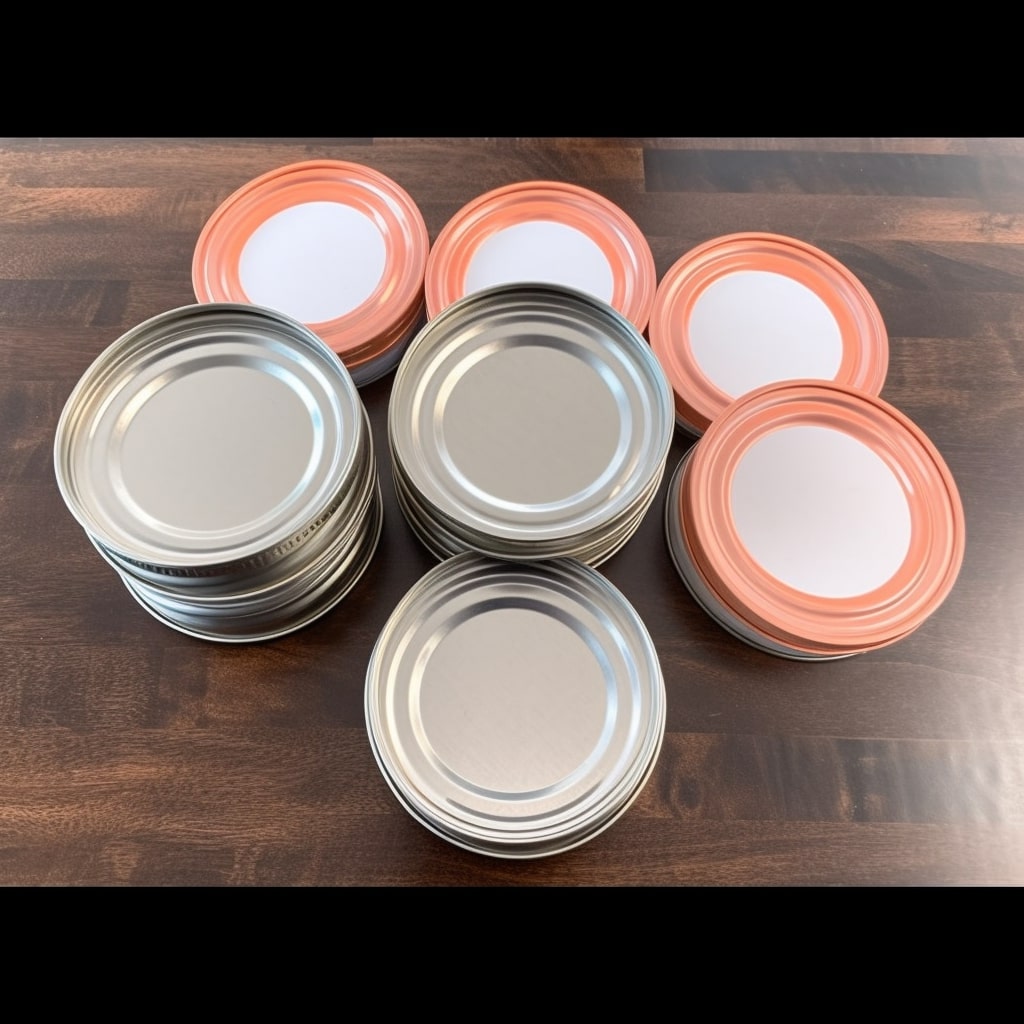
Assemble all the required tools before beginning the pickling procedure. Glass canning jars with correctly fitted lids that are suited for canning are required. Make sure the jars are undamaged and free of chips and fractures. The two-part lid design for Mason jars is widely used and accessible.
Canning lids are also required; for a good seal, they should be brand-new and unopened. On the other hand, if a band is in good shape, it can be reused. To maintain safety and avoid contamination when handling hot jars during the canning process, you must use canning tongs.
Choose a large pot or canner that can accommodate your jars and be filled with water to at least cover them by 1-2 inches. Additionally, gather the tools you’ll need, including a funnel for pouring the pickling liquid into the jars, a ladle or big spoon for transferring it, and a bubble removal tool to get rid of any air bubbles.
Pickling brine
You must choose the kind of pickling brine you wish to use before you can start pickling. This may be a fermented brine or a vinegar-based brine. Once you’ve made a choice, measure and combine the ingredients in accordance with the best pickling recipe you’re using. To get the flavor and preservation you want, make sure you carefully follow the recipe directions.
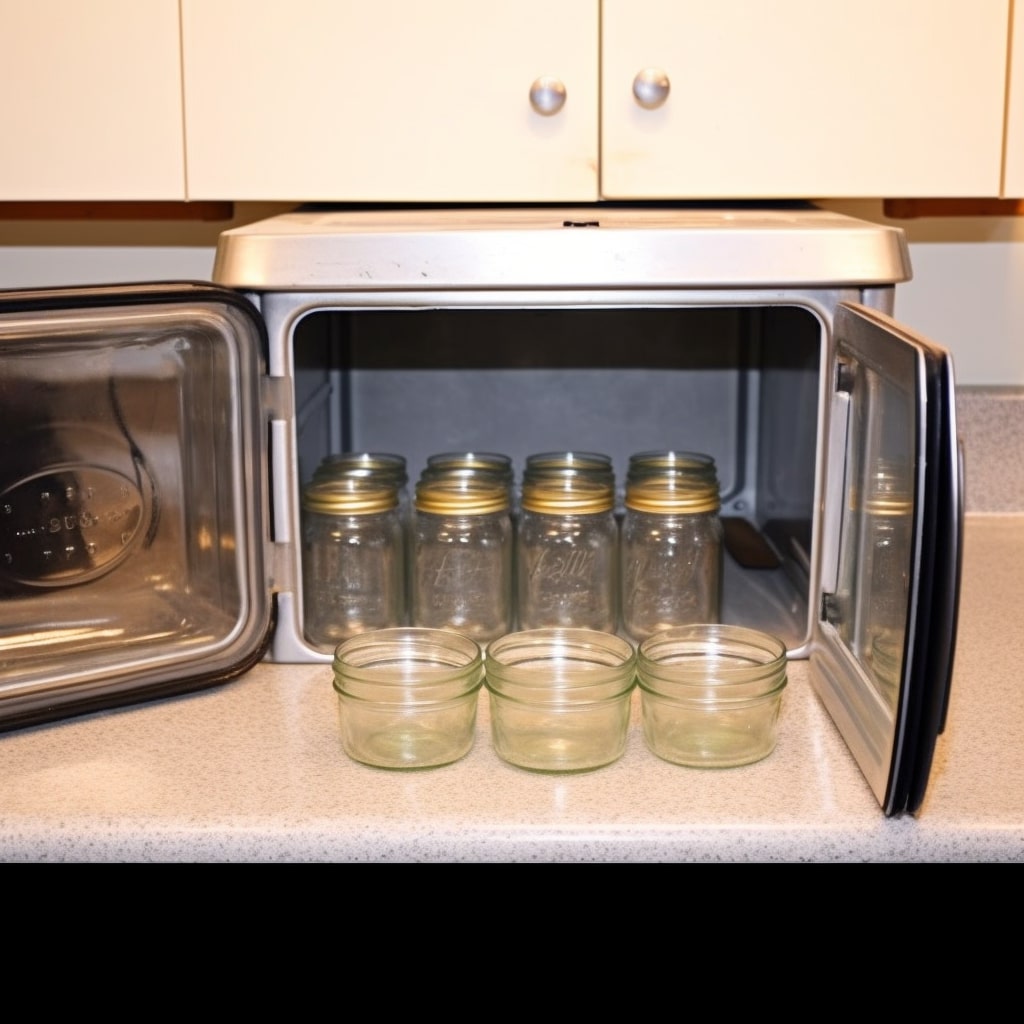
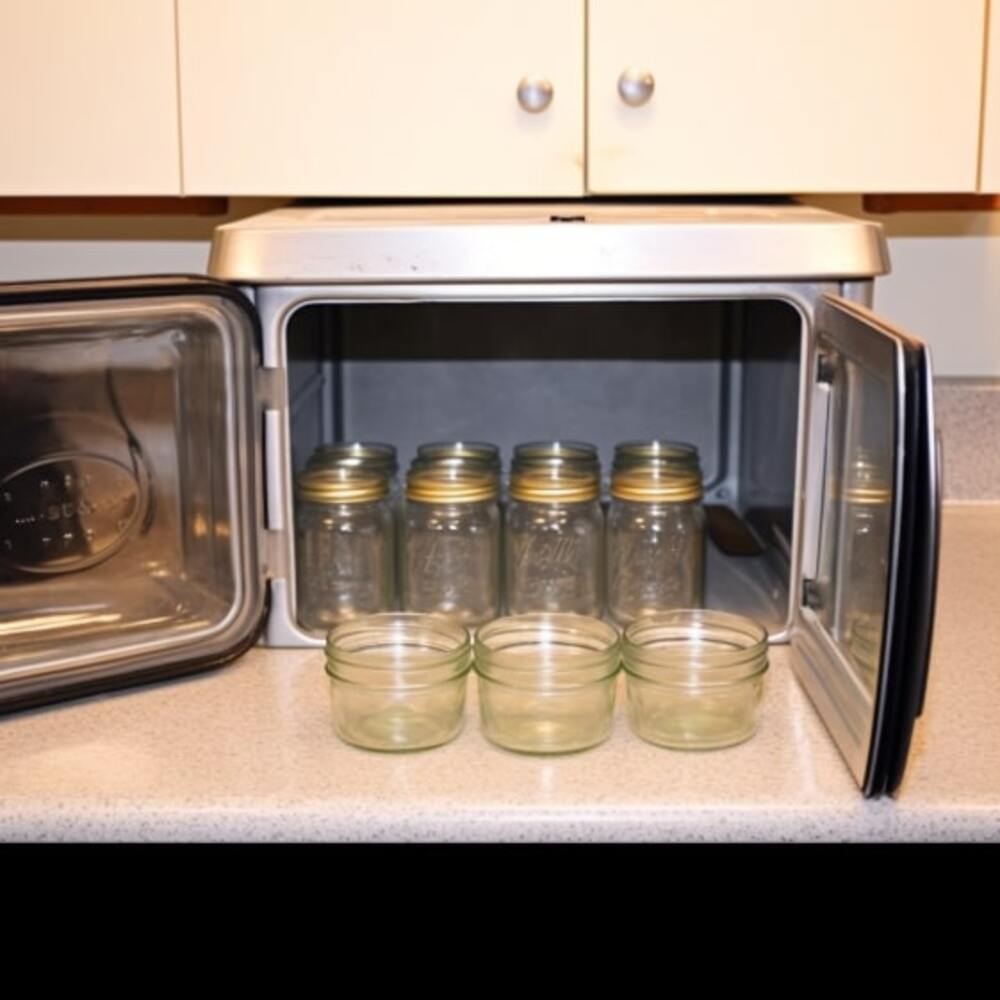
Sterilize the jars and lids
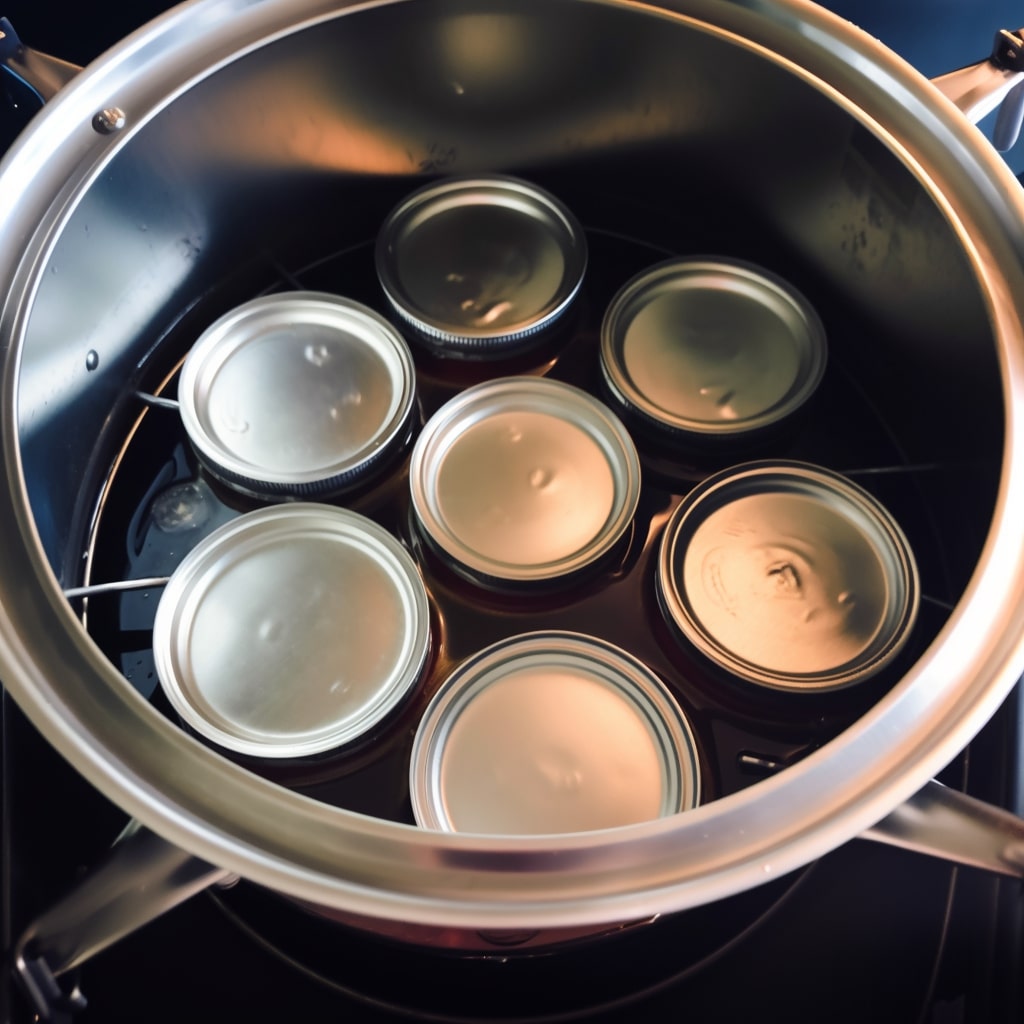
The canning jars and lids must be sterilized before use in order to retain cleanliness and avoid spoiling. You may do this by either putting them through a washing cycle or by boiling them in water for 10 minutes. The safety and quality of your pickles are guaranteed to be unaffected by any hazardous bacteria or impurities by sterilizing the jars and lids.
Set up your work area
Setting up your work environment correctly is essential before you start the pickling process. Set up your tools, materials, and utensils on a spotless area. To cook the pickling liquid, make sure you have access to a heat source and enough counter space. The pickling procedure will go more quickly and efficiently if the work environment is well-organized, which will also guarantee cleanliness.
Headspace
The quantity of air between the top of the food or liquid placed in a jar and the interior of the jar lid is referred to as headspace. To ensure a tight seal on the lids during processing, it is imperative to strictly adhere to the headspace measurement instructions provided in your recipe. You should typically provide 1/2 inch of headroom for pickles. To successfully preserve and store your pickles, you must maintain the right headspace.
How to pickle vegetables for storage step-by-step
As we all have know that pickling mean soak vegetables, fruit,… in a brine solution, typically made with vinegar, salt, and other flavorings. But, what are the detailed steps to consider? How long does it take to pickle something? Here is my detailed step-by-step guide on how to pickle food:
Choose your vegetables or fruits
From my experience, I should choose firm, fresh vegetables that show no symptoms of rotting. Cucumbers, carrots, onions, peppers, and green beans are typical pickled options. I’ll wash and cut or trim the vegetables as needed after washing them.
Prepare the pickling brine
I need a saucepan to mix the vinegar, water, salt, sugar, and any additional herbs or spices I choose. Depending on my preferences and the quantity of tanginess I want, the vinegar-to-water ratio can change. I’ll bring the brine to a boil while stirring to dissolve the salt and sugar. For the flavors to merge, let it simmer for a short while.
A large pot will be used to mix 3 cups of distilled white vinegar (or cider vinegar), 3 cups of water, 2 tablespoons + 2 teaspoons of sea salt, and 2 tablespoons of sugar to make the sour pickle brine. It will be heated to a boil while being stirred to dissolve the salt. I’ll boil it for two minutes.
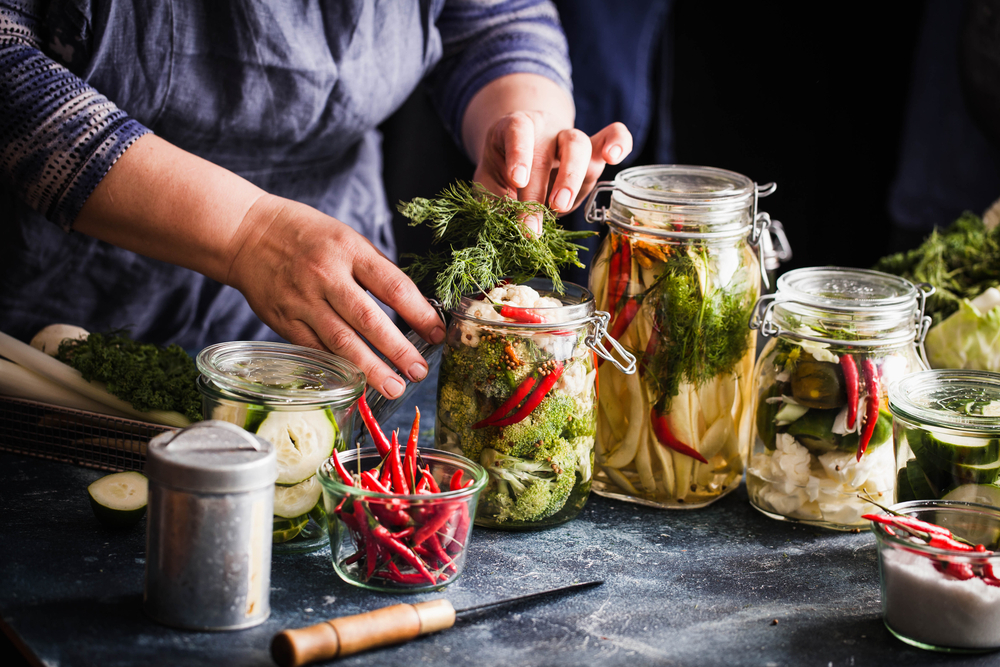
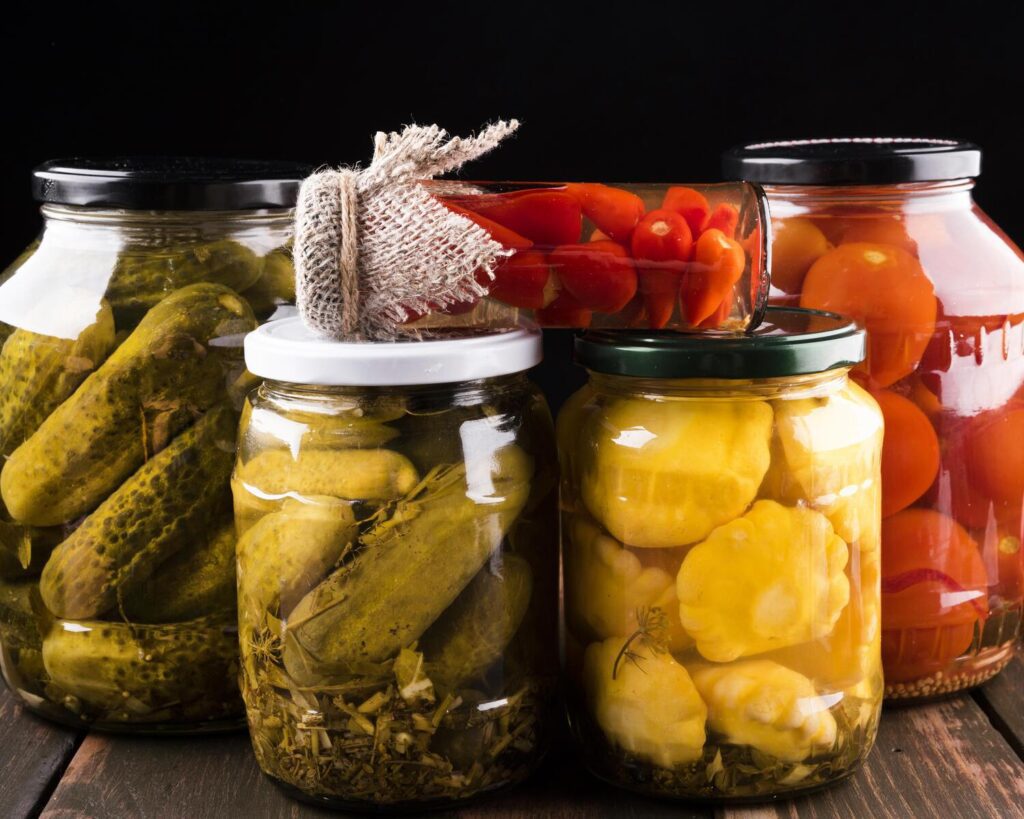
Pack the jars
My canning jars and lids will be sterilized by either putting them through a dishwasher cycle or briefly boiling them. I will put the cut up fruits or veggies into the sterilized jars while they are still hot, ensuring some room at the top. I can add other flavorings, like garlic, dill, or spices, if you’d like.
Pour the hot brine over the vegetables
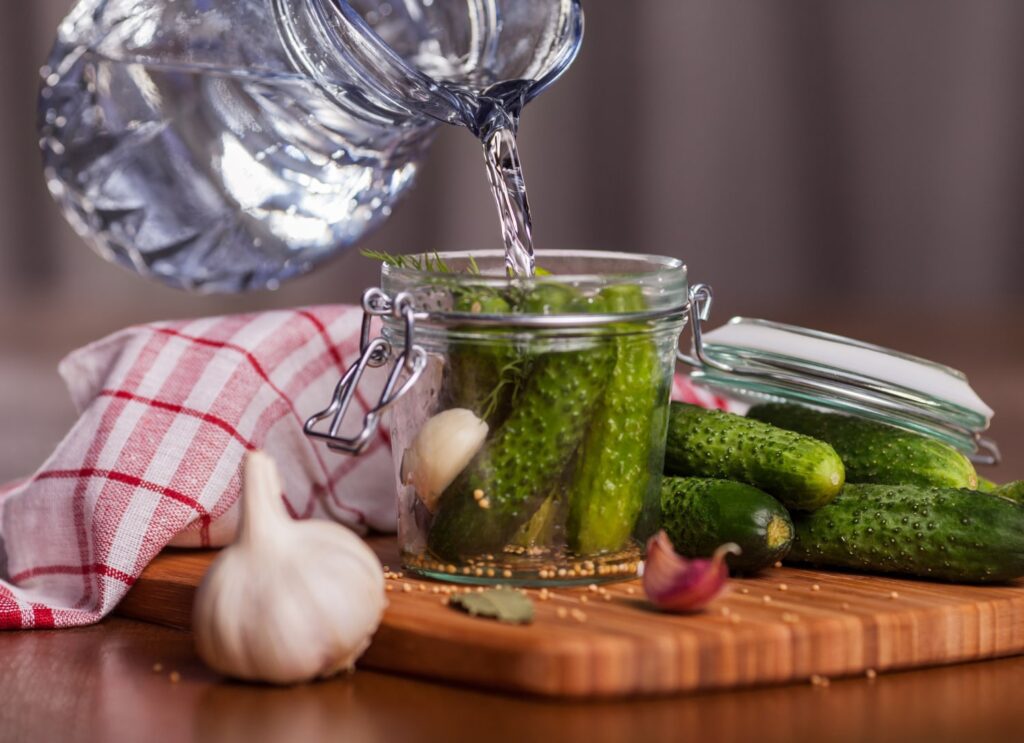
I will carefully pour the hot pickling brine into the jars, covering the veggies completely and leaving a tiny headspace at the top. I’ll use a canning funnel to prevent spillage and guarantee that the brine is distributed evenly. I will gently tap the jars to eliminate any air bubbles if there are any or I will run a non-metallic object along the interior to do the same.
Seal the jars

I’ll use a clean, damp towel to wipe the jar rims after I’ve poured the brine to get rid of any leftover brine or residue. After that, I’ll put the sterilized lids on the jars and tighten the bands with a fingertip. This guarantees a solid seal.
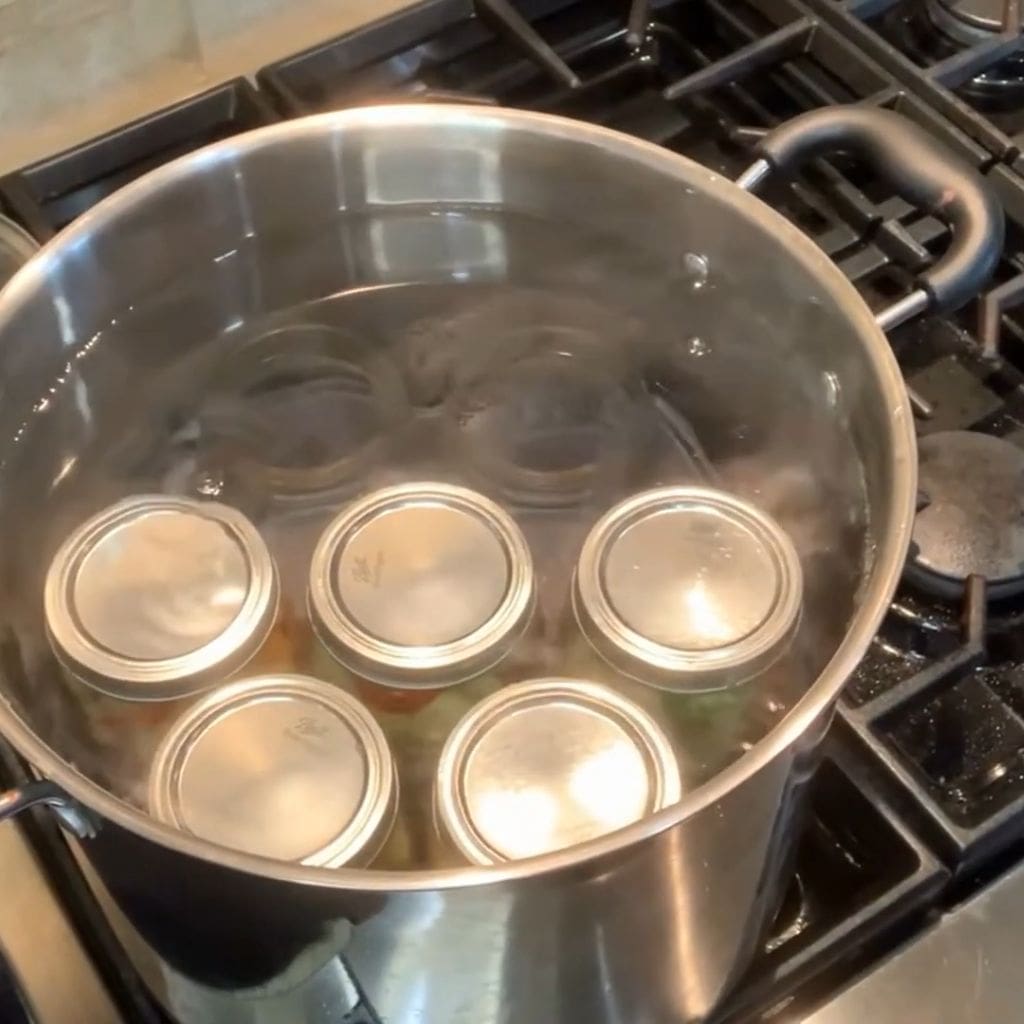
Process the jars (optional)
I can decide to proceed with the processing of the jars to produce a vacuum seal in accordance with the recipe and the required shelf life. If I do, I will adhere to the precise directions and processing times listed in a reliable recipe. Usually, a boiling water bath or the pressure canning technique is used for this phase.
Allow the pickles to pickle
I’ll let the jars cool to room temperature before sealing them. I’ll mark the jars to keep track of the contents and the date. The jars will then be kept in a cold, dark spot, such as a pantry or basement, so the tastes can mellow with time. Even though most pickles are edible after a few days, the flavor will improve over time.
*Note: The exact steps and ingredients can vary depending on the type of pickles you’re making. It’s important to follow a trusted recipe to ensure proper ratios, processing times (if applicable), and safe preservation.
Conclusion
Congratulations! The beginner’s guide on pickling, how to pickle everything in detail is now finished. You have learned the required skills to turn common vegetables and other items into tangy and savory pleasures, from choosing the freshest ingredients to sterilizing jars, making brines, and mastering the art of pickling.
The enjoyment of pickling is genuinely unequaled, whether you’re eating homemade pickles as a single snack, spicing up your sandwiches, or wowing your loved ones with homemade presents. So get up some jars and some fresh veggies, and go pickling! At Manzanillanyc, with the passion for canning, pickling and mason jars something like that, we believe we got some stuffs for you to discover and practice yourself:

![Top 5 Best Jar Opener for Seniors Elderly [Updated 2023]](https://manzanillanyc.com/wp-content/uploads/2023/07/Top-5-Best-Jar-Opener-for-Seniors-Elderly-Updated-2023.jpg)