Canning is an age-old food preservation technique that allows us to enjoy the taste of fresh vegetables long after the production season has ended. Pressure canning and water bath canning are two prominent ways of canning. While both techniques strive to lengthen shelf life and avoid food spoiling, their applications and the foods they can safely preserve differ greatly.
In this post, we’ll look at the main differences between canning using pressure canner vs water bath canning, as well as the elements that might help you decide which method is ideal for your unique canning needs.
The benefits of pressure canner and water bath preservation
Canning is a wonderful preservation technique that allows you to enjoy the delicious taste of homemade foods long after they’re made. So, let’s dive into the science behind pressure canning vs water bath canning!
Water bath canning
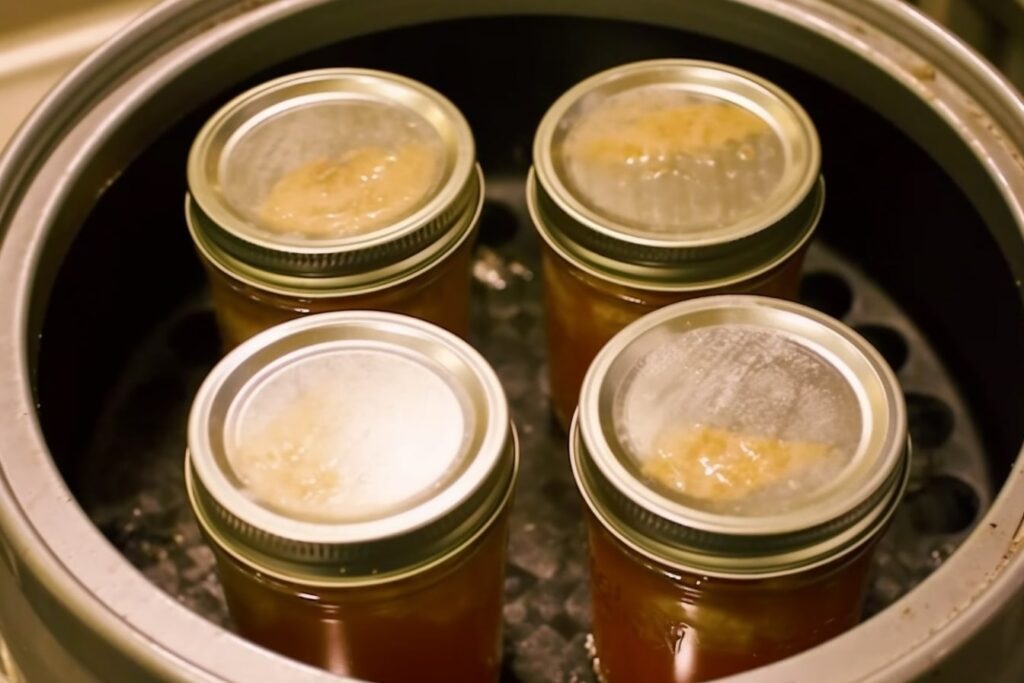
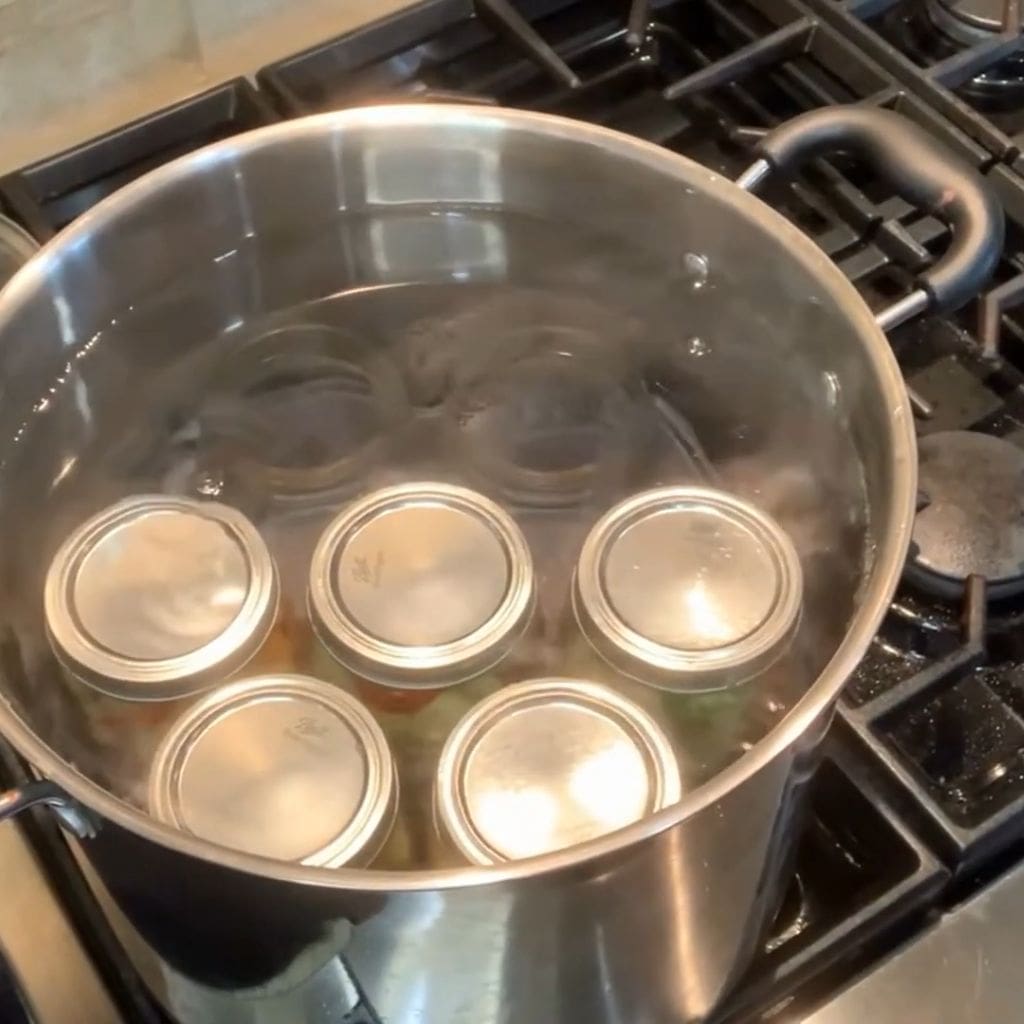
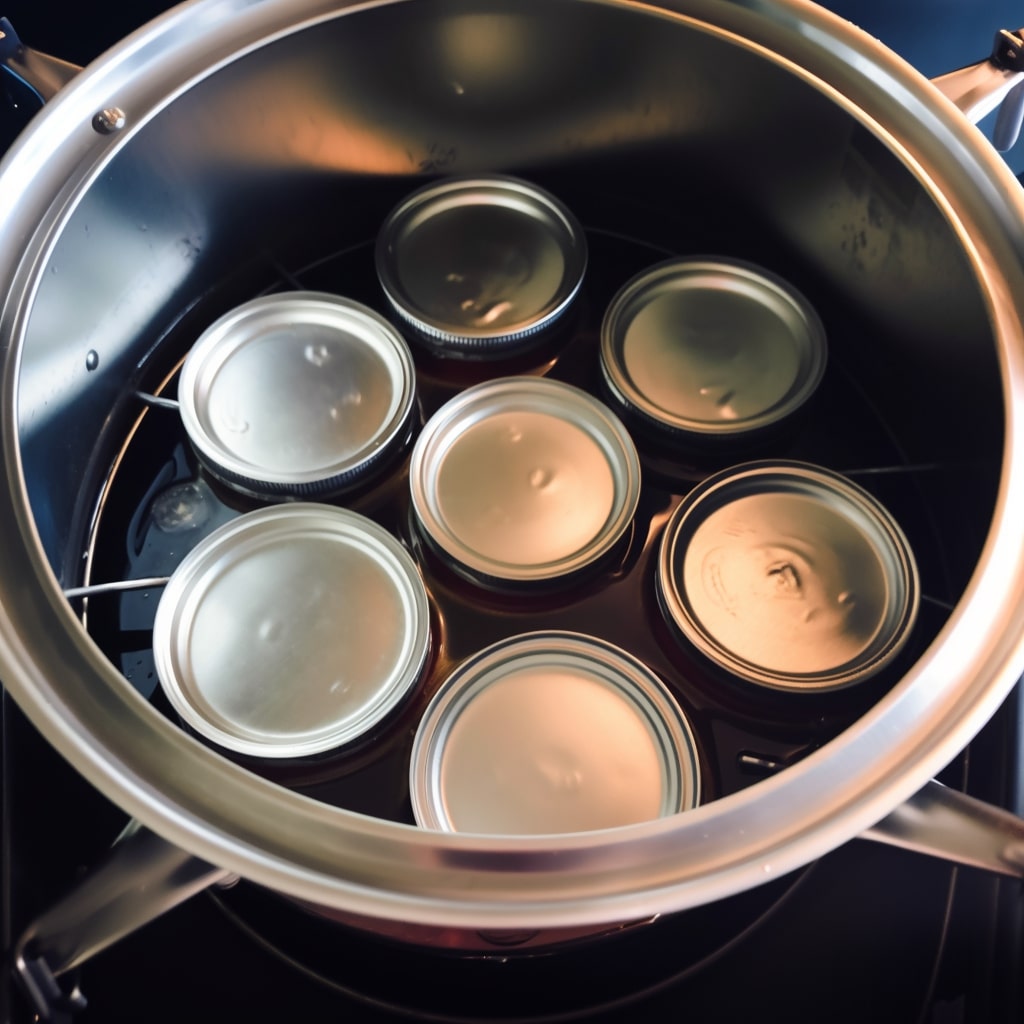
Water bath canning is popular for preserving high-acid foods like fruits, jams, pickles, and tomato-based products. The process involves placing filled jars of food in a large pot of boiling water and heating them to a specific temperature for a designated time. Here’s why water bath canning works its magic:
- Eliminating Microorganisms: Any potentially dangerous microbes, such as bacteria, yeasts, and molds, are eliminated when the food within the jar is heated. Because these microbes cause food spoiling, neutralizing them extends the shelf life of canned food.
- Creating a Vacuum Seal: As the jars heat up, the air and moisture within expand and are driven out. When the contents of the jar cool, they contract, generating a partial vacuum. This negative pressure tightens the lid, providing an airtight seal. Consequently, no air or pathogens can enter the jar, preventing contamination and spoiling.
- Inhibiting Enzyme Activity: Heat deactivates enzymes present in the food during water bath canning. Enzymes are responsible for nutritional breakdown and spoiling. By inhibiting the natural deterioration of food, we can keep it fresh and safe to eat for a prolonged time.
Pressure canning
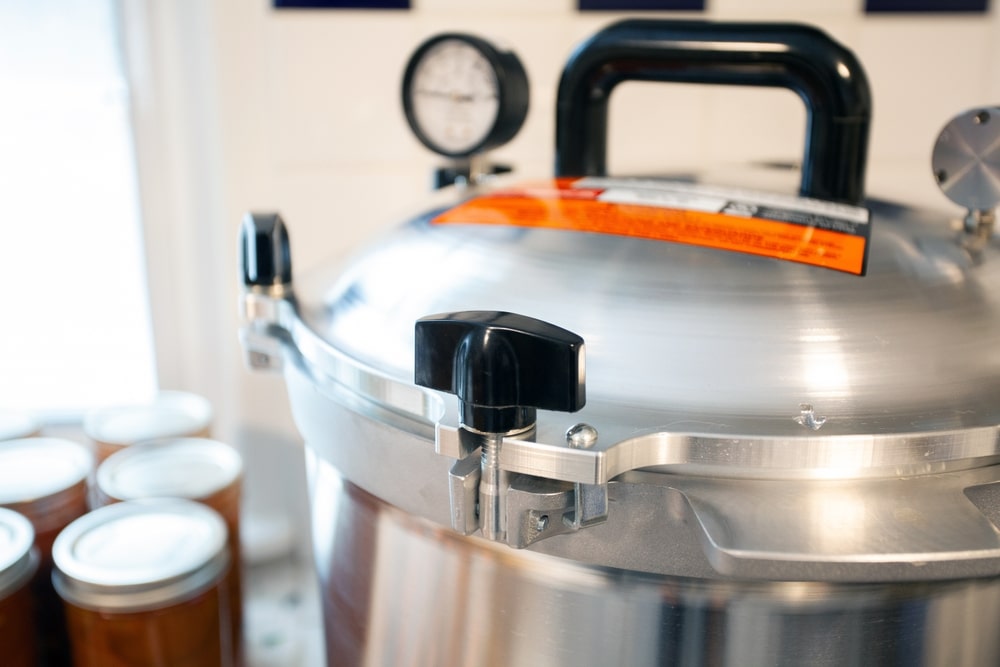
Pressure canning is used for low-acid foods, such as vegetables, meats, and poultry, which require higher temperatures to destroy harmful bacteria like Clostridium botulinum. This method involves using a specialized pressure canner that achieves temperatures above boiling point. Here’s why pressure canning is so effective:
- Higher Temperature and Pressure: You may attain temperatures over the boiling point of water with a pressure canner (about 212°F or 100°C). Dangerous germs, such as C. botulinum, which may cause botulism, are successfully eliminated at these higher temperatures. Low-acid foods require this because their pH levels are insufficient to suppress bacterial development.
- Preserving Nutrients and Texture: Unlike other food preservation techniques, such as freezing, pressure canning does not alter the texture or nutritional content of the food. The high temperature keeps the food safe while preserving its flavor, color, and nutritional content.
- Longer Shelf Life: Like water bath canning, the airtight seal established during pressure canning prevents fresh contaminants from entering the jar. This preserves the food’s integrity and extends its shelf life, enabling you to enjoy your canned delights for up to a year or more when properly stored in a cold, dark cellar.
Water bath canning and pressure canning are time-tested ways of preserving food, allowing you to enjoy the tastes of your favorite prepared foods all year. By learning the science behind these procedures, you can confidently begin your canning adventure, knowing you’re making tasty, safe, and long-lasting delicacies for yourself and your loved ones.
Canning using water bath
This is the approach to use if you want to preserve your favorite fruits, pickles, relishes, jams, and more. Water bath canning, also known as boiling or hot water canning, is a terrific technique to use hot water to form airtight seals within jars. You can keep your tasty handmade goods safe and flavorful for months by doing so!
For more water bath canning stuff in detailed, you can take a glance at: How to water bath can
Equipments for water bath canning
So, what are you going to need to get started? It’s just that simple! A water bath canner, of course lol, which is a huge, tall pot made of aluminum or porcelain-covered steel, is required. The canner includes a fitting cover and a stainless steel rack at the bottom.
However, there is a method for water bath canning alternative: canning without canner, if you just don’t want that big big size of a canner, the weight or whatever it is for your kitchen. But I strongly recommend canning process with canner since it is officially confirmed by NCHFP.
The rack may be purchased separately if you already have a suitable pot. This innovative rack lifts the jars off the pot’s bottom, ensuring that hot water thoroughly envelopes each jar throughout the procedure.
Preserving food in water bath canner
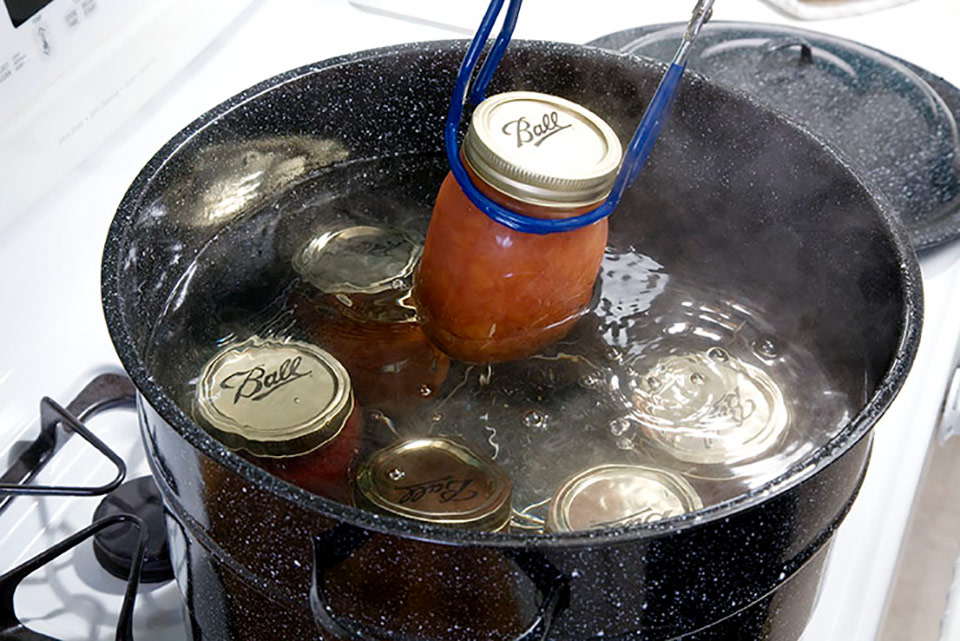
Let’s get started on the real procedure. Water bath canning entails heating jars loaded with your favorite treats. Bring the jars, lids, and contents to a boil, then gently remove them to cool. As they cool, a mystical vacuum is formed, securely sealing the lids to the jars. This seal keeps air, moisture, and germs out, protecting your food and keeping in those delicious tastes.
During the canning process, the food jars are completely immersed in boiling water. They must be always submerged in at least one inch of water. Don’t worry if some water evaporates throughout the procedure; add water to keep things moving.
When to can with water bath
When is water bath canning the best way to preserve your culinary creations? It’s perfect for preserving high-acid foods, including tomatoes, pickles, relishes, jams, jellies, and marmalades. The pH value of a food can be used to identify its acidity level. The pH of high-acid meals is 4.6 or lower. Fruits, pickles, sauerkraut, jams, jellies, marmalades, and fruit butter are all included in this category.
While tomatoes are often considered strong acids, certain cultivars may have slightly higher than 4.6 pH levels. But don’t worry! You can reduce the pH of tomatoes to 4.6 or lower before preserving them by adding lemon juice, vinegar, or citric acid.
Some popular recipes to follow
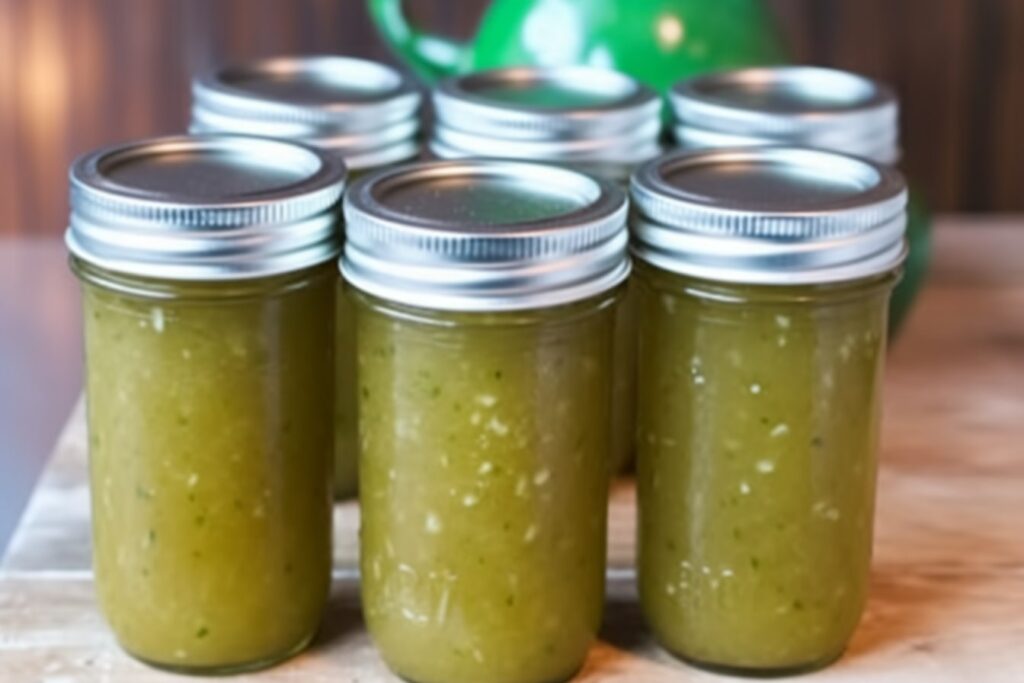
Now that you’ve mastered the technique of water bath canning, it’s time to embark on some culinary adventures!
We’ve compiled a list of popular recipes for you to try. So throw on your apron, get your jars, and prepare to can! You’ll be surprised at how many delectable items you can preserve using this time-honored approach. Have fun canning!
- Persimmon jam canning recipe
- Strawberry pie filling canning recipe
- Canning recipe for corn salsa
- Green tomato jam recipe for canning
- Canning lemonade concentrate recipe
About pressure canning
It’s a terrific food preservation method that uses pure steam to keep those pesky microbes at bay. Pressure canning, instead of water bath canning, seals the deal using physical force or pressure. It’s a little more complicated, but don’t worry – it’s completely achievable and well worth the work!
Since we are only focusing on the comparison on this post, if you are in favor with canning meat or something familiar, you can have a close look on this preserving technique at: How to use a pressure canner
Equipments for pressure canning
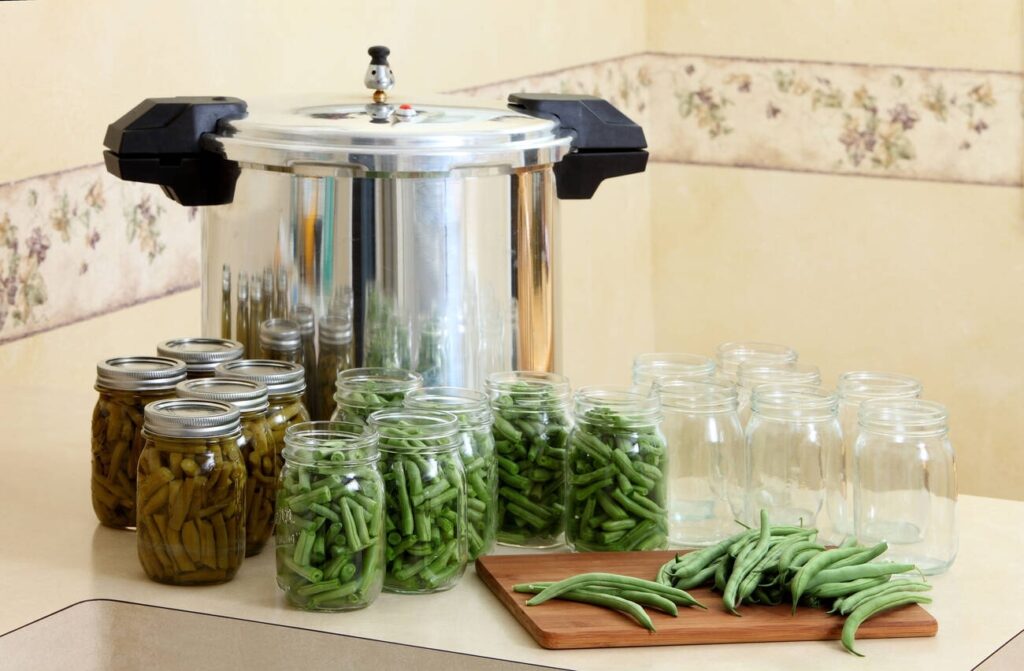
Are you ready to explore the world of pressure canning? Great! You’ll need specialized equipment to start, but don’t worry; it’s not rocket science.
- The pressure canner, which appears like an ordinary cooking pot but has some incredibly handy added characteristics, is your reliable partner.
- Inside, you’ll discover components such as an automated vent or cover lock, a steam vent, and a gauge – all required to make this magic happen.
- Not to mention the jar rack, which fits inside the canner and keeps your precious jars in place during the process.
Preserving food in pressure canner
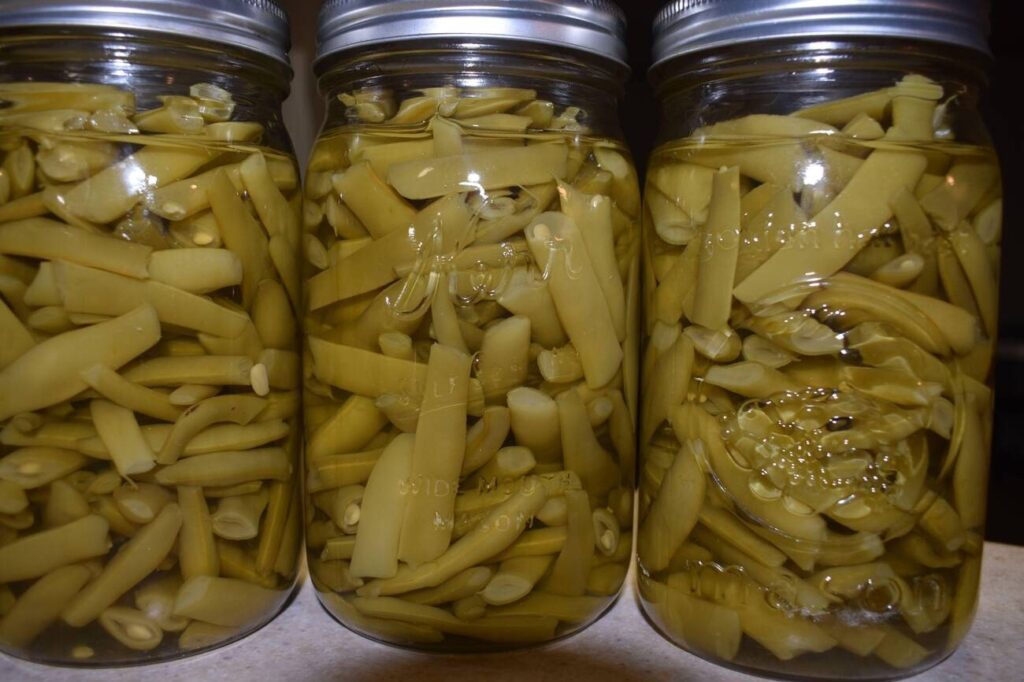
You’re on your way to becoming a pressure canning expert! This is how the magic works:
- Fill your pressure canner with a few inches of boiling water first, then gently set the jar rack and lid inside.
- Now, turn on the burner, and as the water heats up, it turns into steam, filling the canner.
- As the steam builds up, the temperature and pressure reach dangerously high levels – much higher than in water bath canning.
- This combination of high temperature and pressure works wonderfully, killing hazardous germs and establishing a flawless seal for your jars.
And here’s the success formula: Once your pressure canner has reached the appropriate pressure and processing time for your recipe, switch it off to let it do its job. Don’t worry; you’ve got this! Use the built-in steam vent to cool everything down, and before you know it, you’ll have safely preserved goods ready to store or enjoy with your loved ones.
When to can with pressure canner
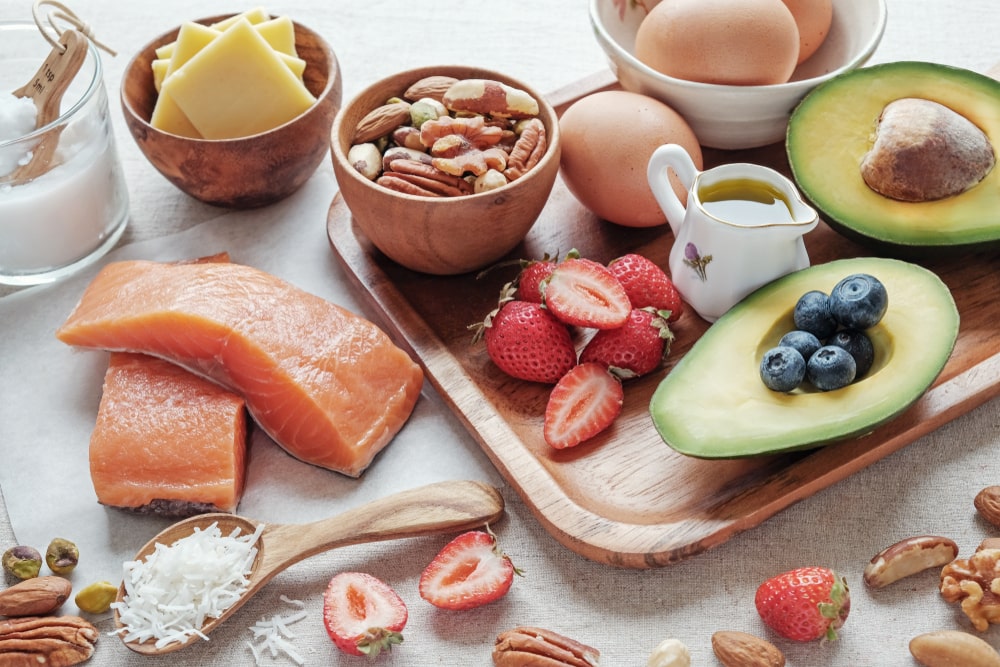
The dreaded million-dollar question! When it comes to preserving low-acid foods, pressure canning is your hero. Red meats, shellfish, poultry, and low-acid vegetables such as okra, carrots, green beans, asparagus, and spinach are all good choices.
These delectable sweets have a naturally low acidity content, which makes them susceptible to heat-resistant spore-forming bacteria such as C. botulinum.
But don’t worry, and pressure canning is here to help! The US Department of Agriculture (USDA) endorses it as the ONLY safe method for canning these low-acid treats.
Some popular recipes to follow
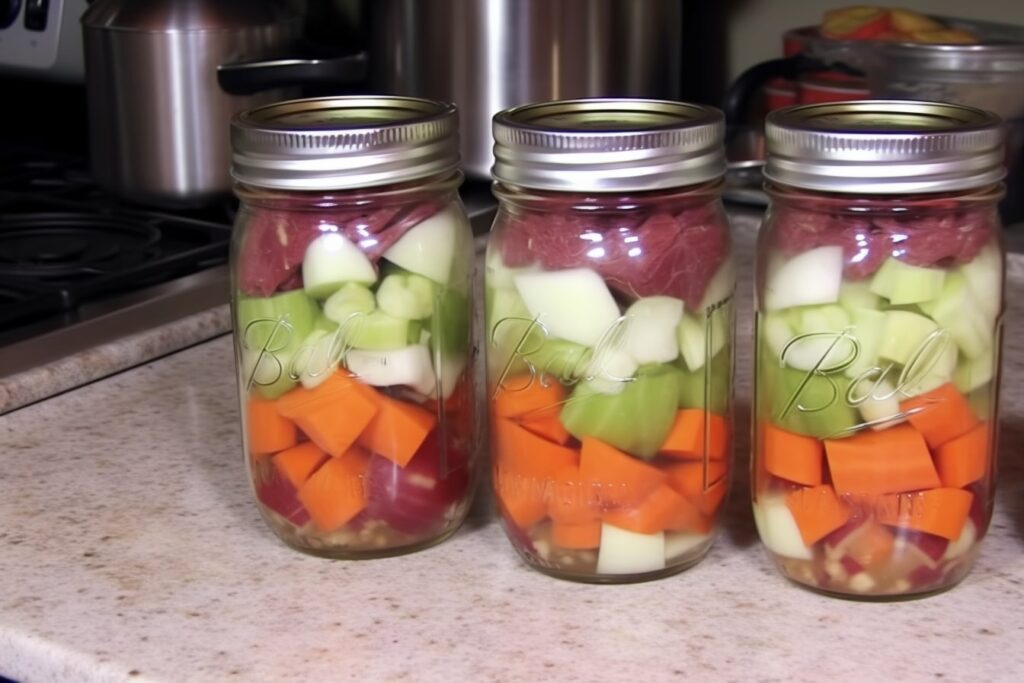
Alright, it’s time to get cooking and preserving like a pro! Here’s a lineup of some popular pressure canning recipes to get your creative juices flowing:
Canning with pressure canner vs water bath – Which to choose
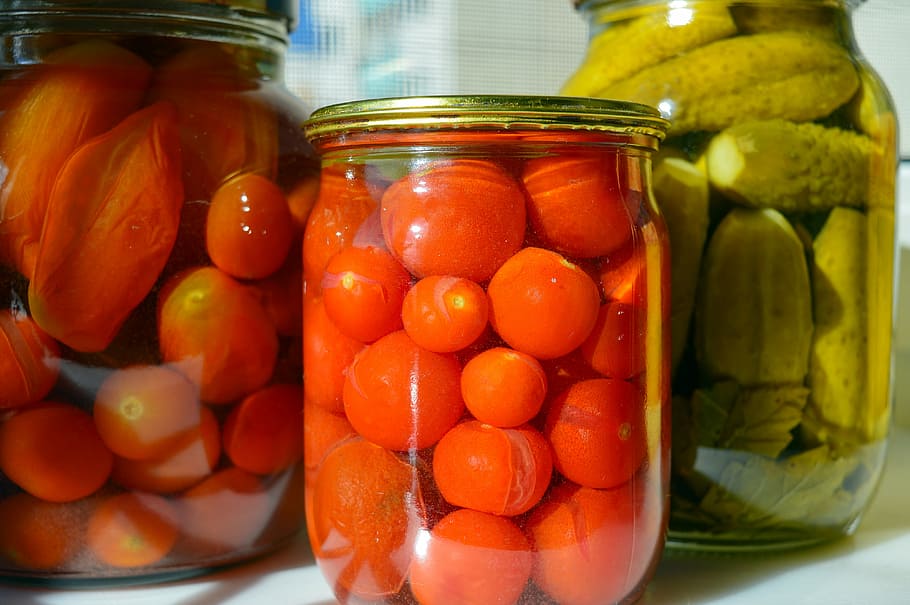
Here are the key tips and tricks for you to consider to pick the best canning method between the two common ones above.
Understanding Acidity
First and foremost, let us discuss acidity! The degree of acidity in your food is important when selecting the best canning procedure. Why? Because some bacteria, such as C. botulinum, may grow in low-acid settings, your canned foods may be at risk. The good news is that acidity is effective in treating this annoying bacteria.
Enter the Best Canning Method
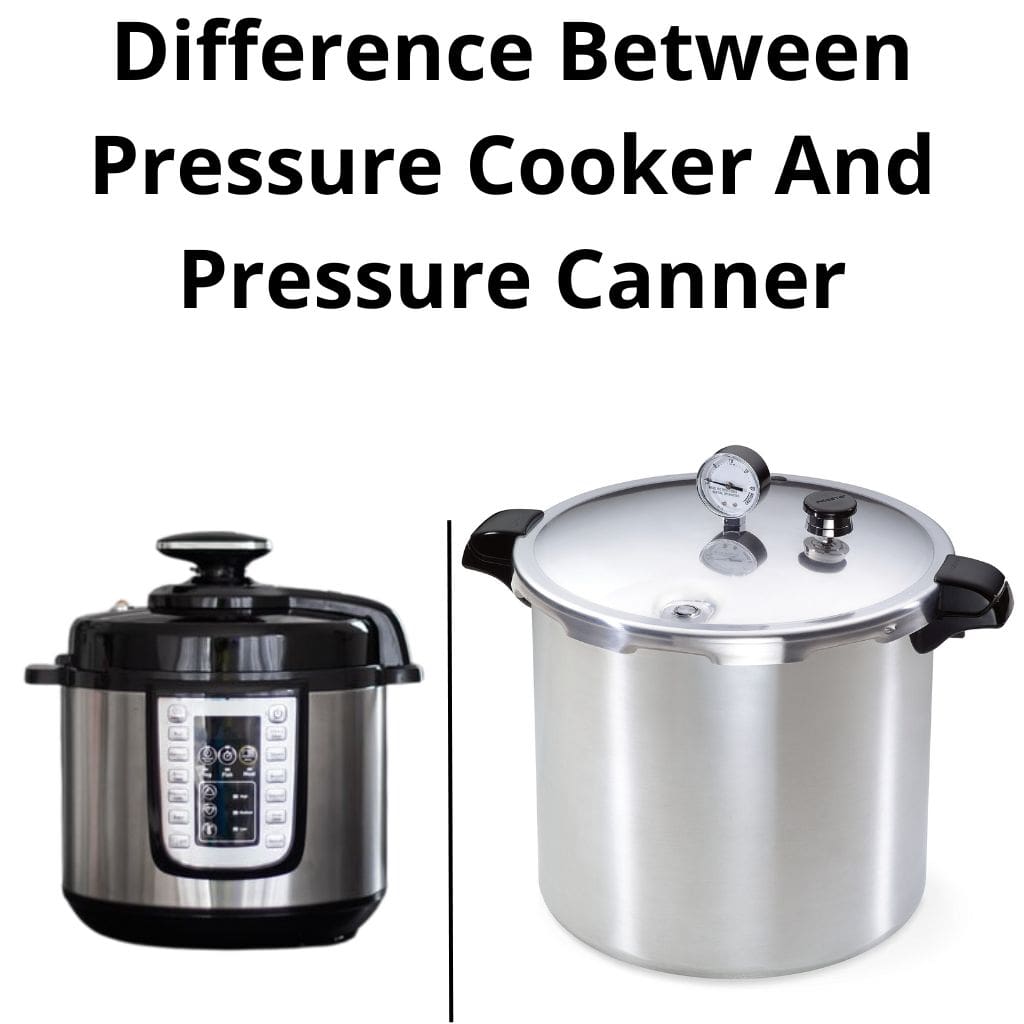
A pressure canner is your go-to superhero for low-acid items (those with a pH level above 4.6), such as vegetables, meats, and most soups. This approach employs high heat and pressure to kill dangerous germs, including the hardy C. botulinum and be cautious, pressure canner is completely different from pressure cooker which cannot be used to process pressure preserving method !!!
You can securely preserve these low-acid delicacies using a pressure canner, knowing they’ll remain safe and tasty.
On the other hand, a water bath canner is your trusted partner for high-acid items (those with a pH below 4.6), such as fruits, tomatoes, and pickles. Water bath canning immerses the sealed jars in hot water, killing most germs. These foods are well-protected against C. botulinum due to their inherent acidity, and you may enjoy their tart qualities all year.
Confident Steps for Safe Canning
- Know Your Food: Determine the acidity level of the food you wish to can. You can use pH test strips or consult reliable canning resources to find this information.
- Gather Your Equipment: Invest in a high-quality pressure canner for low-acid foods and a reliable water bath canner for high-acid foods. Also, stock up on mason jars, lids, and other canning essentials.
- Follow Trusted Recipes: Canning is a science, and precise measurements matter. Use trusted canning recipes from reputable sources to ensure safety and delicious results. One of the most secured source for canning that newbie can certainly follow their recipe is NCHFP – National Center for Home Food Preservation
- Proper Prepping: Thoroughly wash and prepare your produce before canning. Remove any bruises or damaged parts and follow the recipe’s instructions for blanching or precooking, if needed.
- Timing is Everything: Follow the recommended processing times meticulously. Underprocessing may lead to bacterial growth while overprocessing can result in loss of flavor and texture.
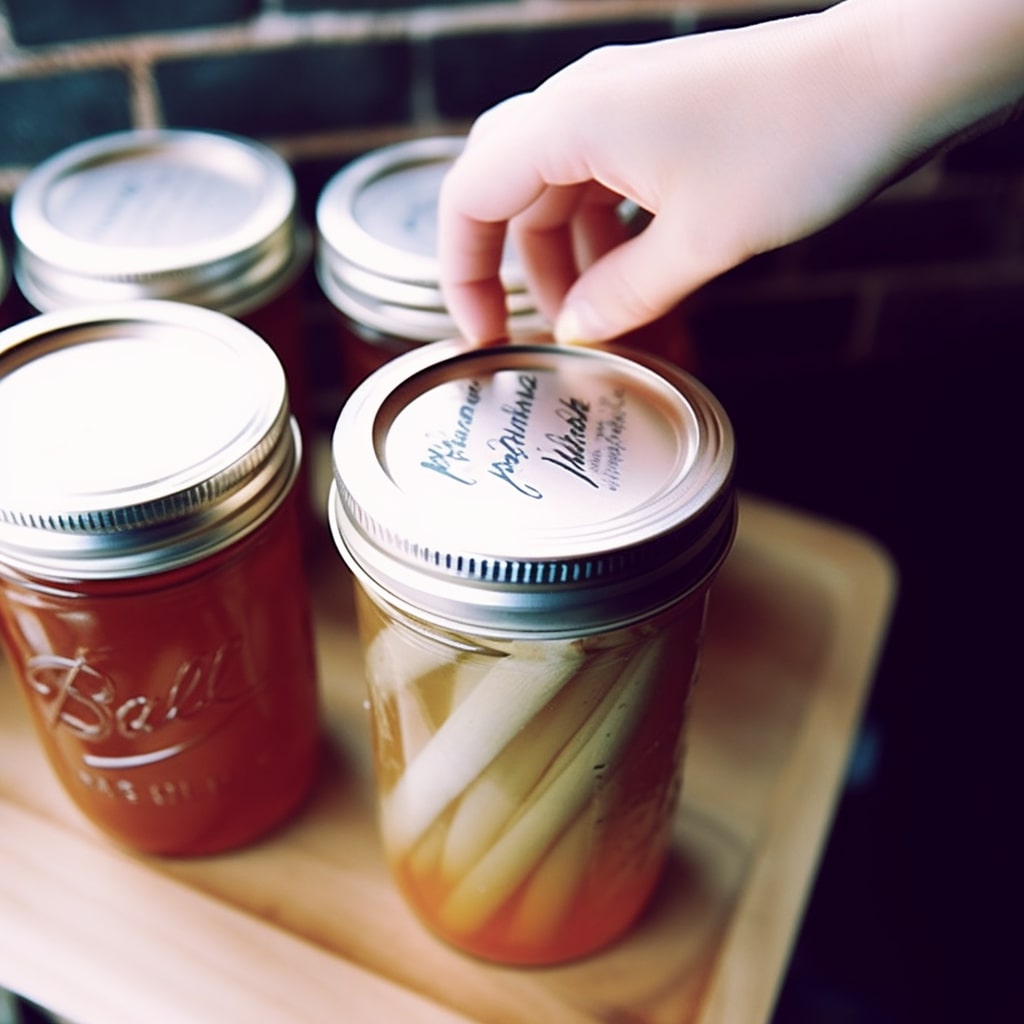
- Cooling and Storage: After the canning process, allow the jars to cool naturally before testing the seals. Store your safely canned goods in a cool, dark place, and remember to label them with the date for easy tracking.
| Method | Water Bath Canning | Pressure Canning |
| Purpose | Preserve high-acid foods | Preserve low-acid foods |
| Foods | Fruits, pickles, jams, etc. | Meats, poultry, vegetables, etc. |
| pH Level | pH 4.6 or lower | pH above 4.6 |
| Seal Mechanism | Airtight seal formed by vacuum | Airtight seal formed by pressure |
| Equipment | Water bath canner | Pressure canner |
| Key Components | Aluminum or porcelain-covered steel pot, stainless steel rack | Pressure canner with vent, gauge, and jar rack |
| Preservation | Suitable for a few months | Suitable for long-term storage |
| Bacteria | Effective against most bacteria | Effective against heat-resistant spore-forming bacteria |
| USDA Approved | Yes | Yes |
Conclusion
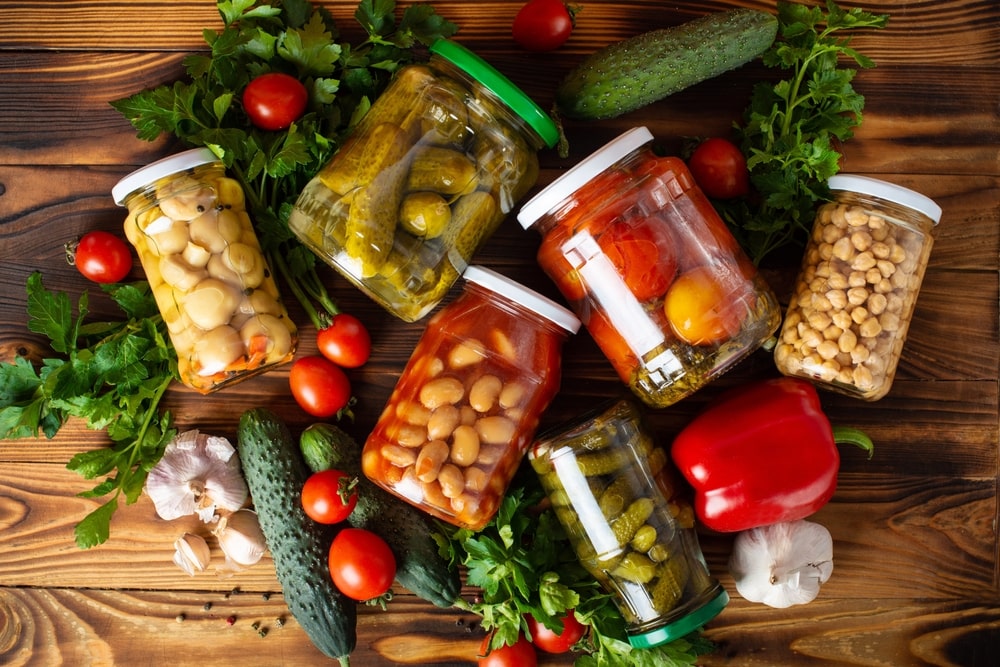
Finally, whether you choose pressure canning or water bath canning is ultimately determined by the sort of foods you wish to preserve and the level of safety necessary for long-term preservation. Pressure canning is good for low-acid items like vegetables, meats, and soups because it provides a better level of germ prevention.
Water bath canning, on the other hand, is better suited for high-acid items like fruits, jams, and pickles since it is a simpler and less expensive method.
Regardless of your method, learning the skill of pressure canning vs water bath canning will open up a world of tasty possibilities and allow you to savor the taste of summer all year long. Have fun canning!

![Top 5 Best Jar Opener for Seniors Elderly [Updated 2023]](https://manzanillanyc.com/wp-content/uploads/2023/07/Top-5-Best-Jar-Opener-for-Seniors-Elderly-Updated-2023.jpg)

